Getting Started
General Information
Thank you for purchasing our theme. We are happy that you are one of our customers and we assure you that you will not be disappointed as well. We do our best to produce high quality themes with great functionality, premium designs and human readable code. Before you get started, we highly encourage you to get familiar with this documentation file. Spending half an hour reading the manual may save lots of your time and help you to avoid questions with obvious answers.
We also recommend to check our video tutorials and articles.
If you have any questions that are beyond the scope of this help file, please feel free to post them on our support forum at https://themerex.net/support/.
Please Note! Our support covers installation procedure, assistance for theme features and any issues you may encounter when using the theme. Unfortunately, we cannot provide support for customization or 3rd party plugins. If you need help with the customization of your theme, you should enlist the help of a developer.
Bundled Plugins
The theme package contains a number of bundled plugins. Please click here to view the list of plugins that come included into the theme.
If a new version of a bundled plugin is available, it will be included in the next theme release. You can also request it by submitting a support ticket.
Bundled plugins are fully functional without the activation using a registration license key. In case you are willing to receive automatic updates and support from the plugin team, you will need to purchase the plugin separately. Only the direct buyers get the plugin license key.
WordPress Information
To use this theme you must have WordPress engine installed. We assume you have a working version of WordPress downloaded at WordPress.org already up and running.
How to install WordPress - A tutorial on how to install WordPress on your hosted domain.
We also encourage you to actively use the links below. These useful resources cover most of general WordPress questions you may have:
- WordPress FAQ - Information and resources about WordPress including history, features, semantics, glossary and information to help you determine whether or not WordPress is the blogging tool for you.
- WordPress Lessons - Great source of knowledge for WordPress beginners.
- PHP Function References - Detailed information on WordPress PHP functions and usage examples.
Getting Support
We strive to provide best tech support ever. To get free assistance please use our ticketing system. We will respond as soon as possible (within 24 - 48 hours, usually faster). We are open from 10am to 7pm (CET), from Monday till Friday.
Before submitting a ticket, please check this documentation file, our articles and video tutorials. Most of the issues that may arise have already been resolved and answered.
Please Note!
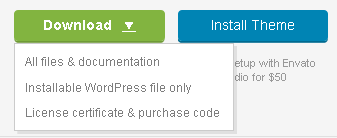
To get tech support, you will need your purchase code. To get the code, please go to your ThemeForest "Downloads" page and click on theme download link.
Here you should stick with the last option and download text file containing your license details and purchase code proving your order.Please check this link for more information on this matter.
Please note that as authors of this theme (template) we do provide support only for the theme-related (template related) features and for the issues related strictly to this theme (template). We do not provide support for configuration, installation, maintenance, customization, 3rd party plugins integration (due to incompatibility issues of an additional plugins integration/functionality that might interfere with theme's pre-installed plugins or any other reasons) or any other compatibility issues that might arise.
Installation Information
Theme Requirements
To use this theme you must be running WordPress 5.0 or higher, PHP 5.6.20 or higher (for WooCommerce plug-in PHP 7.0+). If you use hosting with limited resources (for example GoDaddy and other lowcost shared hosting providers), you may experience issues with one-click demo data installation feature.
We recommend you to contact your web hosting service provider to make sure that your server PHP configuration limits are as follows:
- max_execution_time 600
- memory_limit (up to) 256M
- post_max_size 32M
- upload_max_filesize 32M
If you are running unmanaged dedicated server or VPS, you should check your php.ini file. Alternatively, you can edit .htaccess file in the root of your website and add the following values:
php_value max_execution_time 600
php_value memory_limit 256M
php_value post_max_size 32M
php_value upload_max_filesize 32M
Setting these values will ensure you will not get error messages during the installation. To safeguard your website, please use secure passwords and the latest version of WordPress and plugins.
IMPORTANT! To avoid any errors that might come up during the installation we recommend to have memory limit set up to 512M.
Here is the list of other recommended web hosting services:
- Bluehost (Exclusive Offer for our Customers: -70% OFF)
- SiteGround
- InMotion Hosting
Theme Installation
Unpacking the theme
Before installing the theme, please make sure you unpacked the archive and extracted theme files. After unzipping the archive, you will see the following files:
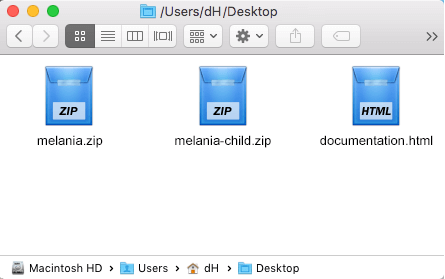
If you try to install the wrong files, you will get missing style.css file error. This is the most common error that means you are trying to install an incorrect package.
To install "Melania" theme, you must have WordPress installed. For information regarding WordPress platform installation, please check the WordPress Codex or check this great video tutorial.
Update WordPress: To ensure a positive user experience, we highly recommend updating your WordPress to the latest stable version. This will help utilizing all of the latest features of WordPress.
If you have questions regarding theme installation, we recommend reading a detailed instruction below.
You can install the theme in two ways:
-
via FTP:
- Log into your web server with FTP client software.
- Unzip melania.zip file and ONLY use the extracted /melania theme folder.
- Upload the extracted /melania theme folder into /wp-content/themes folder.
- Activate the newly installed theme. Go to Appearance > Themes and activate it.
- via WordPress:
- Login to admin panel.
- Go to Appearance - Themes and click on the Add New button.
- Choose Upload theme option. Click on Browse... (Choose file in Safari/Chrome), select "melania.zip" and click Install Now button.
- After the successful installation, click on Activate or go to Appearance - Themes and click on Activate to activate the newly installed theme.
- After the theme is activated, you will be prompted to install recommended
plugins: Contact Form 7, Elegro Payment, MailChimp for WP, Themerex Socials, Themerex Updater, WPBakery PageBuilder and WooCommerce.

All these plugins are included into the theme archive, or can be installed from the WordPress.org repository.
The theme can function without any of these plugins. But if you want your website look precisely as the demo page, you have to install all recommended plugins and import demo content. This is a good idea if you are building your website from scratch.
However, if you have an existing website, you should be very careful with plugin installation and importing demo data: this may affect the website content and structure. Please read the Demo Content article for details. - Attention! If you want to make changes in theme’s templates or functions, we recommend activating a child theme before demo data installation. Please see the Child Theme section for more information.
Plugins Installation
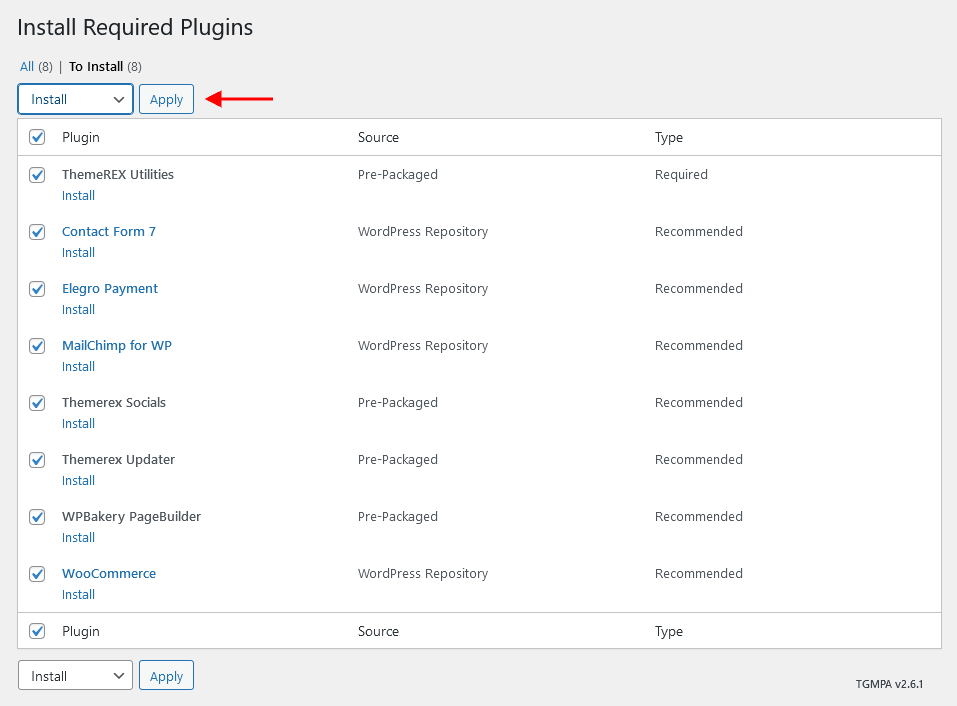
In order to make the theme look exactly as the demo page, you need to install recommended plugins. Click on Begin installing plugins link.

You will be redirected to plugins installation page. Check all listed plugins, select Install option and click on Apply button. Installation may take a few minutes, please be patient and do not refresh the page.
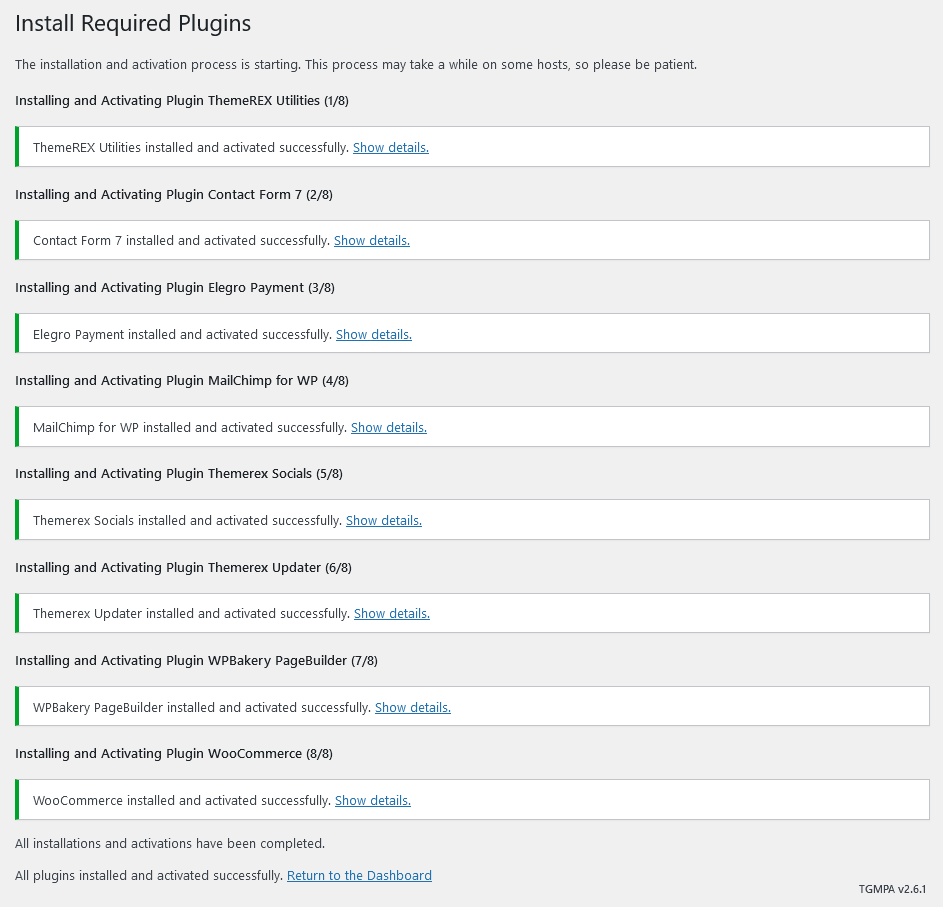
After the installation you will get a notification informing that plugins were installed successfully.
Attention! Our theme is compatible with Cookie Information plug-in (formerly WP GDPR Compliance), though it is not included into the theme's package.
Gutenberg Compatibility
Our theme is compatible with Gutenberg page builder. You can create new pages using this editor.
All existing demo pages are built using WPBakery Page Builder and should be customized using WPBakery Page Builder ONLY.
IMPORTANT: It is possible to switch between the page builders. Please use One page builder for creating/customizing One particular page/post.
Child Theme
Child theme is for developers willing to make changes to core functions and code. If you are not planning to dig that deep, you can just skip this chapter.
IMPORTANT: If you want to make changes in theme templates or functions, we recommend that you install the child theme and apply changes there. To learn more about the purpose and basis of creation of child theme, please visit WordPress Codex.
In the theme package you will see materials for the child theme. It’s located in "melania-child.zip" archive. You can install the child theme just like you installed the main theme (see above, in the section "Installation").
A few recommendations on how to use a Child Theme from ThemeREX:
- Almost all files from the main theme can be replaced in a child theme. It doesn’t concern only .php-files with templates and basic logic, but also both .js, .css files from respective folders and files with images, icons etc.
- If you want to change some of the theme-related functions or to add new ones, copy/add all the required functions into 'functions.php' in the "melania-child" folder. If our
theme contains functions with such names, they will be replaced with yours, if not – your functions will
complete our theme logics.
IMPORTANT: If you want to replace some functions from other files (except functions.php), e.g. from _wp_utils.php or _utils.php, we do not recommend you to copy respective files into the child theme, but you should create the respective functions in functions.php in the child theme. This should be done, so that when updating the theme, new functions from these files are available for use.
As for other files - put out the templates from the folder 'templates', images from the folder 'images' etc. - to make changes copy theme into the folder 'child theme' and make changes there.
Demo Content
Our themes have simple One click demo data import tool. It's very easy to use and you can get a precise copy of our demo website in just 1 click.
Before installing demo data, please make sure you have installed all the required plugins, please refer to Plugins installation section of this document for details.
To import demo content into a WordPress site, please follow these steps:
- Log in to your site as an administrator.
- If you see a message prompting to install required ThemeREX Utilities plugin, click on "Begin installing plugins" and
install it on the corresponding page.
IMPORTANT: The rest of recommended plugins (for example, Revolution Slider, Visual Composer, etc.) are not mandatory for installation of demo content.

- Go to Appearance -> Install Demo Data:
- On the page that showed up please set the required parameters.
- Only pages, forms and sliders - Allows you to select the content you need to be imported for a definite page, slider, etc. It is recommended when the site is already built.
- Whole demo-site content - Allows you to import whole demo content. It is recommended for new installations of WordPress.
IMPORTANT: When installing whole demo-data ALL EXISTING CONTENTS of your website will be deleted and replaced with the new data! We highly recommend that you install demo data only on blank WordPress install.
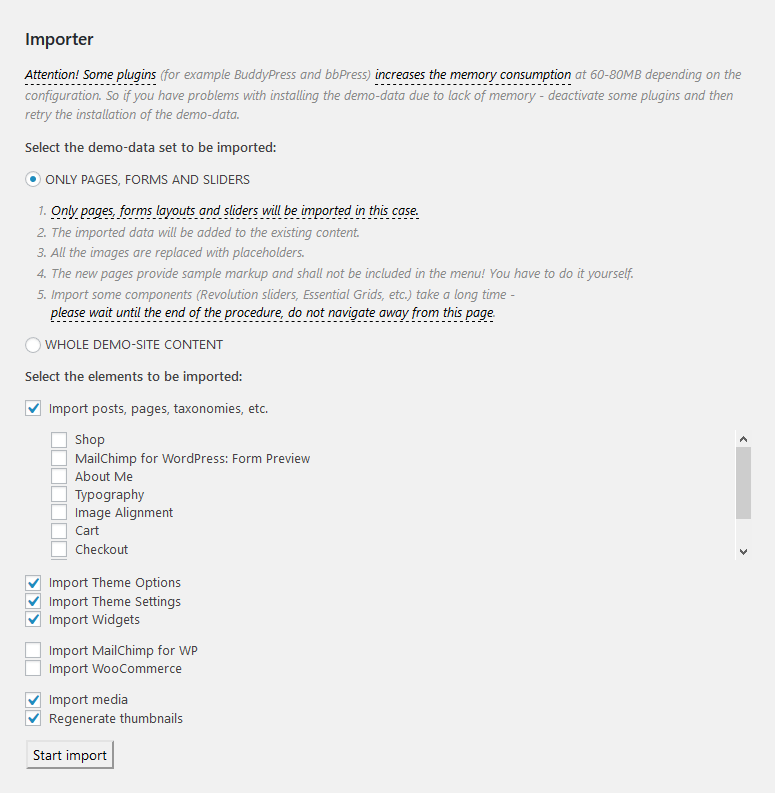

- Click on "Start Import" button.
IMPORTANT: Please wait while demo data is being copied from our server to your site. It may take a while and depends significantly upon Internet connection speed between your website and our server. Please wait patiently and do not refresh/leave the page.
- After the data is successfully imported you will see the "Congratulations" message:
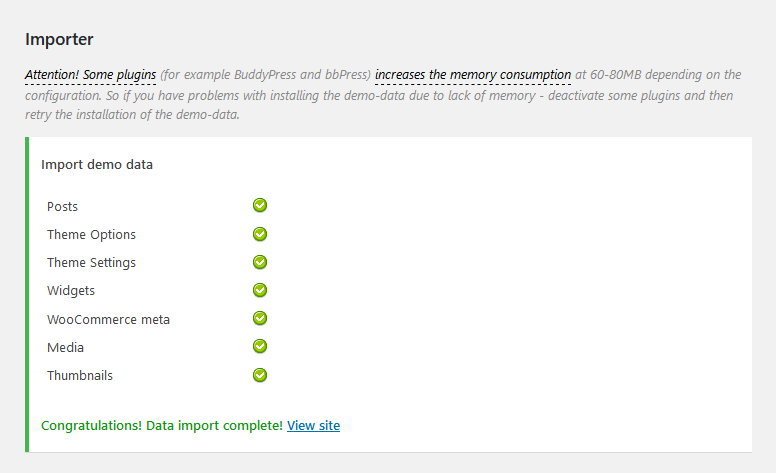
In 99.9% it works fine, but if something went wrong and data was not imported, please repeat the procedure described above. The system will find the last item imported successfully and you will be able to continue the import.
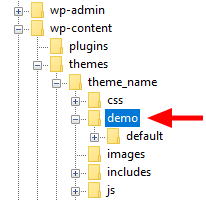
In case "Demo Data" installation stuck and you see "Error load data from the file ... " error message, you can manually install it by downloading the demo.zip archive from our server and extract it in your Theme's folder root directory.
Treat the screenshot below as an example only. The list of folders inside a theme package may vary.
If the issue persists, please contact your hosting provider to make sure that your server configuration meets the Theme Requirements. Otherwise, please contact our support team at https://themerex.net/support/. Our tech support operators will assist you.
Theme Update
IMPORTANT: Before you go ahead with the update, please check theme changelog and make sure you backup your old theme folder. Download it to your computer locally.
It is a good practice to backup both your files and database regularly and especially before making some serious updates.
Update Option 1. Update using the ThemeREX Updater plugin
(for theme version 1.5.3 and above only!)
- Please make sure the ThemeREX Updater plugin is installed and activated. This plugin is provided with the theme.
-
Navigate to Appearance > ThemeREX Updater and enter your purchase code to get the latest versions of bundled plug-ins and theme updates through the WordPress admin panel. To get the code, please navigate to your ThemeForest "Downloads" page and click on the theme download link. Check this guide for more details.
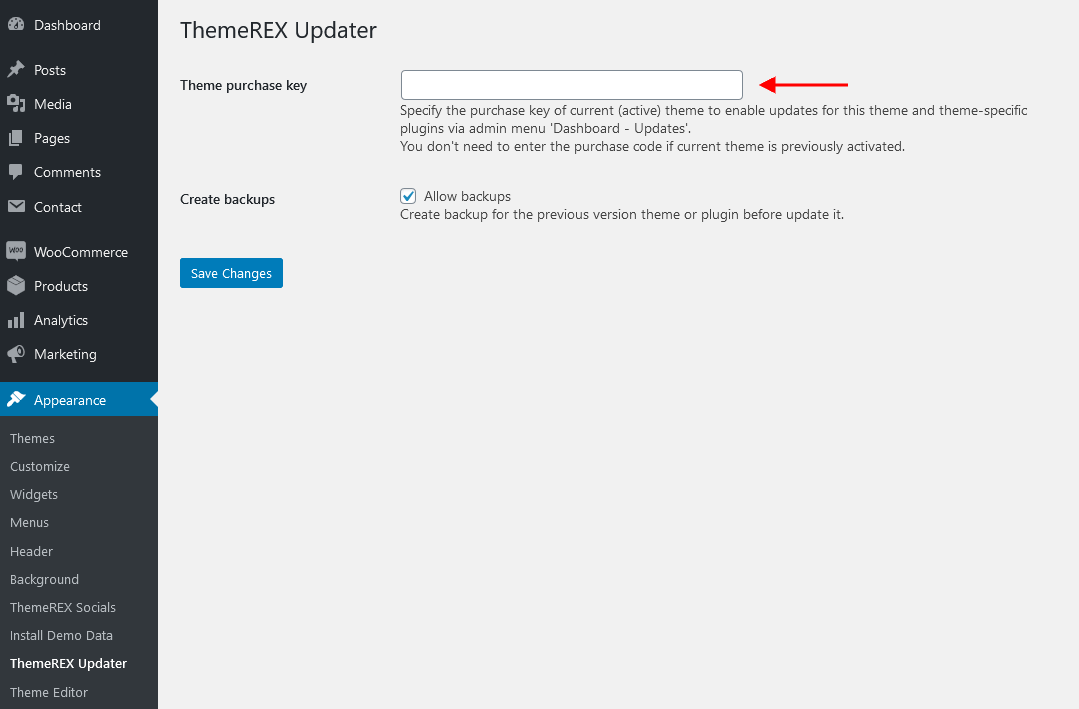
- We recommend you to check the "Create backups" option to allow the system create backups for plugins versions and the theme automatically.
-
Proceed to WP Dashboard > Updates and check if any updates are available.
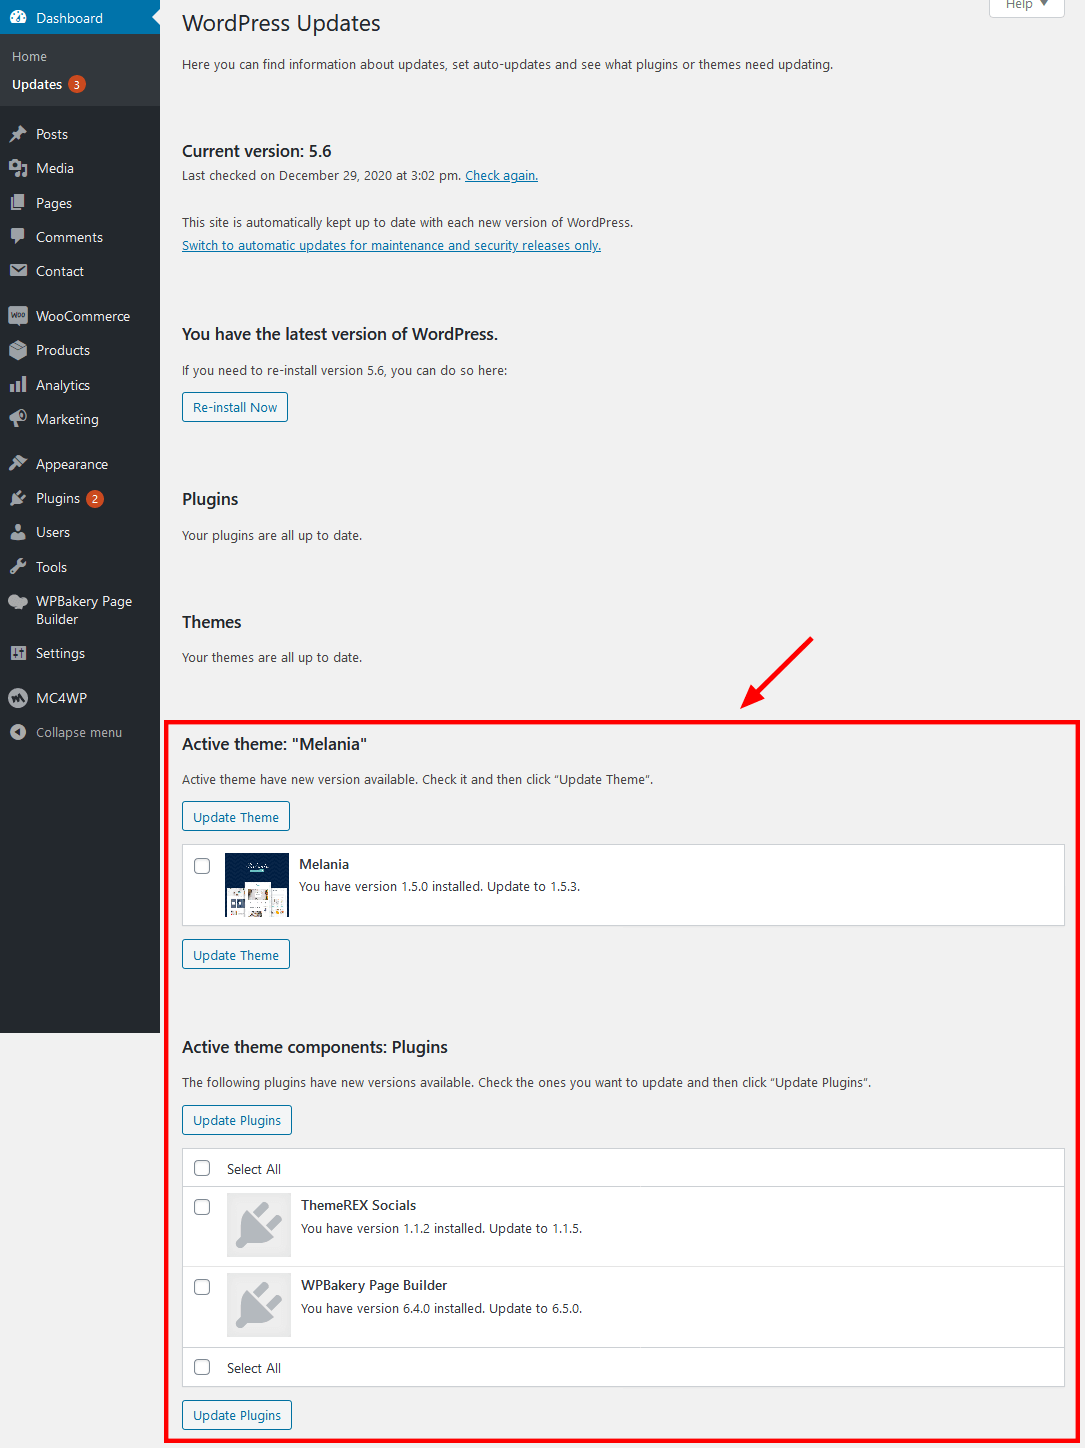
- Choose the options for an update (plugin, theme, etc.) and click on Update button.
-
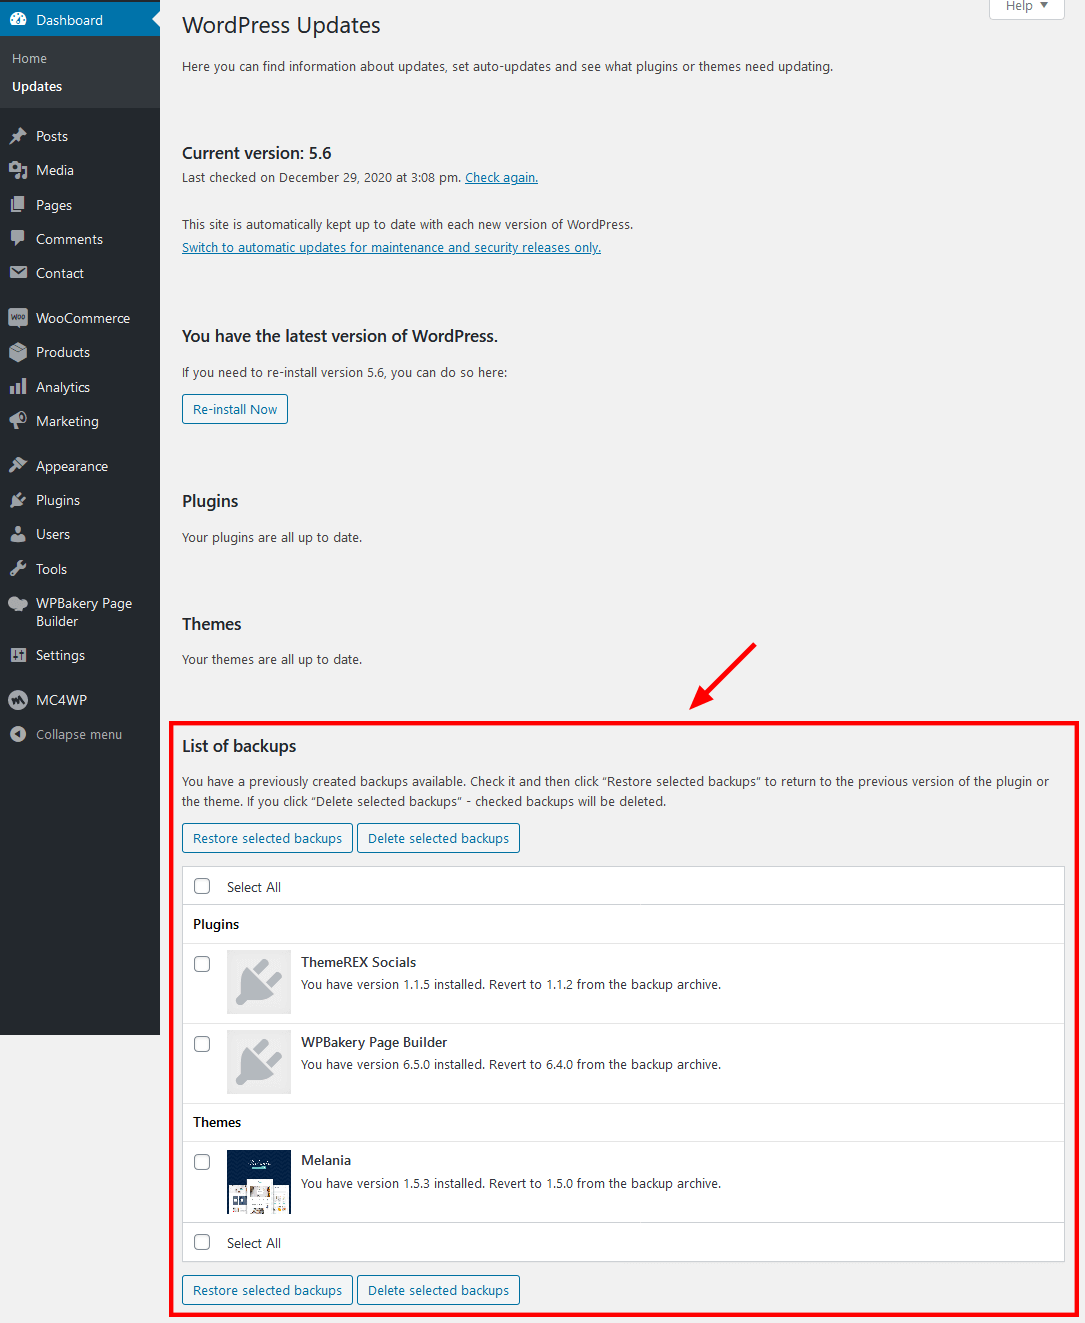
You can restore the backups created by the system in WP Dashboard > Updates or in Appearance > ThemeREX Updater (if the "Create backups" option was checked before the update).
Update Option 2. Update using WordPress uploader
- Log into your ThemeForest account and navigate to your downloads tab. Find the theme and download “Installable WordPress file”.

- Log into your WordPress website and go to Appearance -> Themes.
- Activate a different theme. Delete the previous version of Melania and re-upload the new WordPress Installable files that you have downloaded from ThemeForest during the 1st step.
- Once it is uploaded, activate the theme.
- Update the included plugins if you see a notification message letting you know the plugins have a new version.
- Navigate to WP Dashboard > Plugins > Installed Plugins.
- Update ThemeREX Utilities plugin. You can click on "Update" button (if available in a particular theme) or deactivate and delete this plugin. Then follow the prompt to install it again. This will load a new plugin version on the site.
- Deactivate and delete the rest plugin(s) of old version.
- Go to Appearance > Install Plugins and install the plugin(s) like it was described in the Plugins Installation section of this documentation.
Update Option 3. Update using FTP client.
- Log into your ThemeForest account and get the last version of the theme as described above.
- Connect to your server using desktop client software (we recommend CyberDuck and Filezilla).
- Change directory to /wp-content/themes.
- Remove existing folder with old theme files.
- Unpack theme installable files downloaded from ThemeForest and upload to the theme folder.
- Update the included plugins, in the way it was described above, if you see a notification message letting you know the plugins have a new version.
Quick Start
After the theme activation and demo content import, we are ready to get started with basic theme settings like site title, tagline, logo, favicon etc.
To change your site title and tagline, go to Settings -> General. Please note, these parameters are important for search engines.

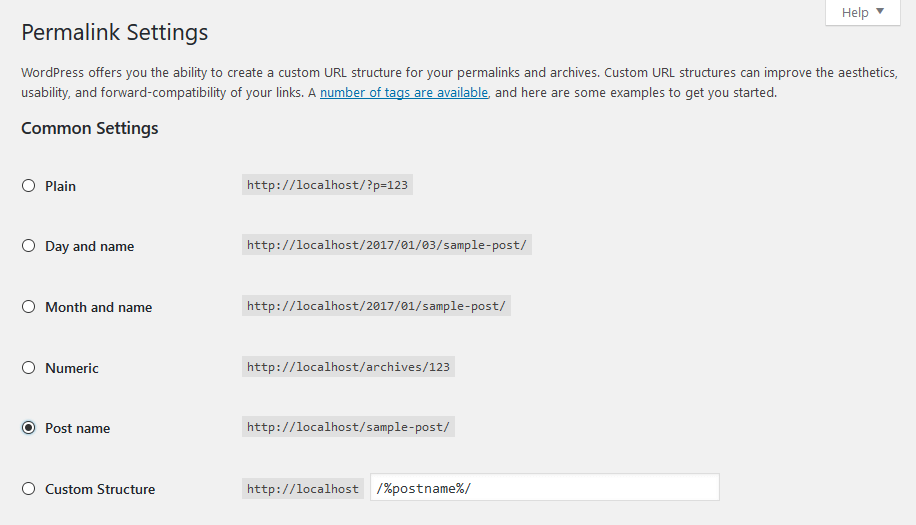
Another great idea may be setting custom permalinks structure to make them more SEO friendly and human-readable. Go to Settings -> Permalinks and make changes according to the example below.
"Customize" settings
Now let's navigate to Appearance > Customize - the feature which makes theme customization extremely user-friendly and straight-forward, allowing the admin to manage the feel and look of the blog website easily from one place.
IMPORTANT: This is a "OnePage" theme. All the customizations are applied to the Home page only. Settings for the other pages and posts can be set up in "Single page" and "Single post" sections in the "Customize" menu. The rest of the posts and pages such as "Home with Sidebar", "List style", "Post Formats", "Standard" etc. are just examples (variations) of how the single page/post can look like.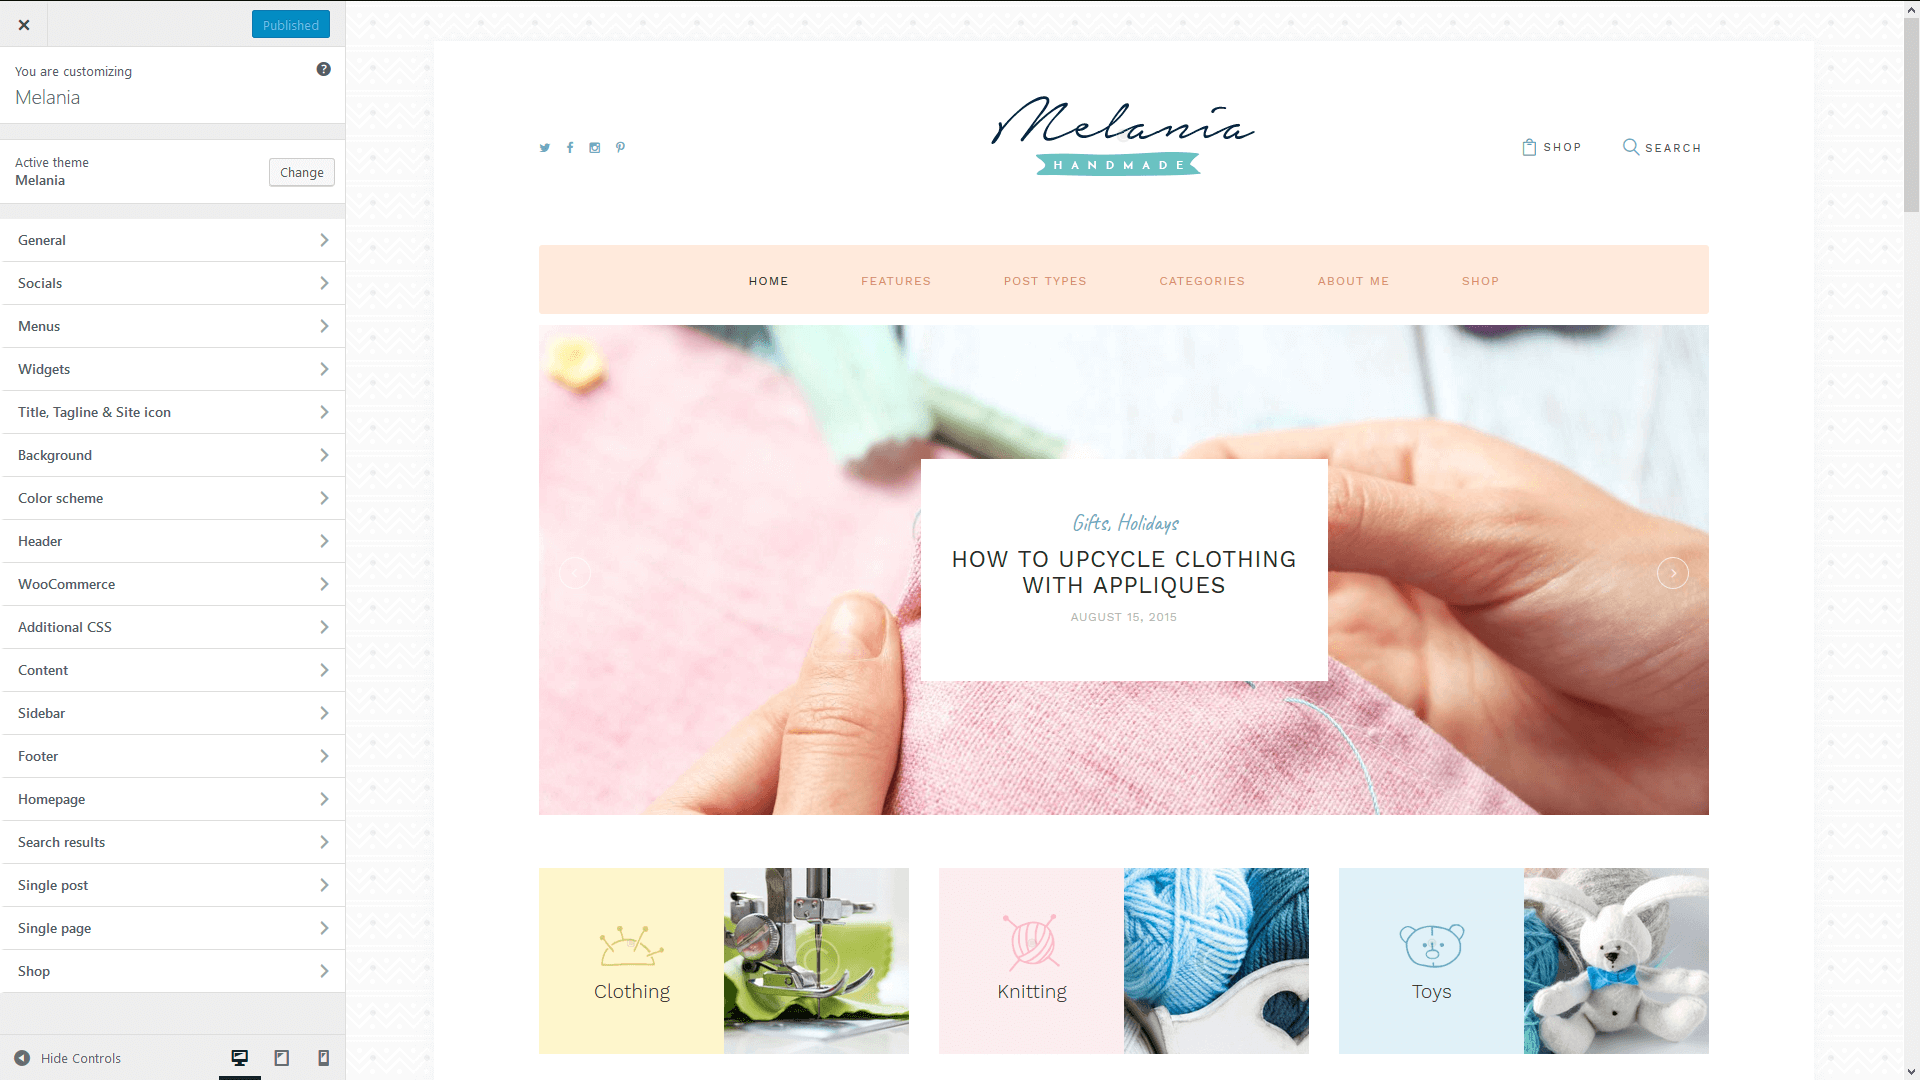
We have integrated many additional options to the default WordPress "Customize" menu, which allows you to flexibly control the appearance and behavior of the whole website as well as of the individual page types.
Moreover, you can see the changes of the frontend right after the alterations - when the needed parameter is selected, without switching from admin to frontend each time. It saves much of your time and lets you customize your website just in several clicks. When you are through with the changes, you should click on "Save and Publish" button at the top. There are quite a lot of parameters here, but luckily the majority of them have default values that suit most of the users. Let's take a closer look at them:
General
In this section you can customize the general website look using the following settings.
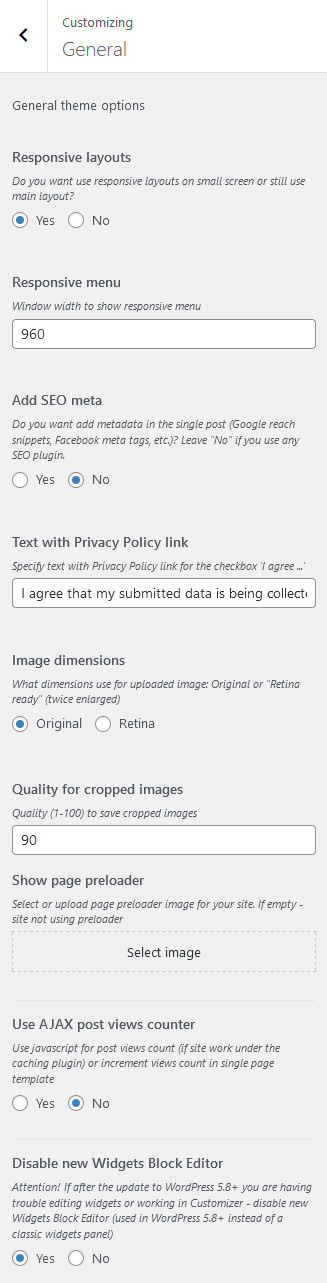
Responsive Layouts
Using this setting you can decide if you want to have responsive layouts, adjusted for each screen size and device or to keep the main layout for all of them.
- Yes - To have responsive layouts. The website will be adjusted for each screen size.
- No - To keep the main layout intact for all screen sizes. The users will scroll the page to see the content.
Responsive Menu
In this field you should fill in the window width when responsive menu will be enabled.
Add SEO meta
By choosing "Yes" metadata (Google reach snippets, Facebook meta tags, etc.) will be added to a single post. Choose "No" if you are using any of the SEO plugins.
Text with Privacy Policy link (for theme versions 1.5.2 and below!)
Specify the text for the checkbox in "Contact Me" form (for Page style "About me"). This text will be displayed before the Privacy Policy link. Please see "About Me" page for more information.
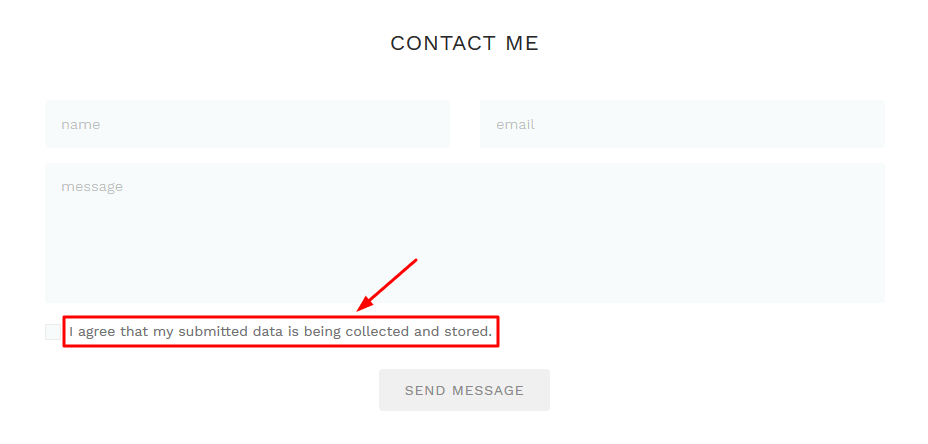
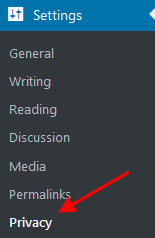
In order to add/custimoze the Privacy Policy link, navigate to Settings (WP Dashboard) > Privacy and specify the page that will be used as a Privacy Policy one.
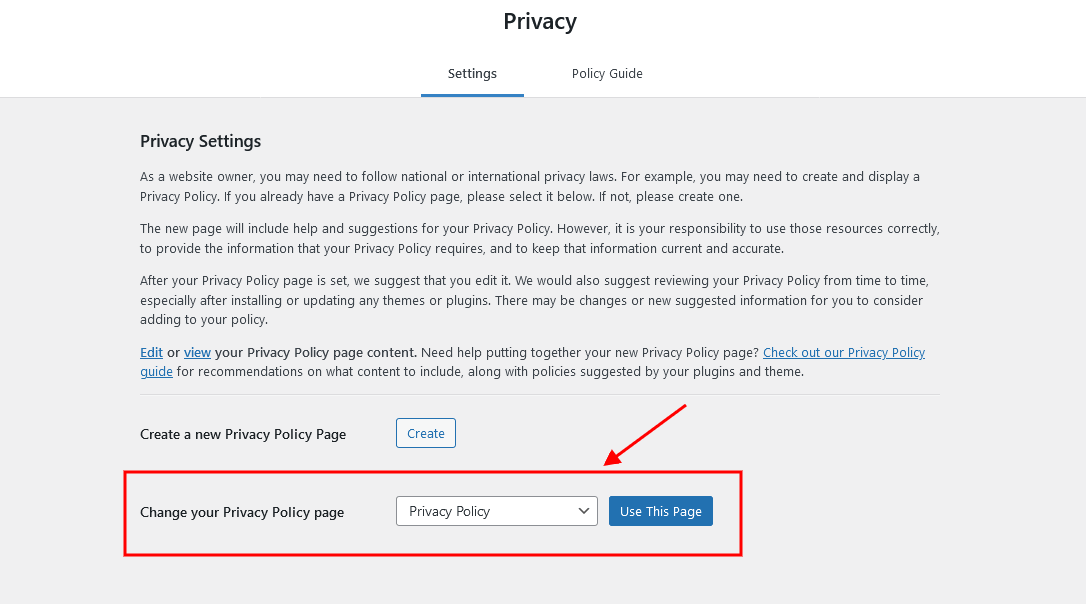
Starting from theme version 1.5.3 the default form has been replaced with contact form 7.
Image dimensions
Choose the necessary image dimensions: Original or Retina.
Quality for cropped images
Choose the necessary quality for cropped images.
Show page preloader
This setting allows you to upload an image that will act as your main preloader image.
Use AJAX post views counter
What type of counter should I use to count the number of page views: AJAX is applied if your site uses content caching system (in this case extra requests to the server are being generated). If you do not use caching - this option should be disabled.
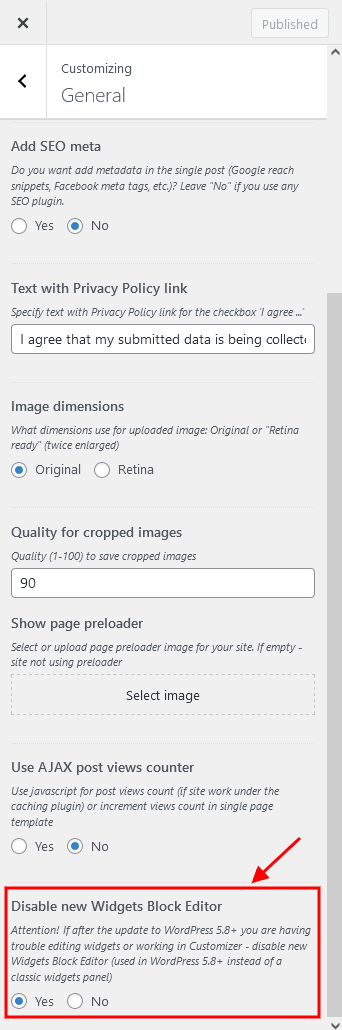
Disable new Widgets Block Editor
Disable new Widgets Block Editor, if after the update to WordPress 5.8+ you are having trouble with editing widgets or working in Customizer. New Widgets Block Editor is used in WordPress 5.8+ instead of classic widgets panel.
Menus
Settings of this group are responsible for managing Menus. Each menu location is available for filling with any of the predefined menu sets.
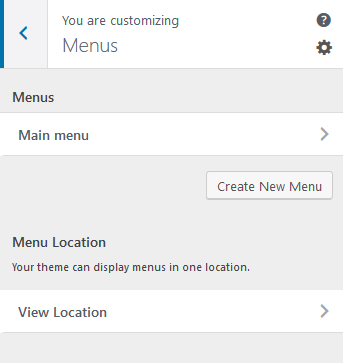
Menus are also available for editing through the "Appearance > Menus" options.
- Main Menu - Displays menu under the logo image.
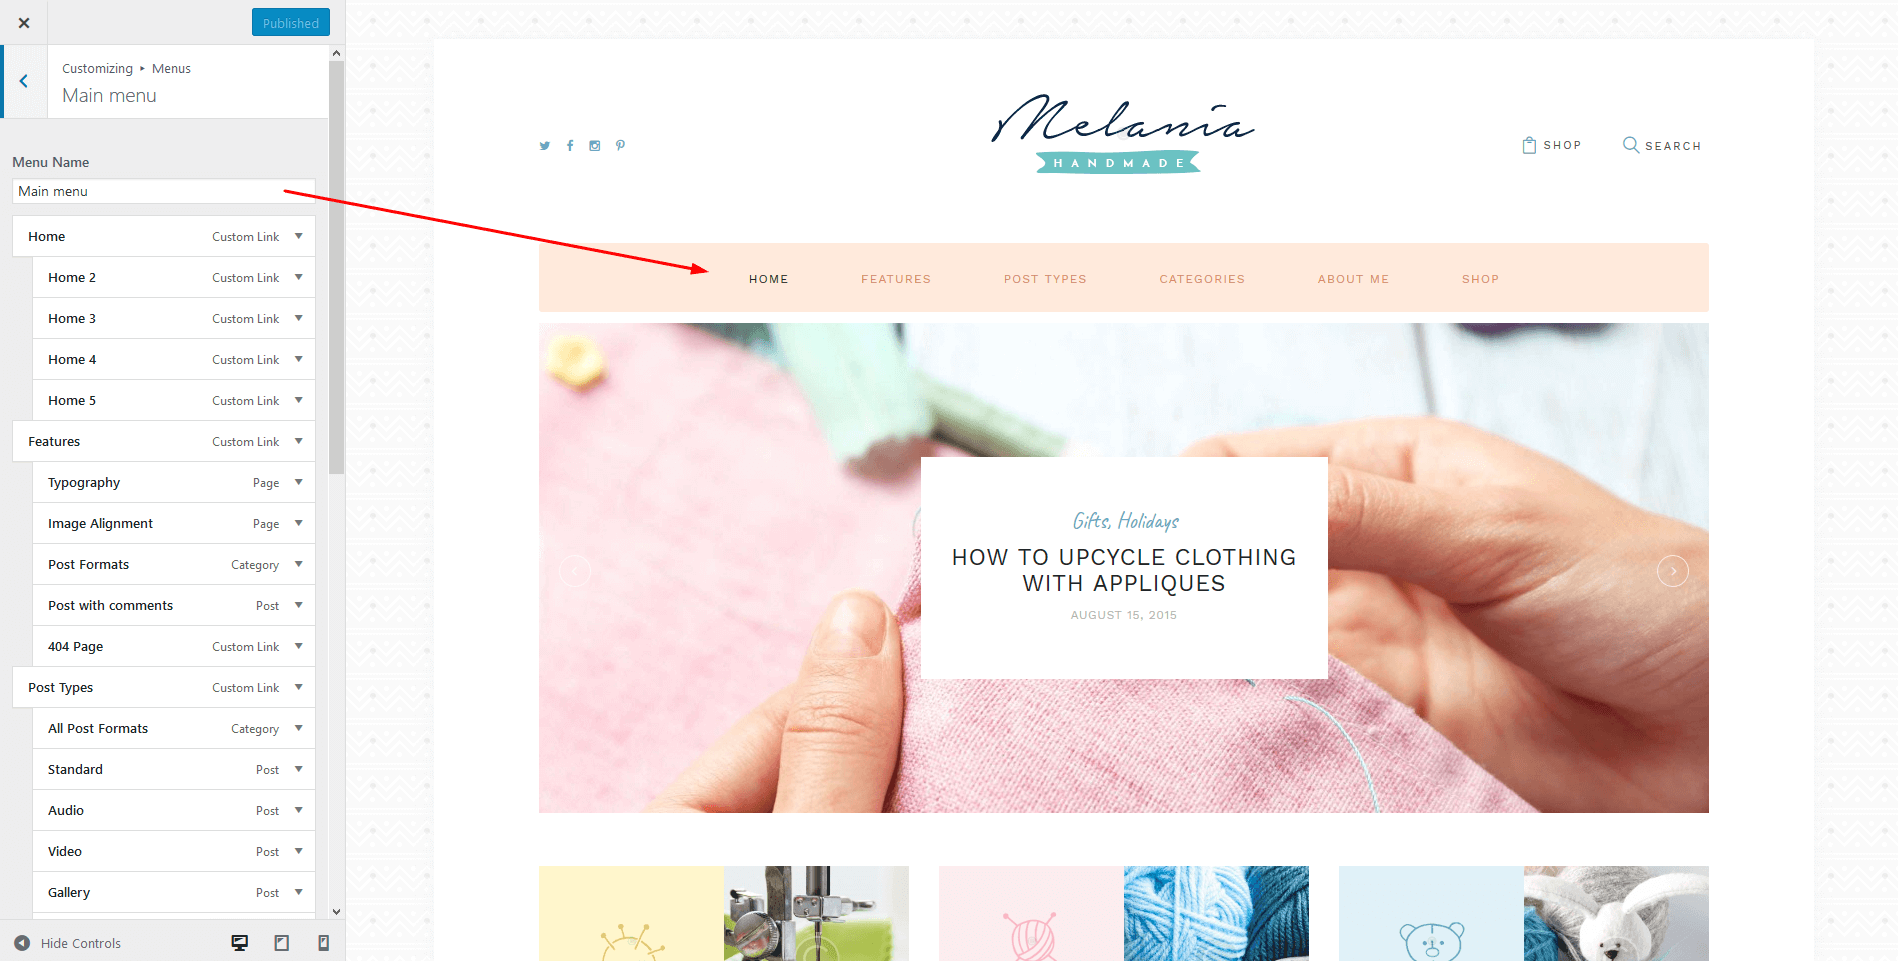
Check the screenshot below for more information.
This is how the menu was built.
Main menu
Widgets
These settings allow you to manage Sidebar and Footer widgets just as you used to do in Appearance > Widgets in WordPress admin panel:
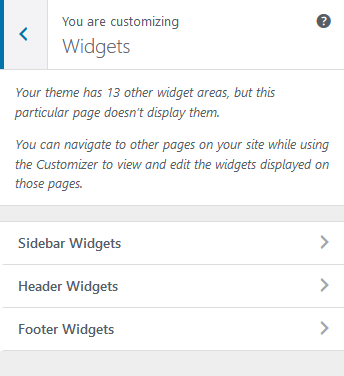
Here you can manage standard sidebars (widget sets) included in the theme:
- Sidebar - By default, it is displayed vertically to the left or right from the main content.
- Footer - By default, it is displayed at the footer of the page.
Attention! Our theme supports both Classic Widgets Editor and New Block Editor (WordPress 5.8+). You can easily switch between the editors using the "Disable new Widgets Block Editor" option in Appearance (WP Dashboard) > Customize > General section.
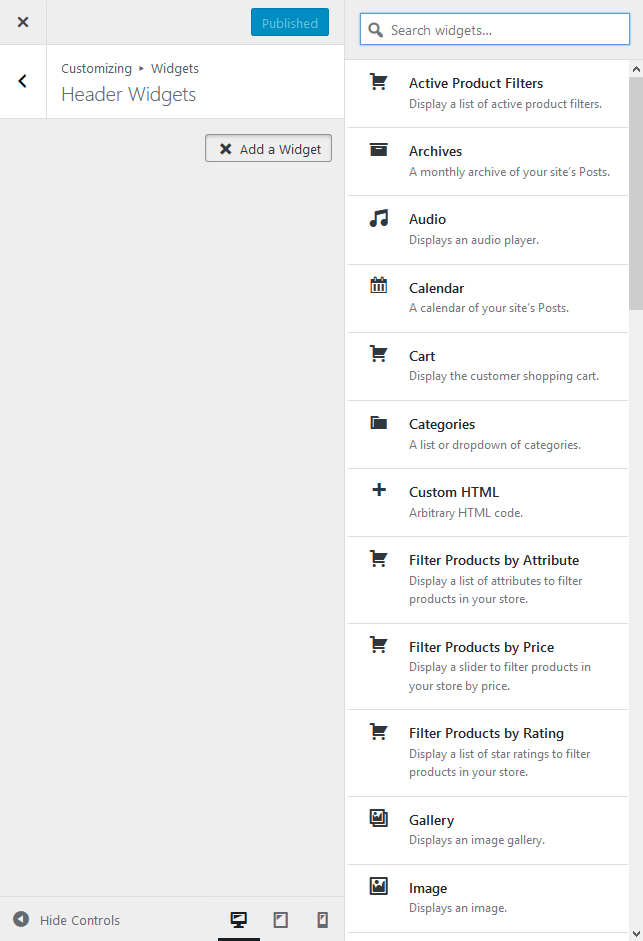
If you expand one of available widget sets, you will be able to:
- Add a Widget (for Classic Widgets Editor) or Add a Block (for New Block Editor): just click on "Add a Widget/Block" button to see the available widgets, then choose the one you want to use:
- Reorder the position of widgets using 3 icons:
- Move - allows you to move the widget to another sidebar.
- Down - the widget will be moved down.
- Up - the widget will be moved upwards.
After you reorder the position of widgets in the sidebar, save your changes.
You will be able to assign any of these widget sets to the sidebar of Homepage, Blog archive pages, Search results pages, Single post pages and Single pages in the corresponding menu items of Appearance > Customize.
Moreover, you get a few Custom Widget sets that can be managed in Appearance > Widgets (for New Block Editor - under "Widgets" group):
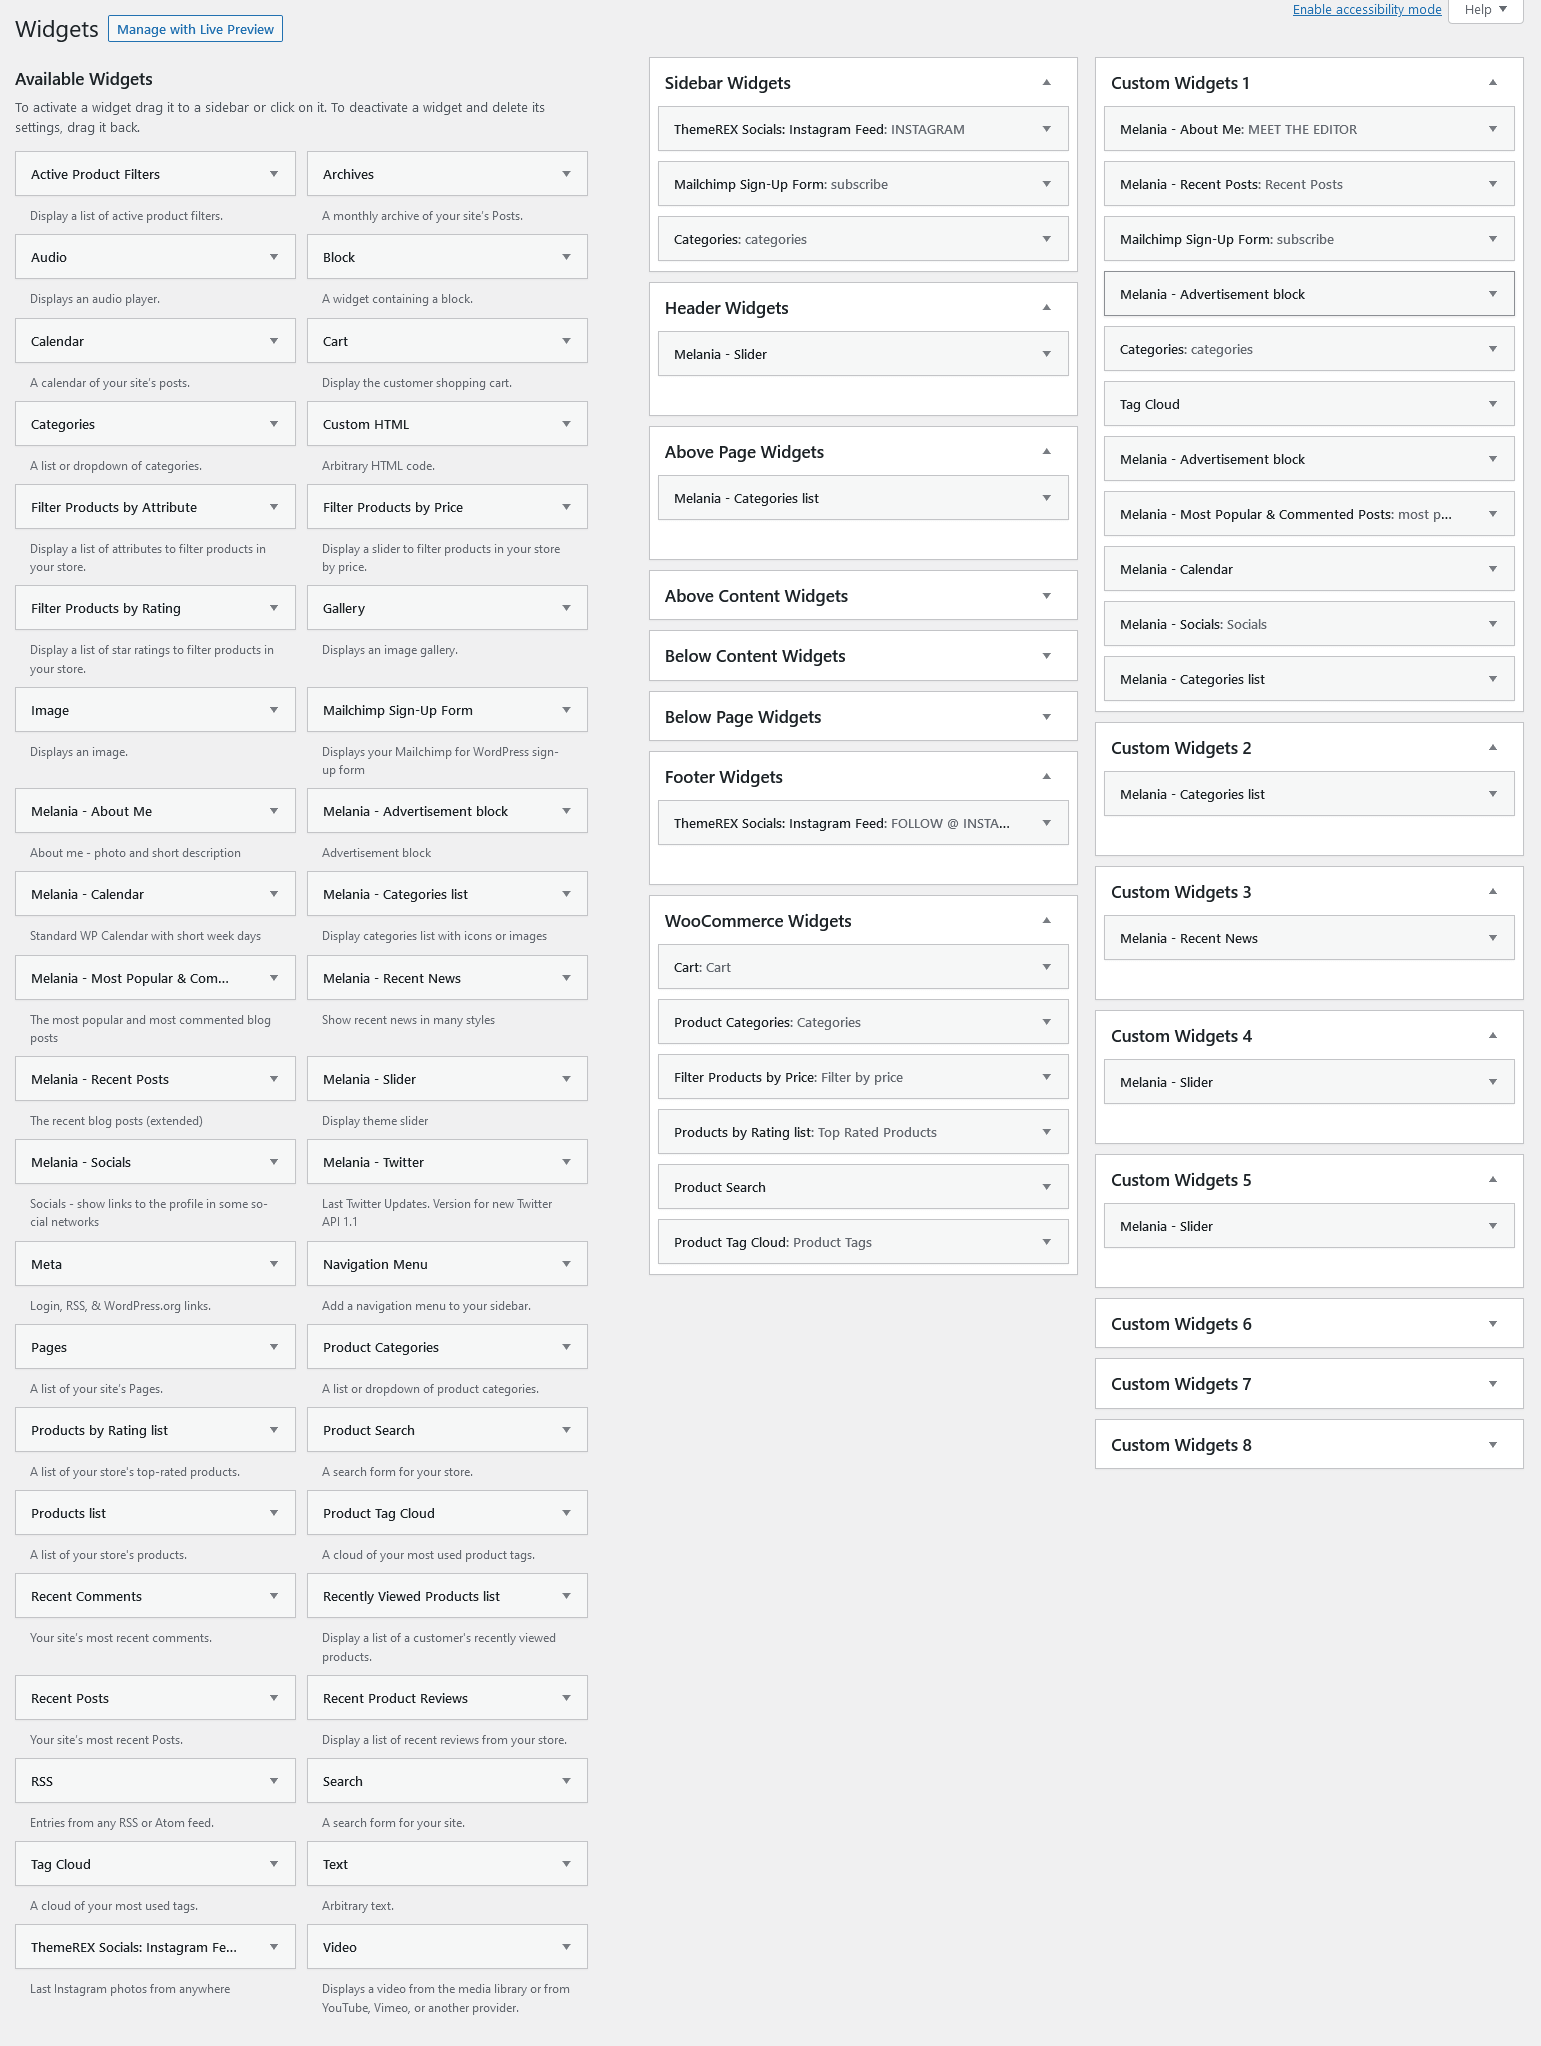
On the same page you will see Available Widgets section which also includes MailChimp SignUp form. In order to add the widget to the Sidebar, just drag and drop it to the needed position, add the content and Save it.
IMPORTANT: In case you want to add an image to the widget area (for widgets with such functionality), we recommend you to refresh the page, navigate to the needed widget, click on "Choose Image" button and select/upload the image.
Custom widgets
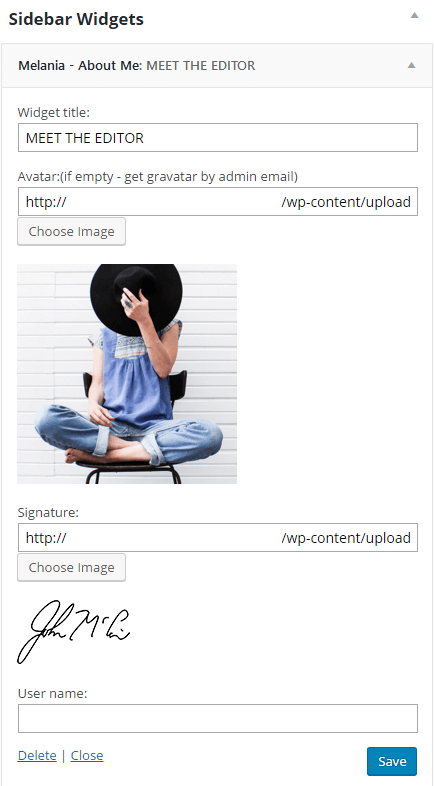
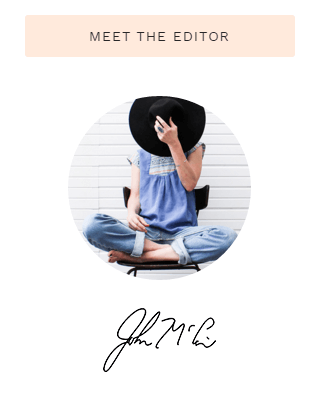
- Melania - About Me: Displays the photo and description of the website admin:
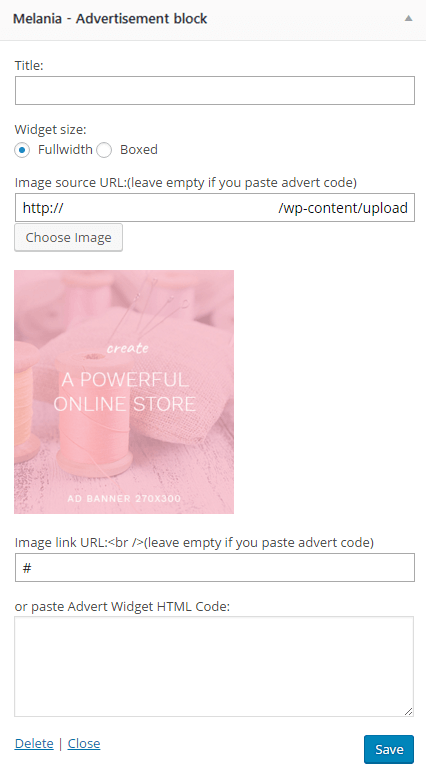
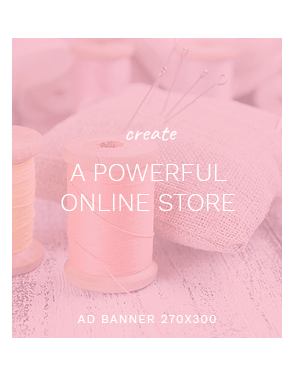
- Melania - Advertisement block: Used to insert advertising banners - images with links or arbitrary HTML-blocks. IMPORTANT: Be careful to use extraneous HTML-code not to disrupt the design of the page.
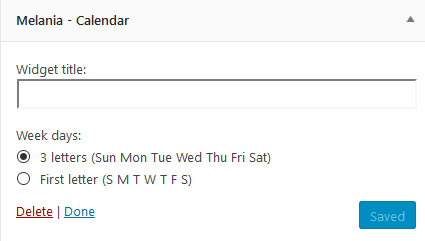
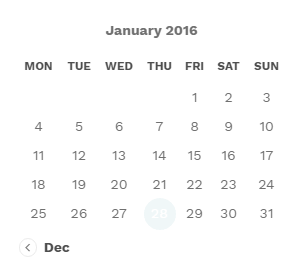
- Melania - Calendar: A standard WP Calendar showing the current date and the days with available daily archives (posts).
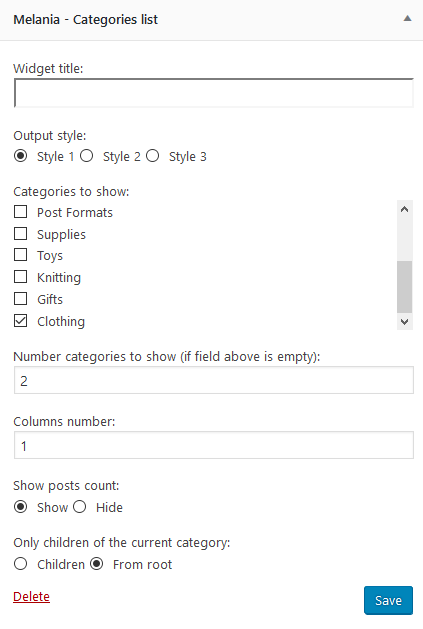
- Melania - Categories list: Displays the list of available categories.
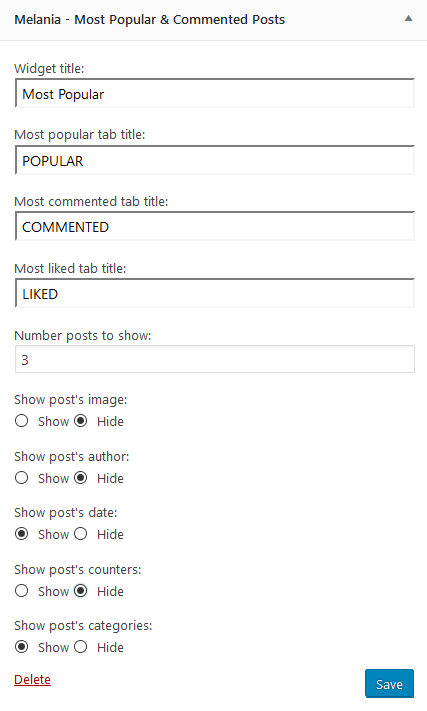
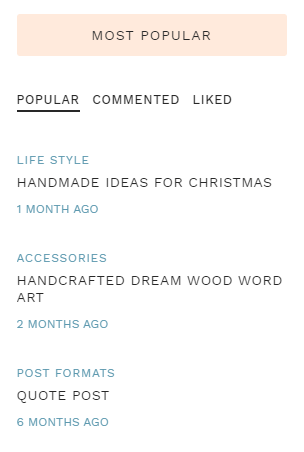
- Melania - Most Popular & Commented Posts: Displays the most visited, most commented and most liked articles.
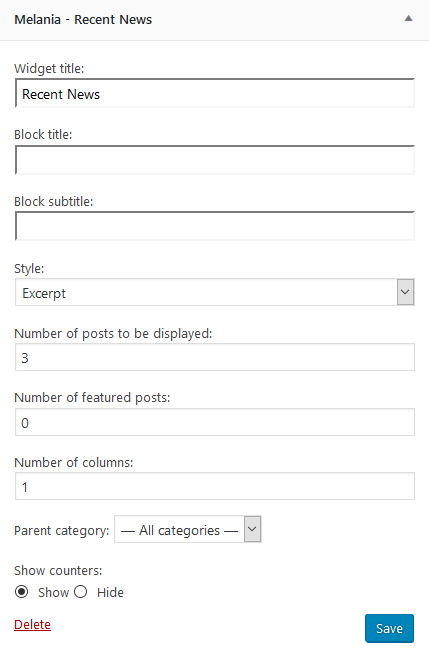
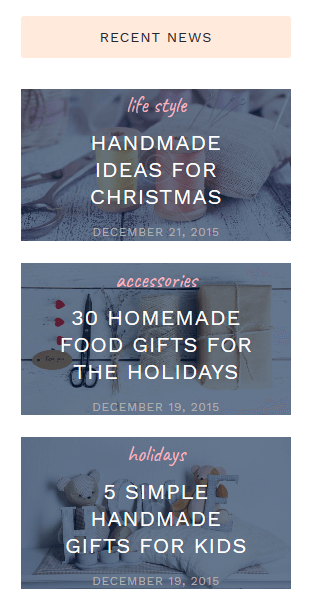
- Melania - Recent News: Displays the most recent news.
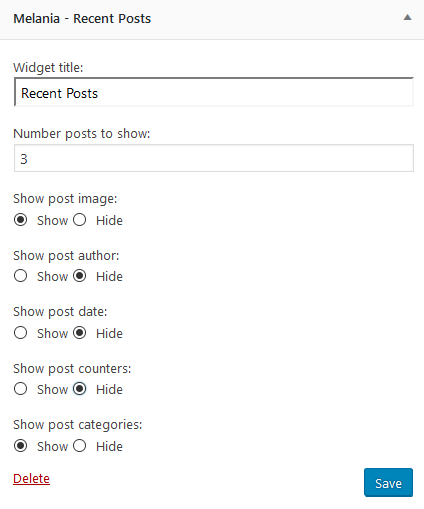
- Melania - Recent Posts: Displays the most recent posts. Unlike the standard widget, it can display a post featured image, author name, comments, post counters and post category if you enable these options.
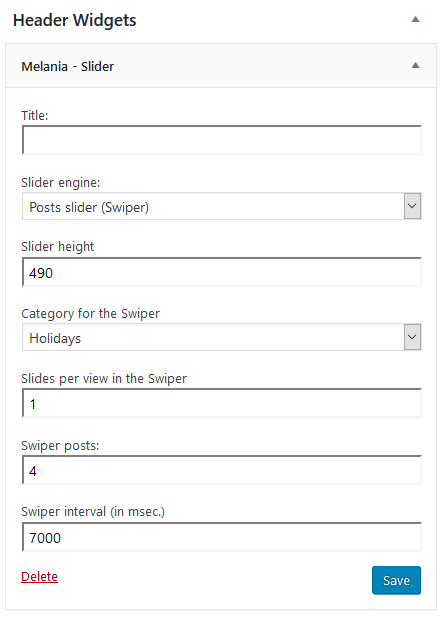
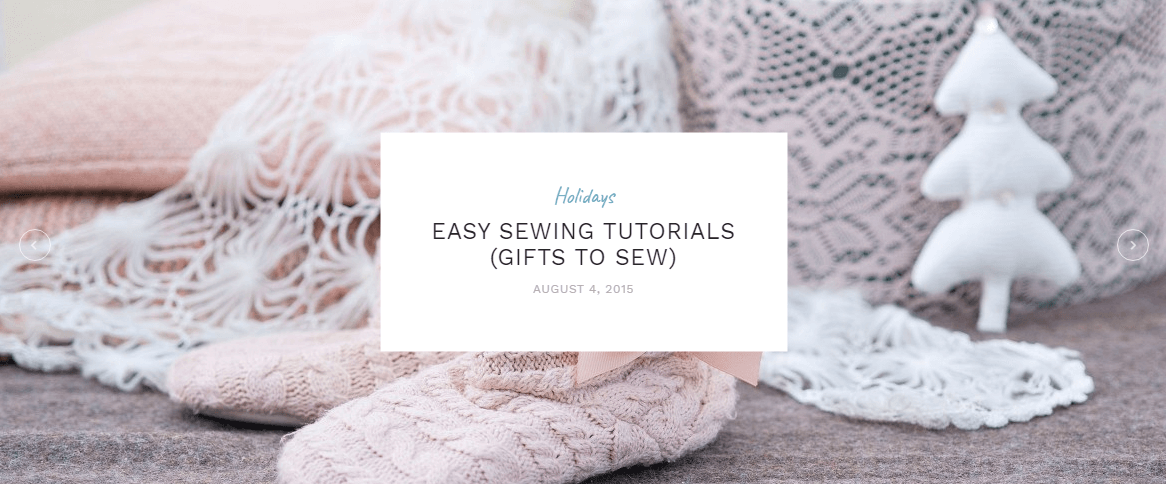
- Melania - Slider: Displays the slides via Swiper Slider.
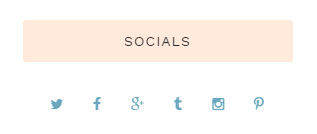
- Melania - Socials: Shows the links to social network profiles. The widgets for social media icons are added in Appearace - Customize - Socials.
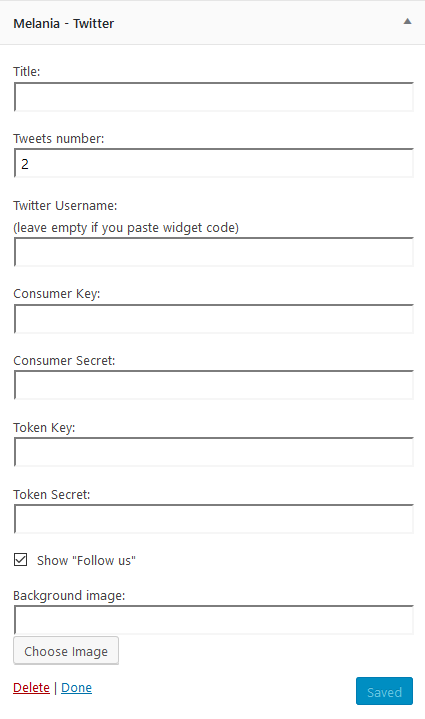
- Melania - Twitter: Shows latest tweets from Twitter account.
- MailChimp SignUp form: Allows you to add subscribers to your MailChimp lists. Mailchimp for WP plugin should be installed to use this widget.
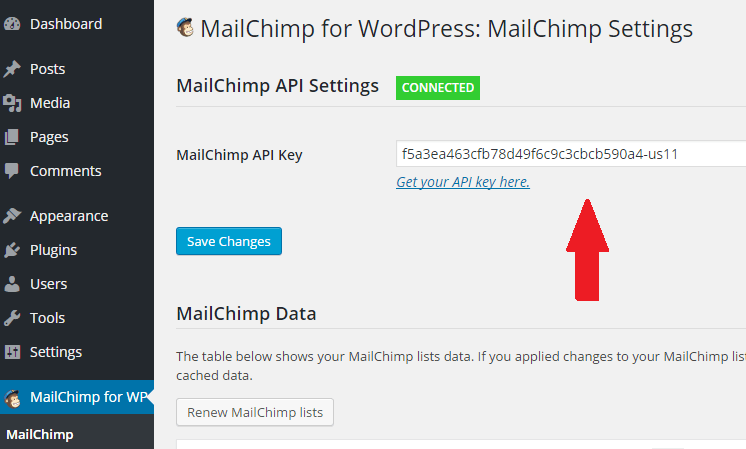
In order to configure your MailChimp widget, please follow these steps:
- Navigate to MailChimp for WP - MailChimp in your WordPress admin and enter your MailChimp API key. To do that you should be registered at Mailchimp website:
- Open MailChimp for WP - Forms and fill in Form mark-up. You can see the code for the demo form on the screenshot below:
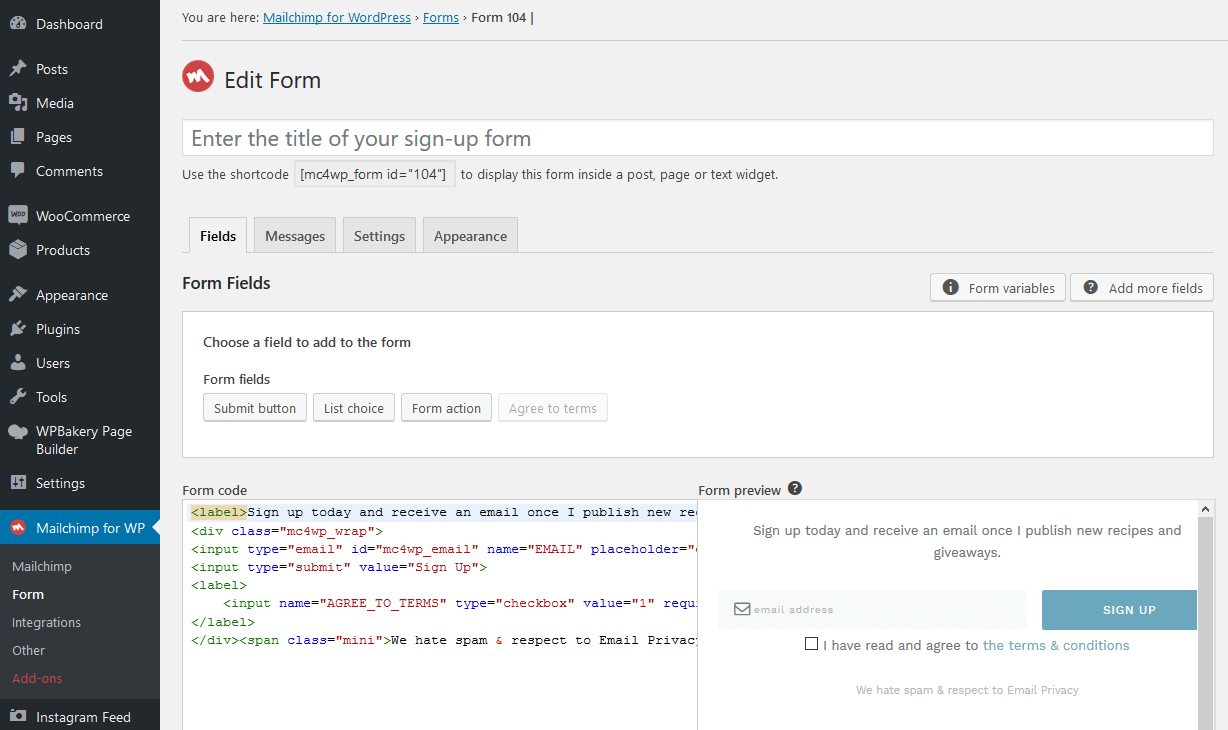
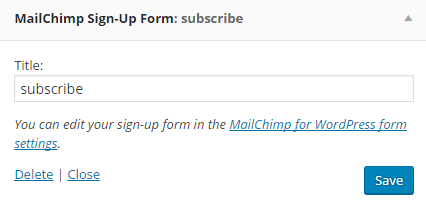
- Widget's backend:
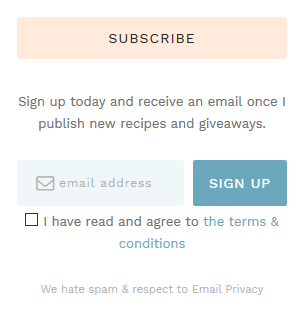
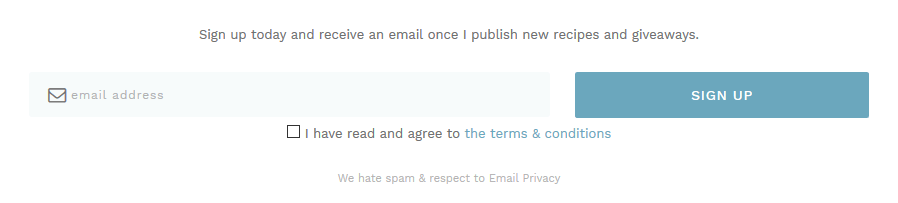
<label>Sign up today and receive an email once I publish new recipes and giveaways.</label> <div class="mc4wp_wrap"> <input type="email" id="mc4wp_email" name="EMAIL" placeholder="email address" required> <input type="submit" value="Sign Up"> <label> <input name="AGREE_TO_TERMS" type="checkbox" value="1" required="">I have read and agree to <a href="/privacy-policy/" target="_blank">the terms & conditions</a> </label> </div><span class="mini">We hate spam & respect to Email Privacy</span>Once all these steps are done, you will get the following block in one of your sidebars, where the users can sign up for a newsletter:
- Navigate to MailChimp for WP - MailChimp in your WordPress admin and enter your MailChimp API key. To do that you should be registered at Mailchimp website:


Logo, Title & Tagline
Settings of this group are responsible for the website logo and title display:
![]()
Site Title
The text entered into this field will be displayed as the logo (if the image logo is not uploaded) and as the website title in your browser tab.
Tagline
The text entered into this field will be displayed as the website slogan under the logo. By default, the tagline is used if no image logo is selected.
Site Icon
You can upload/remove your site icon here (must be 512x512px).
Favicon
You can upload/remove your favicon here.
Background
These settings allow you to add the background image/color behind the content body, when "Boxed" body style is enabled.
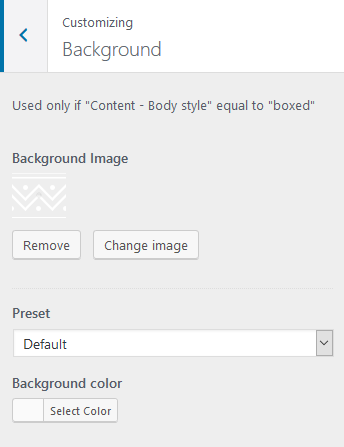
Just click on "Select image" button to upload the image from the Media Library or from your computer. After this step you will see a set of other parameters for background.
Color Scheme
The next section of settings allows you to manage the color scheme of your website. Let's consider these parameters.

Color Settings
Here you can select Simple or Advanced option of your color scheme customization.
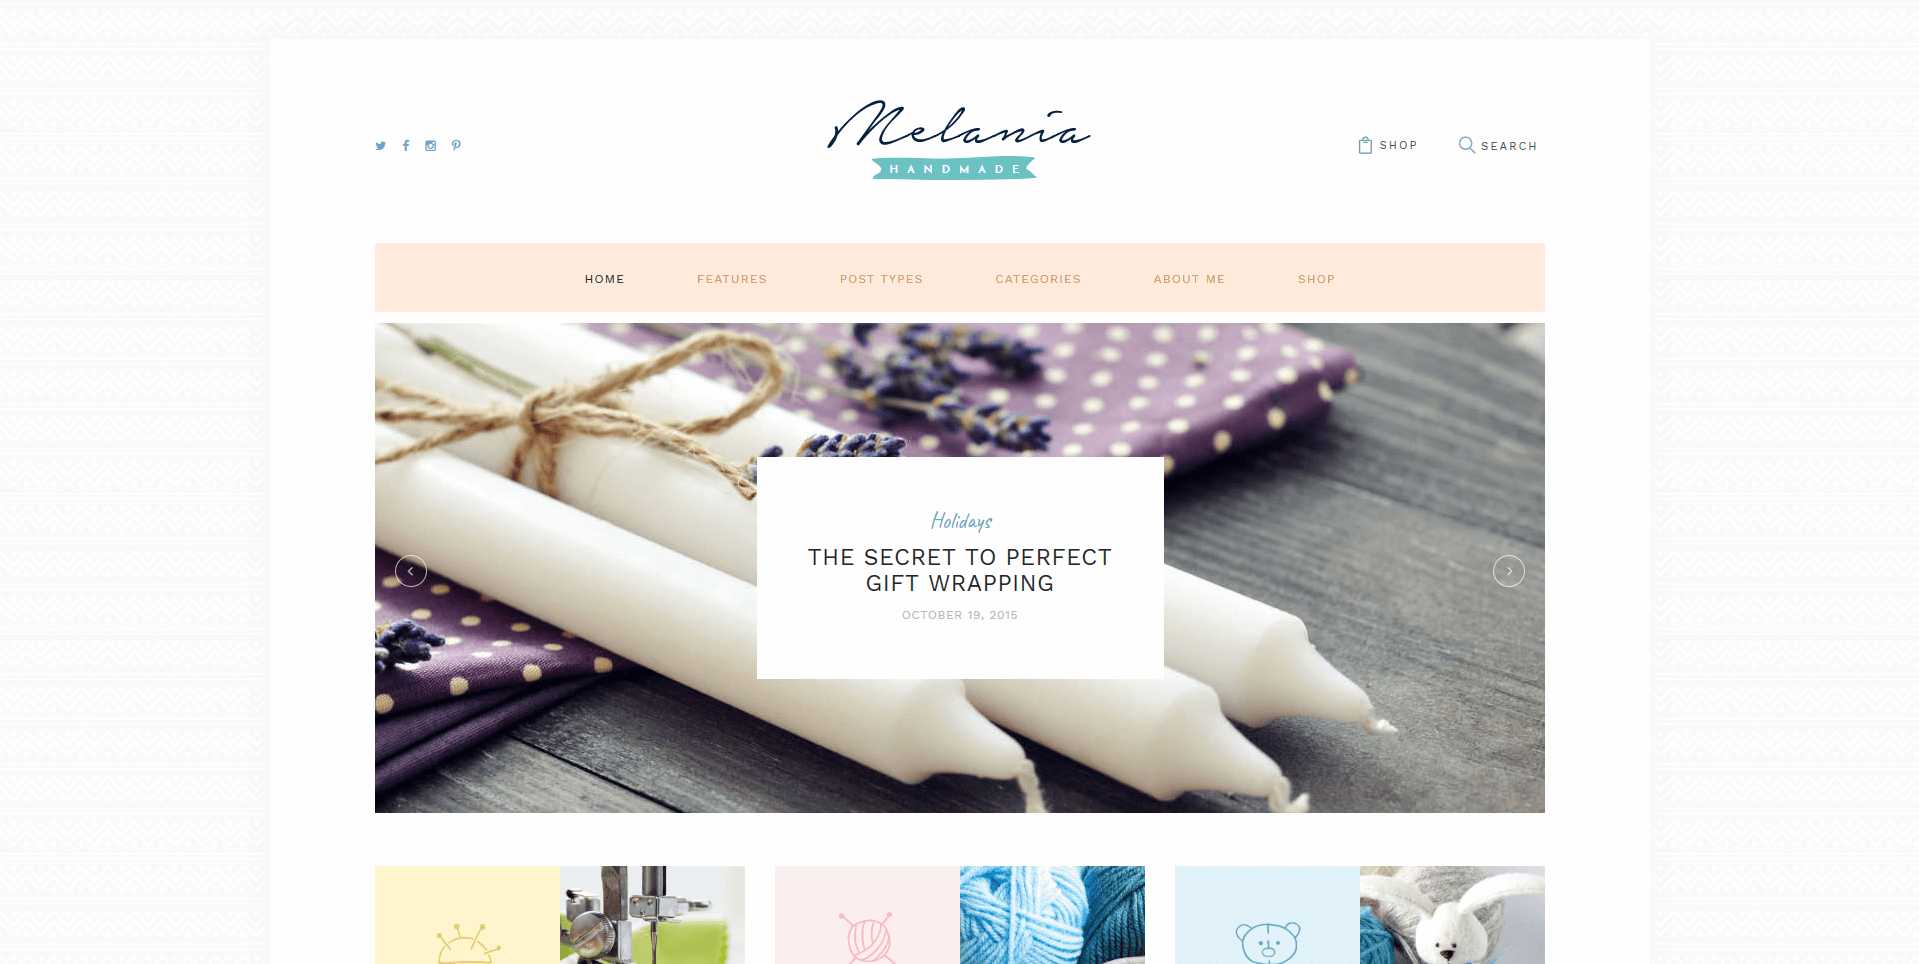
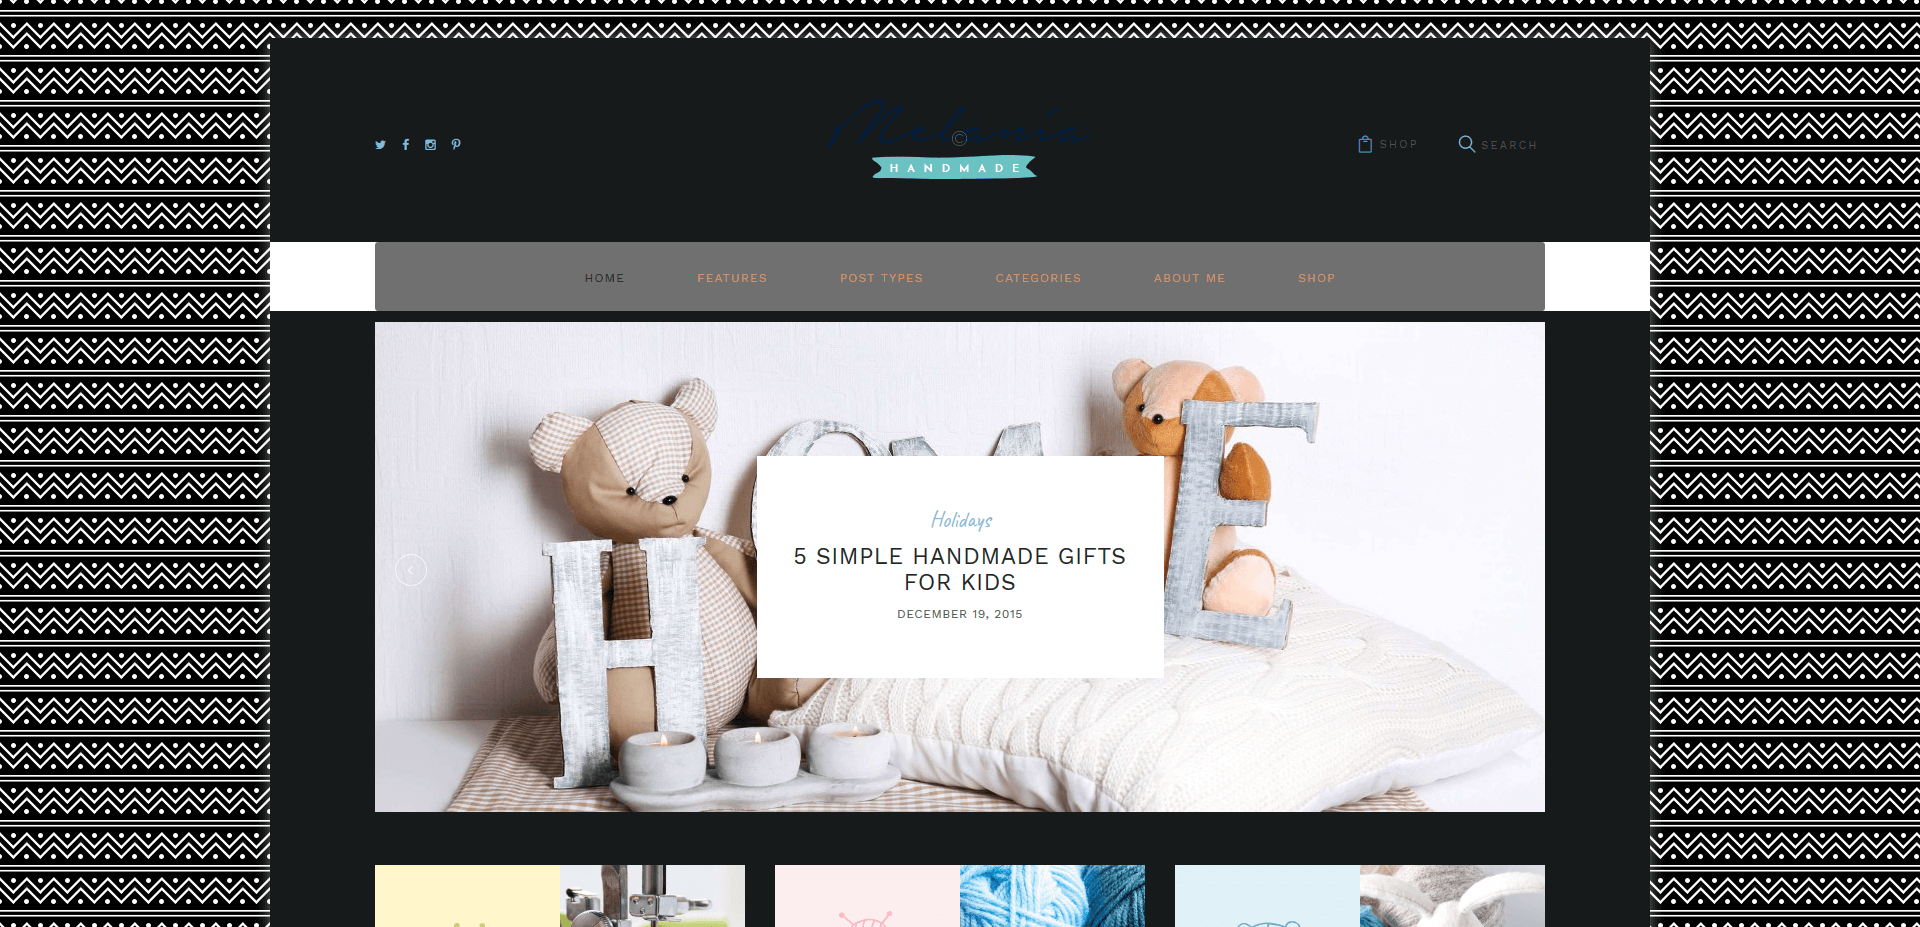
Color Scheme
Select one of two predefined color schemes: Default or Dark. Check the screenshots below.
Links
Set the necessary color for your links and accented areas.
Links Hover
Set the necessary hover color for your links and accented areas.
For Advanced UsersIn case the capabilities of "Simple" color scheme are not enough you can go with the "Advanced" one and completely change your website's look.
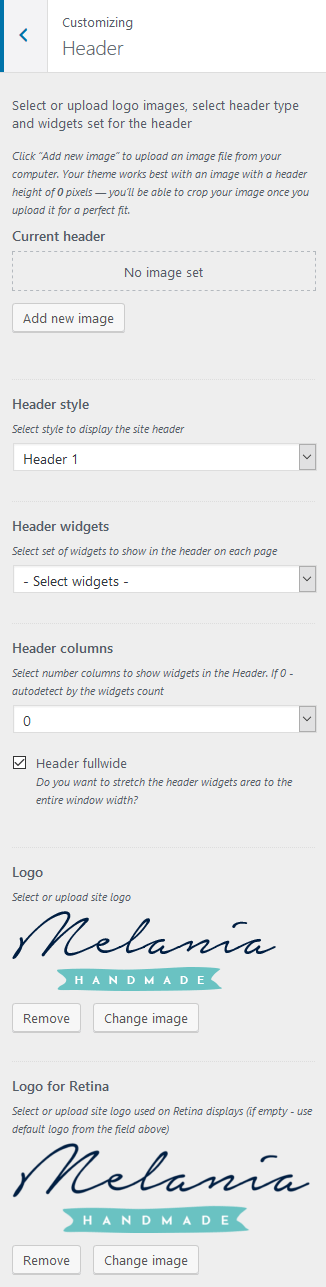
Header
This option allows you to add the header background image to your website top panel.
Current Header/Previously uploaded
Shows current and previous headers.
Header Style
Pick the necessary style.
IMPORTANT: The header area is created via the Global Customize settings (Appearance > Customize). To change the header area in available styles you should navigate to the .../wp-content/themes/melania/templates folder and edit the corresponding template file like header-1.php, header-2.php or header-3.php.
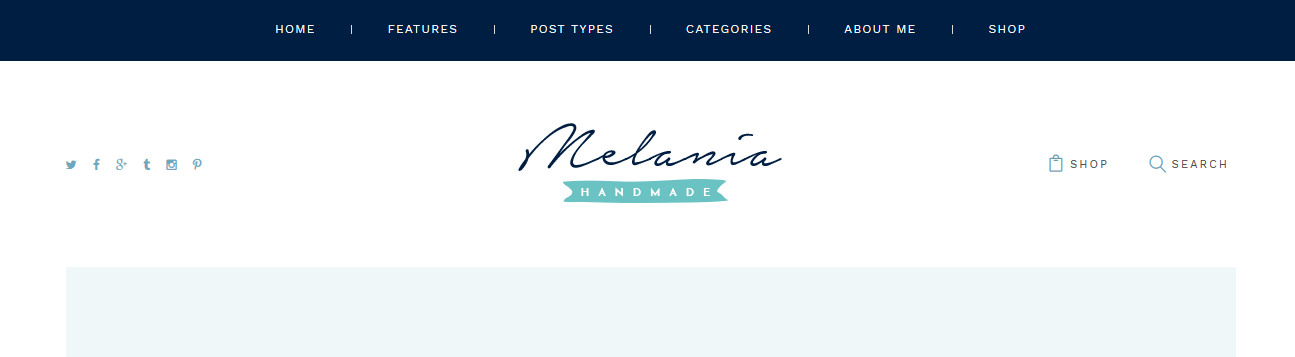
Available header styles:
- "Header 1" style:
- "Header 2" style:
- "Header 3" style:


Header widgets
Add the necessary widgets to the header.
Header columns
Select the necessary quantity of columns to display widgets in the header.
Header fullwide
Header goes stretched.
Logo
Logo image is uploaded or selected from the Media Library.
Logo for Retina
Upload special size logo image to make it look better on the Retina displays.
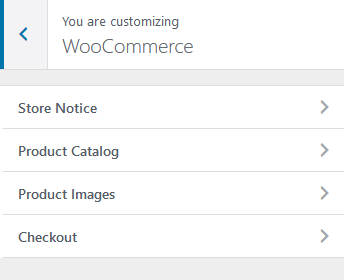
WooCommerce
Settings of this group allow managing the overall look of the WooCommerce elements (works only if the WooCommerce plugin is installed).
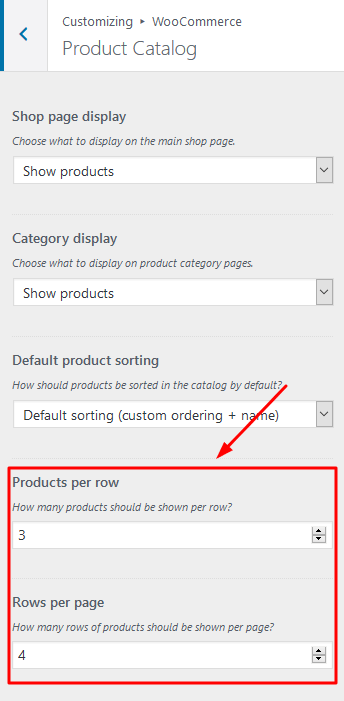
The quantity of products displayed on shop page is inherited from the Appearance > Customize > WooCommerce > Product Catalog section.
Additional CSS
This setting allows you to embed custom styles to anywhere on the page.
Content
You can customize behavior of the content area in this section.
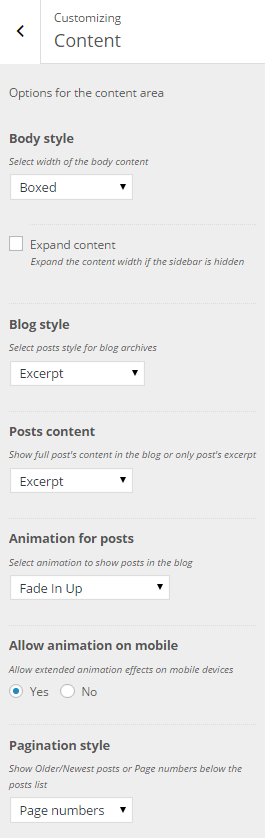
Body Style
Body Style options allow you to choose the way the page is displayed selecting the width for the website body content:
- Boxed - page body is located in the zone of limited screen width, and you can see the background image behind it.
- Wide - page body occupies the entire screen width (background image is not seen behind it), and the content is placed in the area of limited width, in the center of the screen.
Blog style
Choose the necessary style for blog archives.
Posts content
This setting is responsible for posts' content overall look.
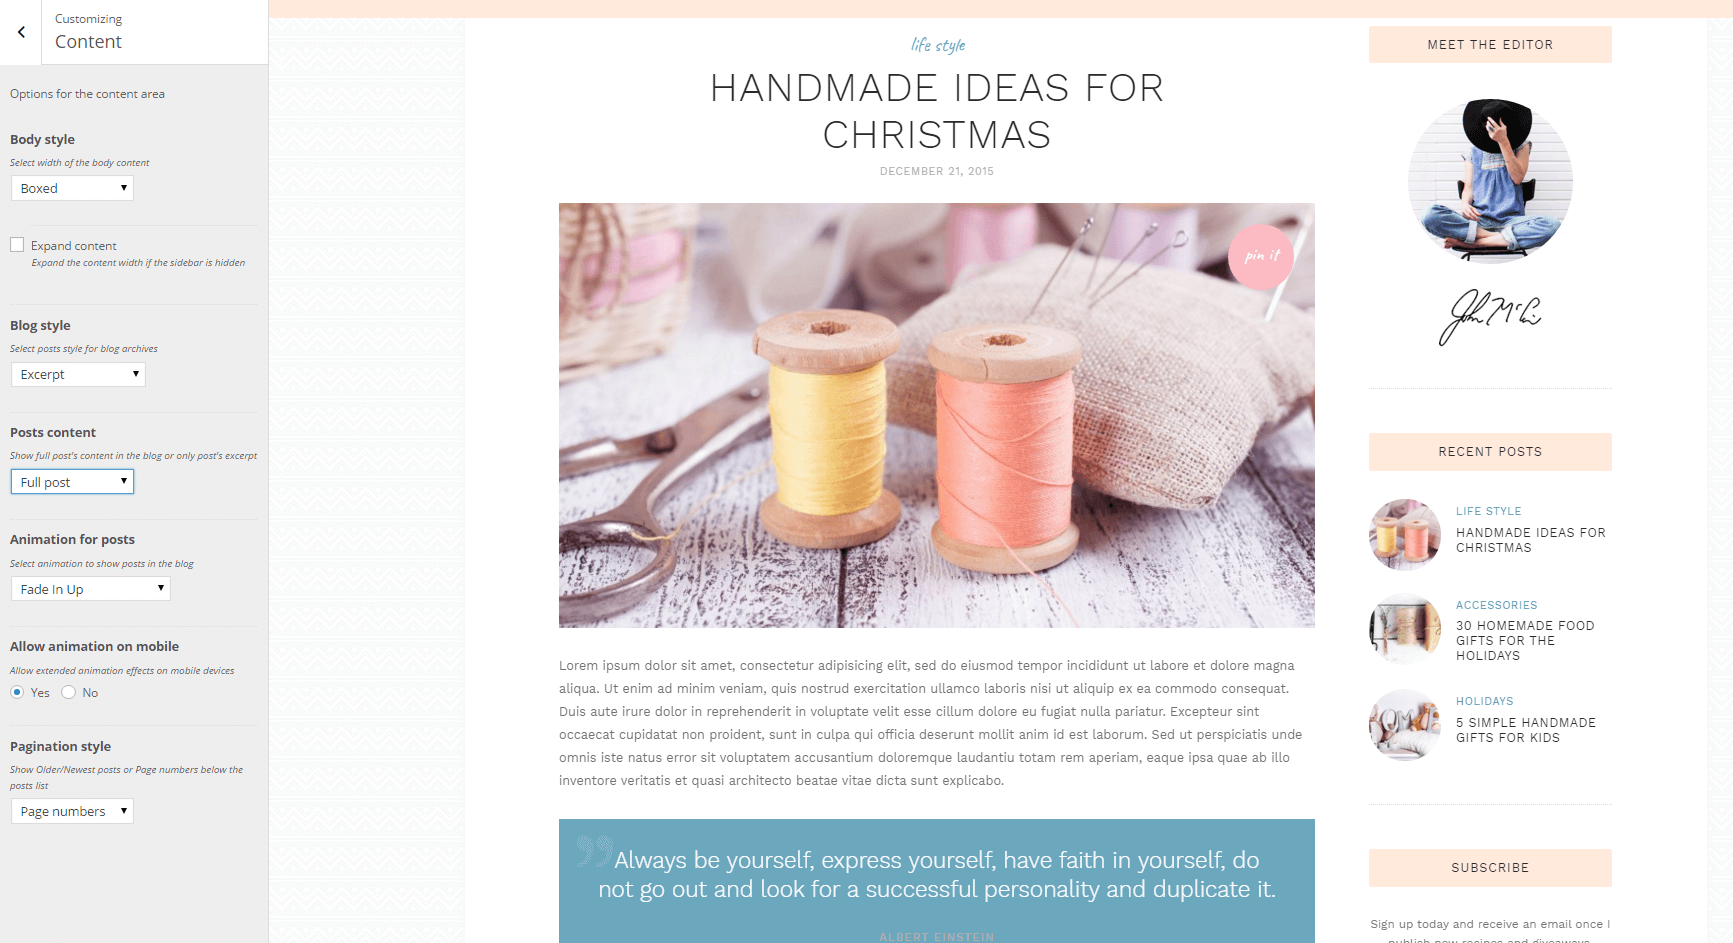
Animation for posts
Here you can choose the necessary animation type for posts to be displayed.
Allow animation on mobile
Whether to apply an extra animation effects on mobile devices.
Pagination style
Displays different pagination styles.
Sidebar
This option allows you to customize sidebars behavior.
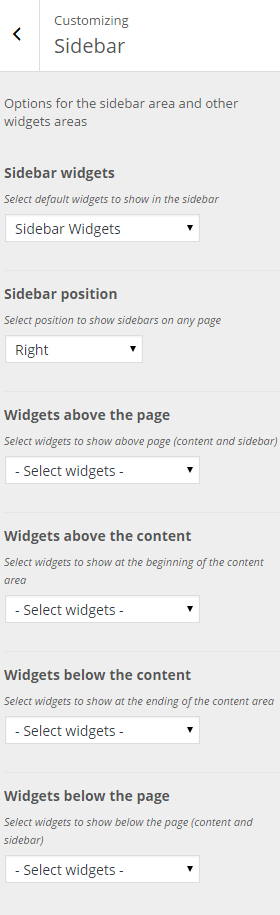
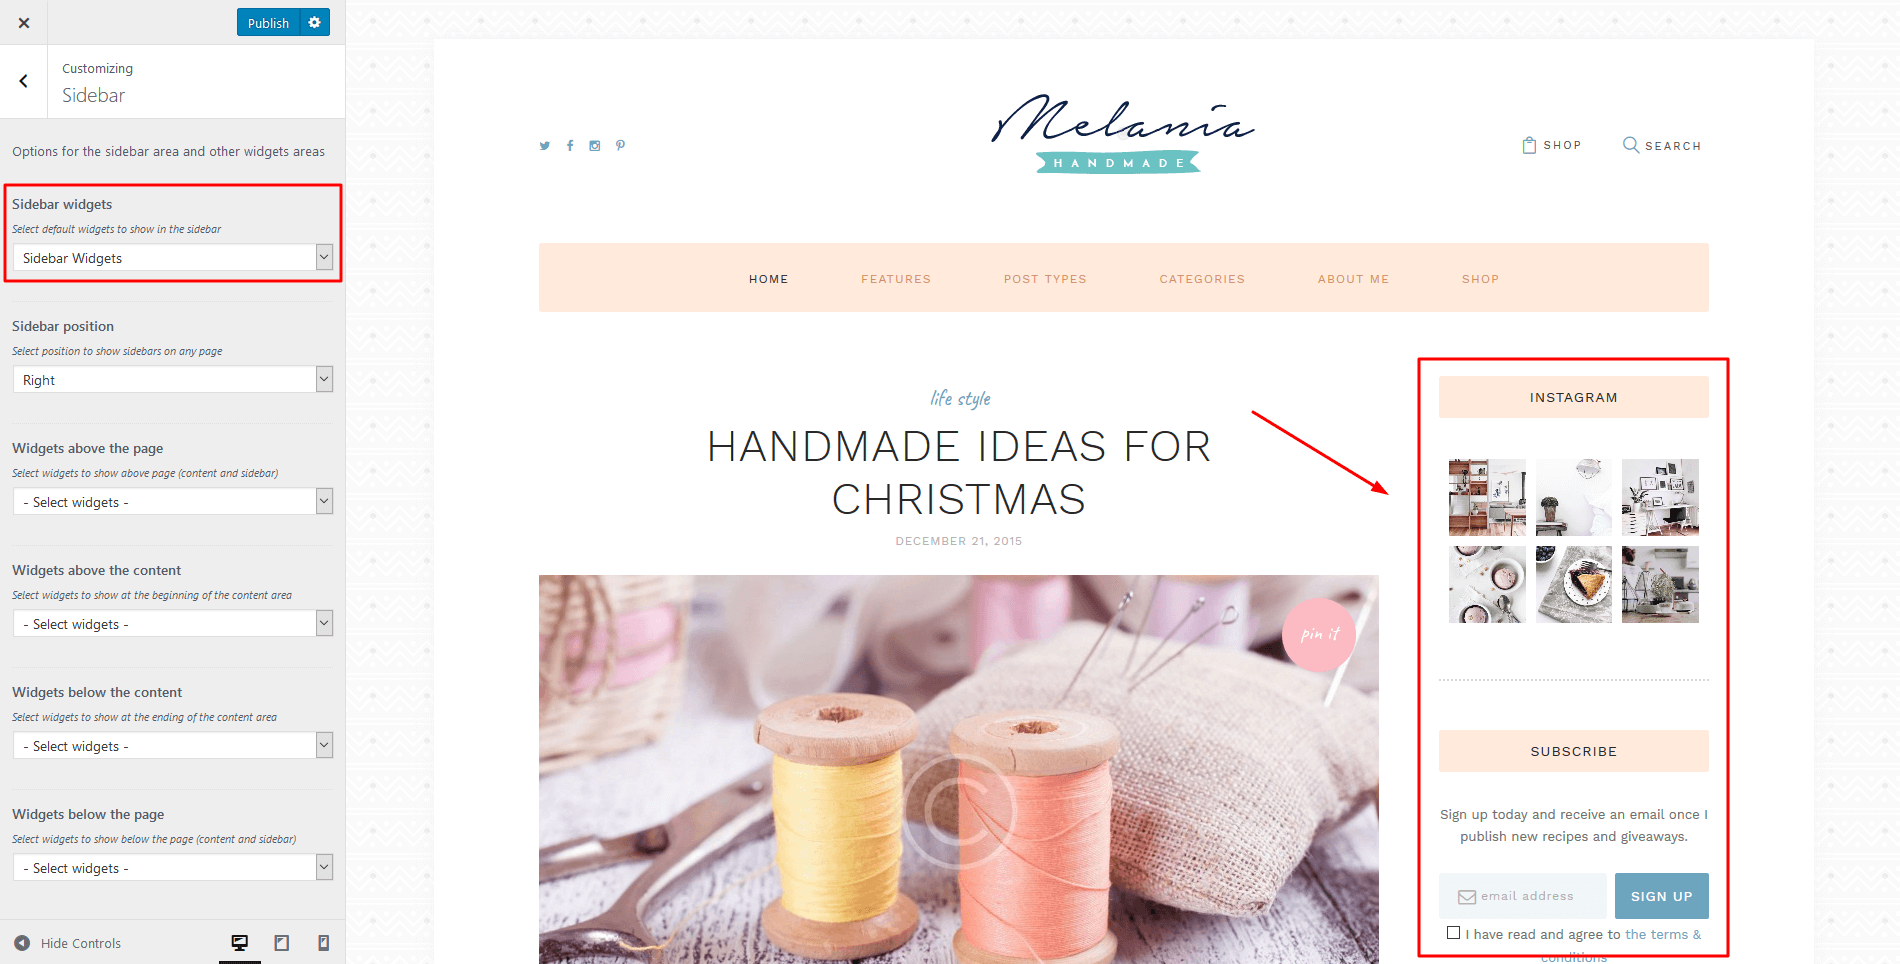
Sidebar widgets
This setting allows you to select default widgets that will be displayed in the sidebar.
Sidebar position
Set the needed position.
Widgets above the page
This setting will let you to display widgets above the page.
Widgets above the content
This setting will let you to display widgets above the main content area.
Widgets below the content
This setting will let you to display widgets below the main content area.
Widgets below the page
This setting will let you to display widgets below the page.
Footer
This option allows you to customize footer widgets.
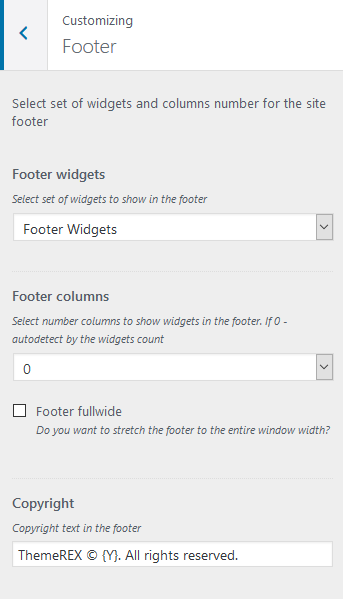
Footer widgets
Select the necessary widgets that will be displayed in the footer.
Footer columns
Set the necessary columns quantity to display the widgets in.
Footer fullwide
It this setting is enabled footer will occupy an entire window width.
Copyright
Type your copyright text here. In order to make the current year change automatically, just paste {Y} instead of the year.
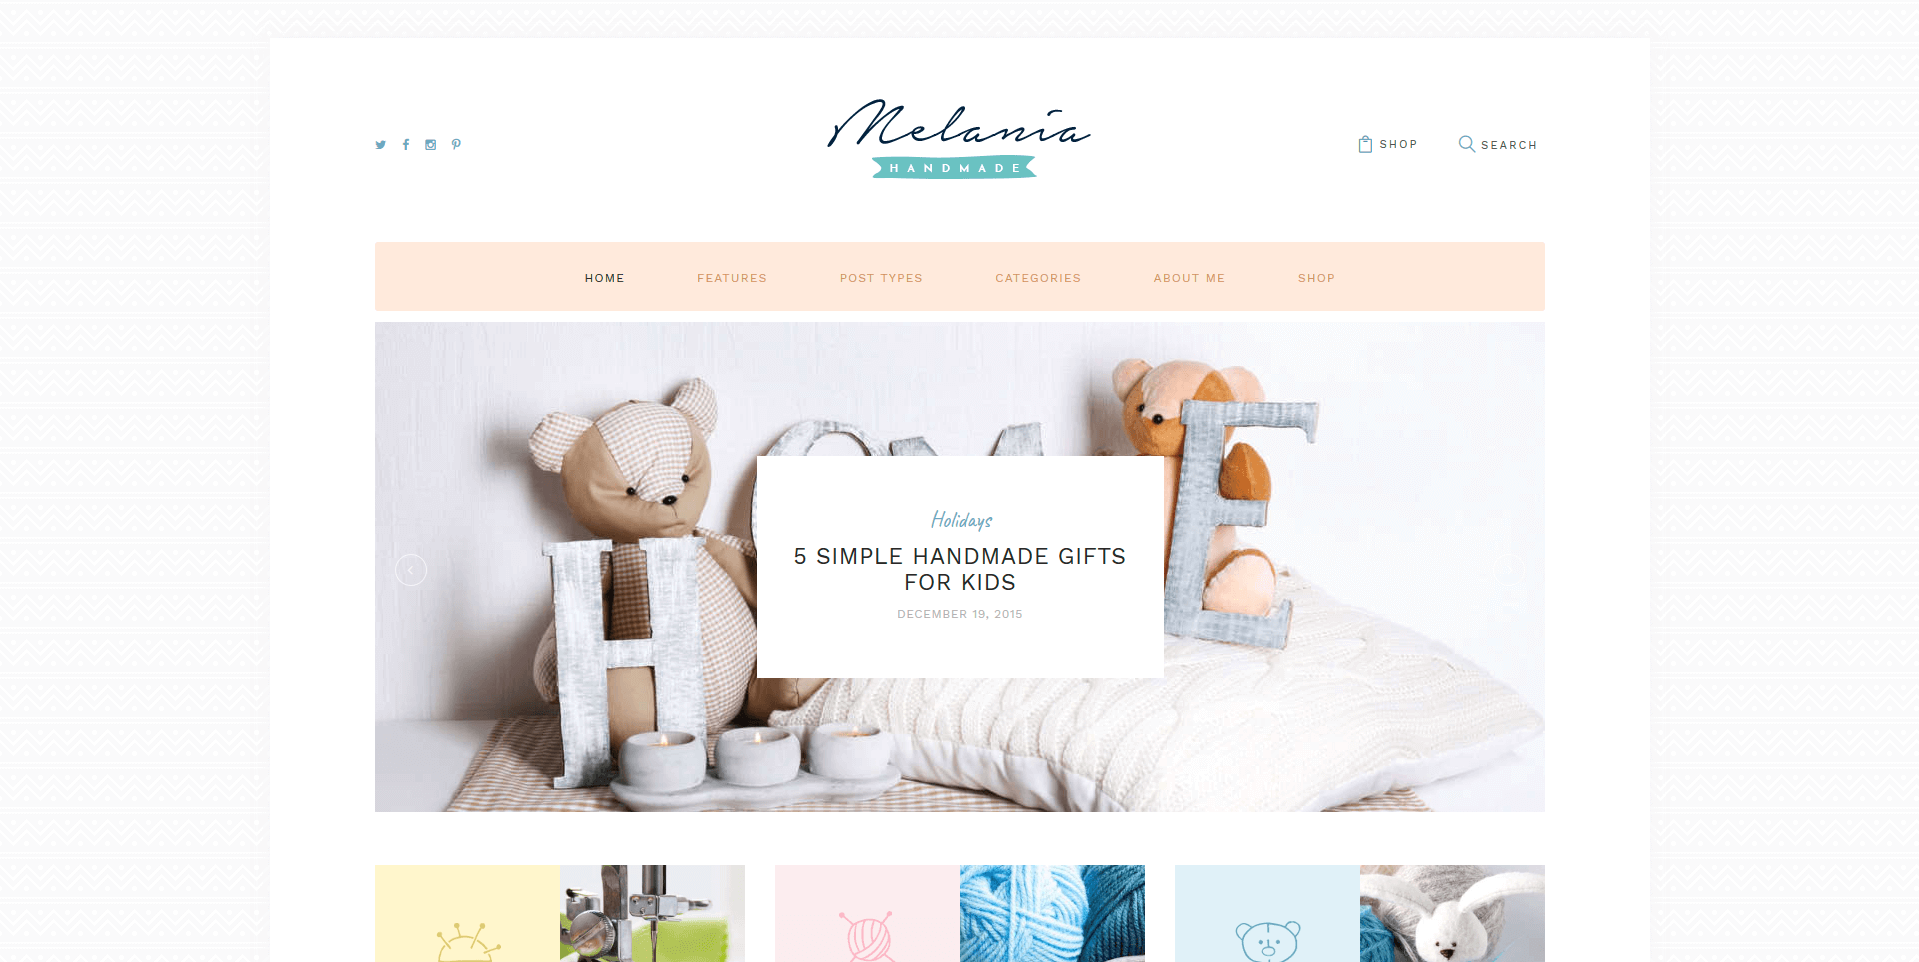
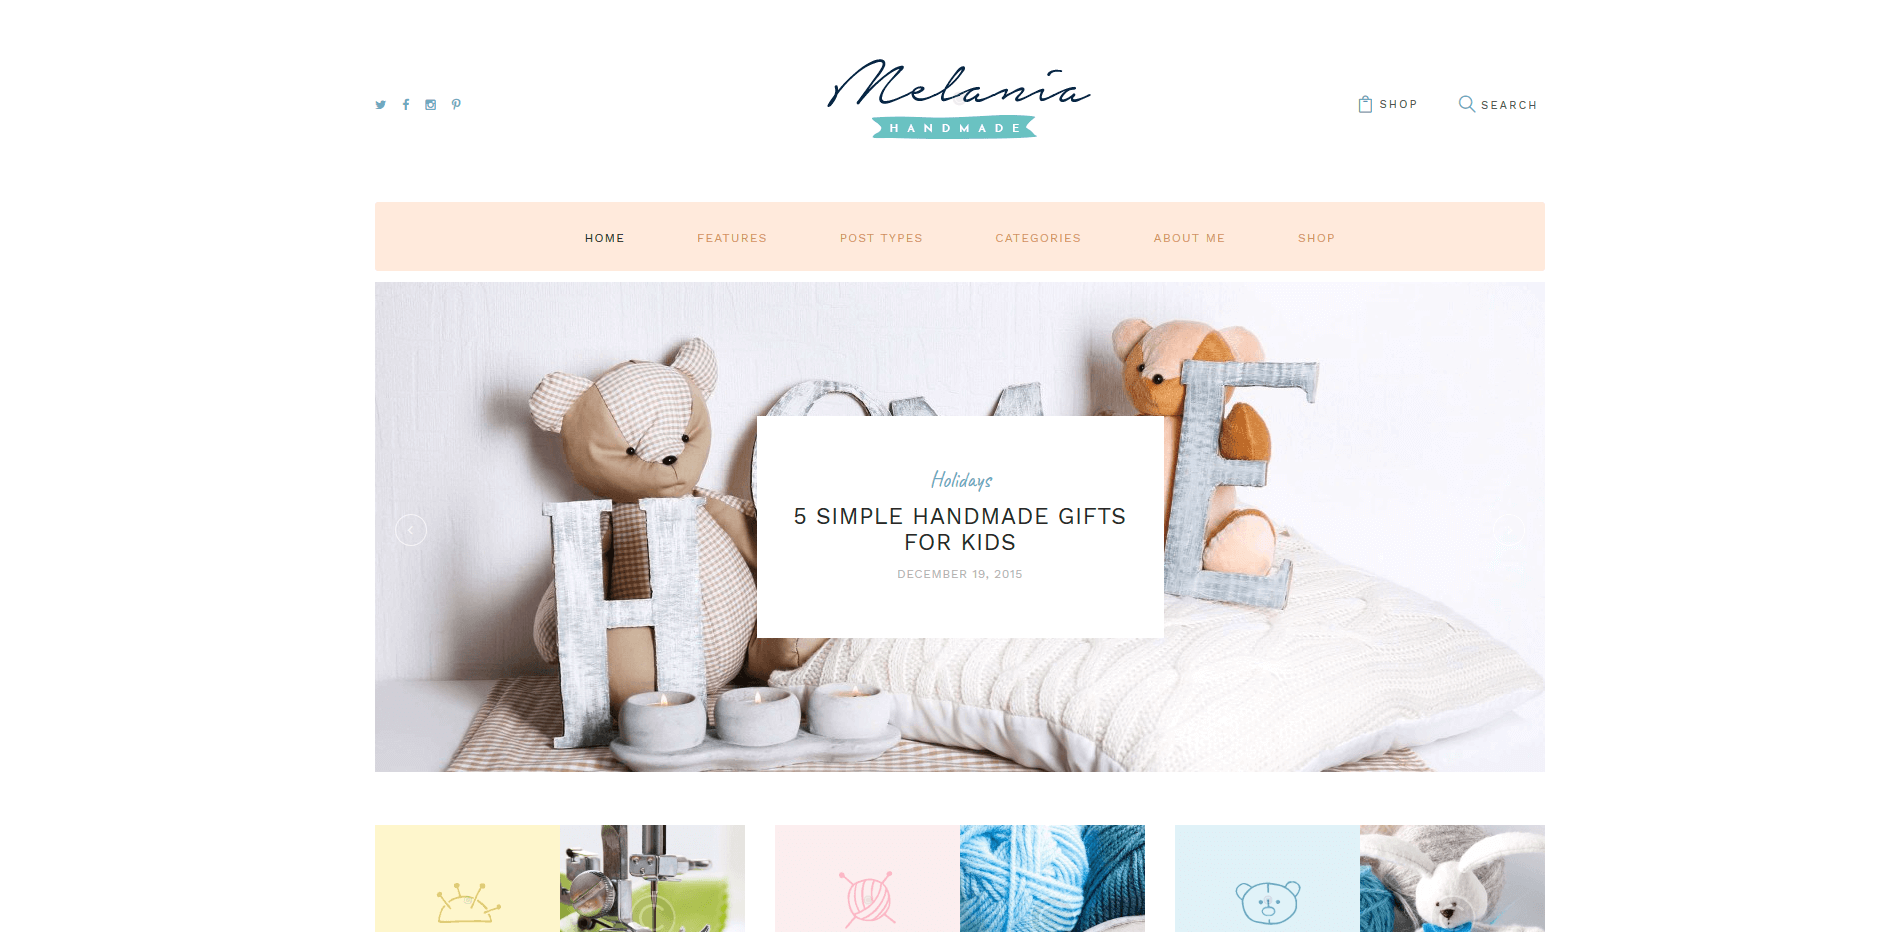
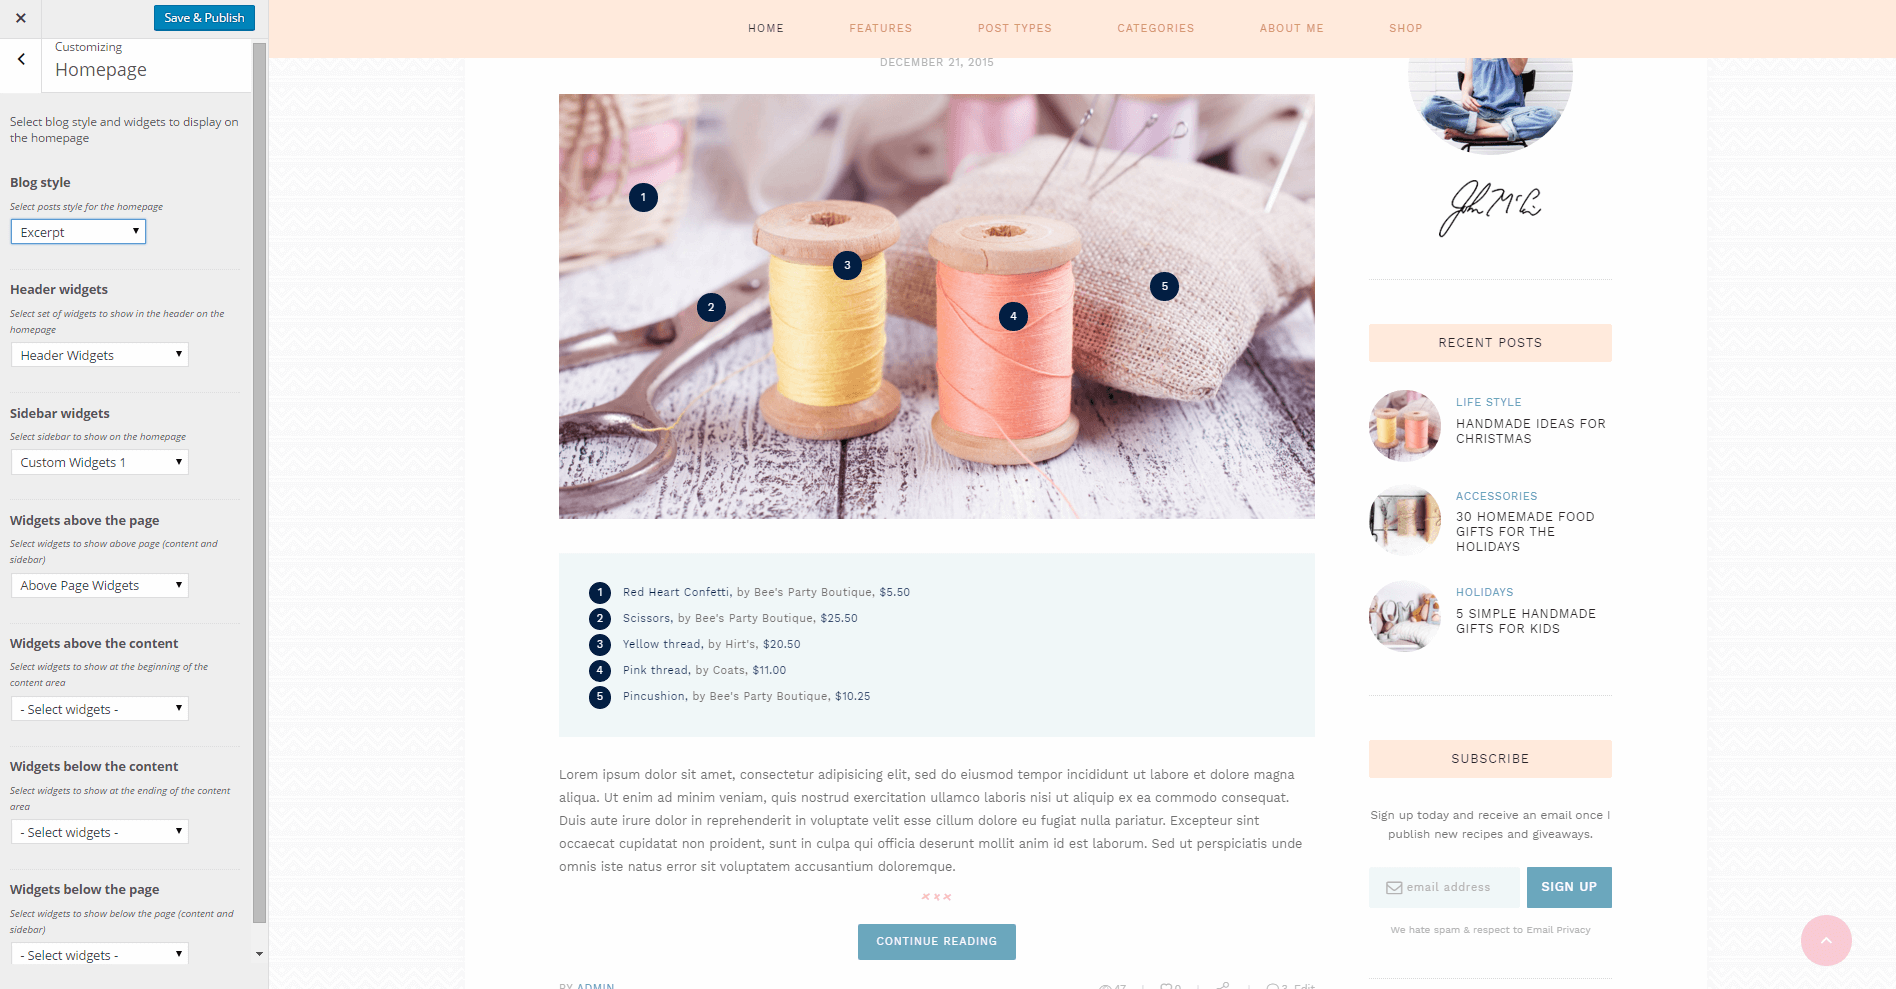
Homepage
Settings of this section allow you to manage homepage style and its widgets:
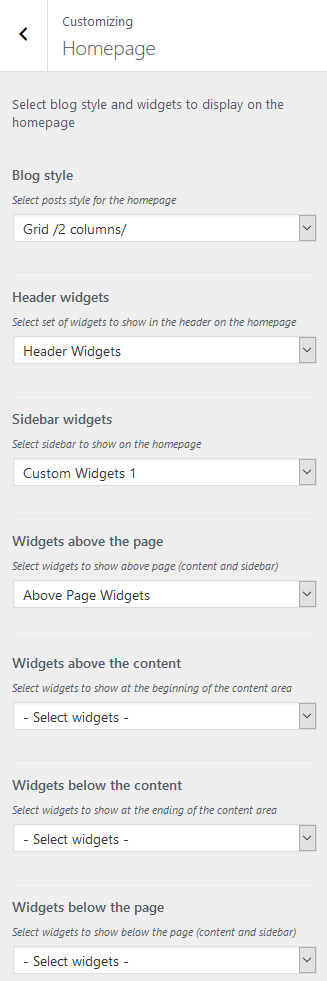
Blog style:
- Excerpt - Posts will contain the featured image, a small excerpt from the post content and "Continue Reading" button.
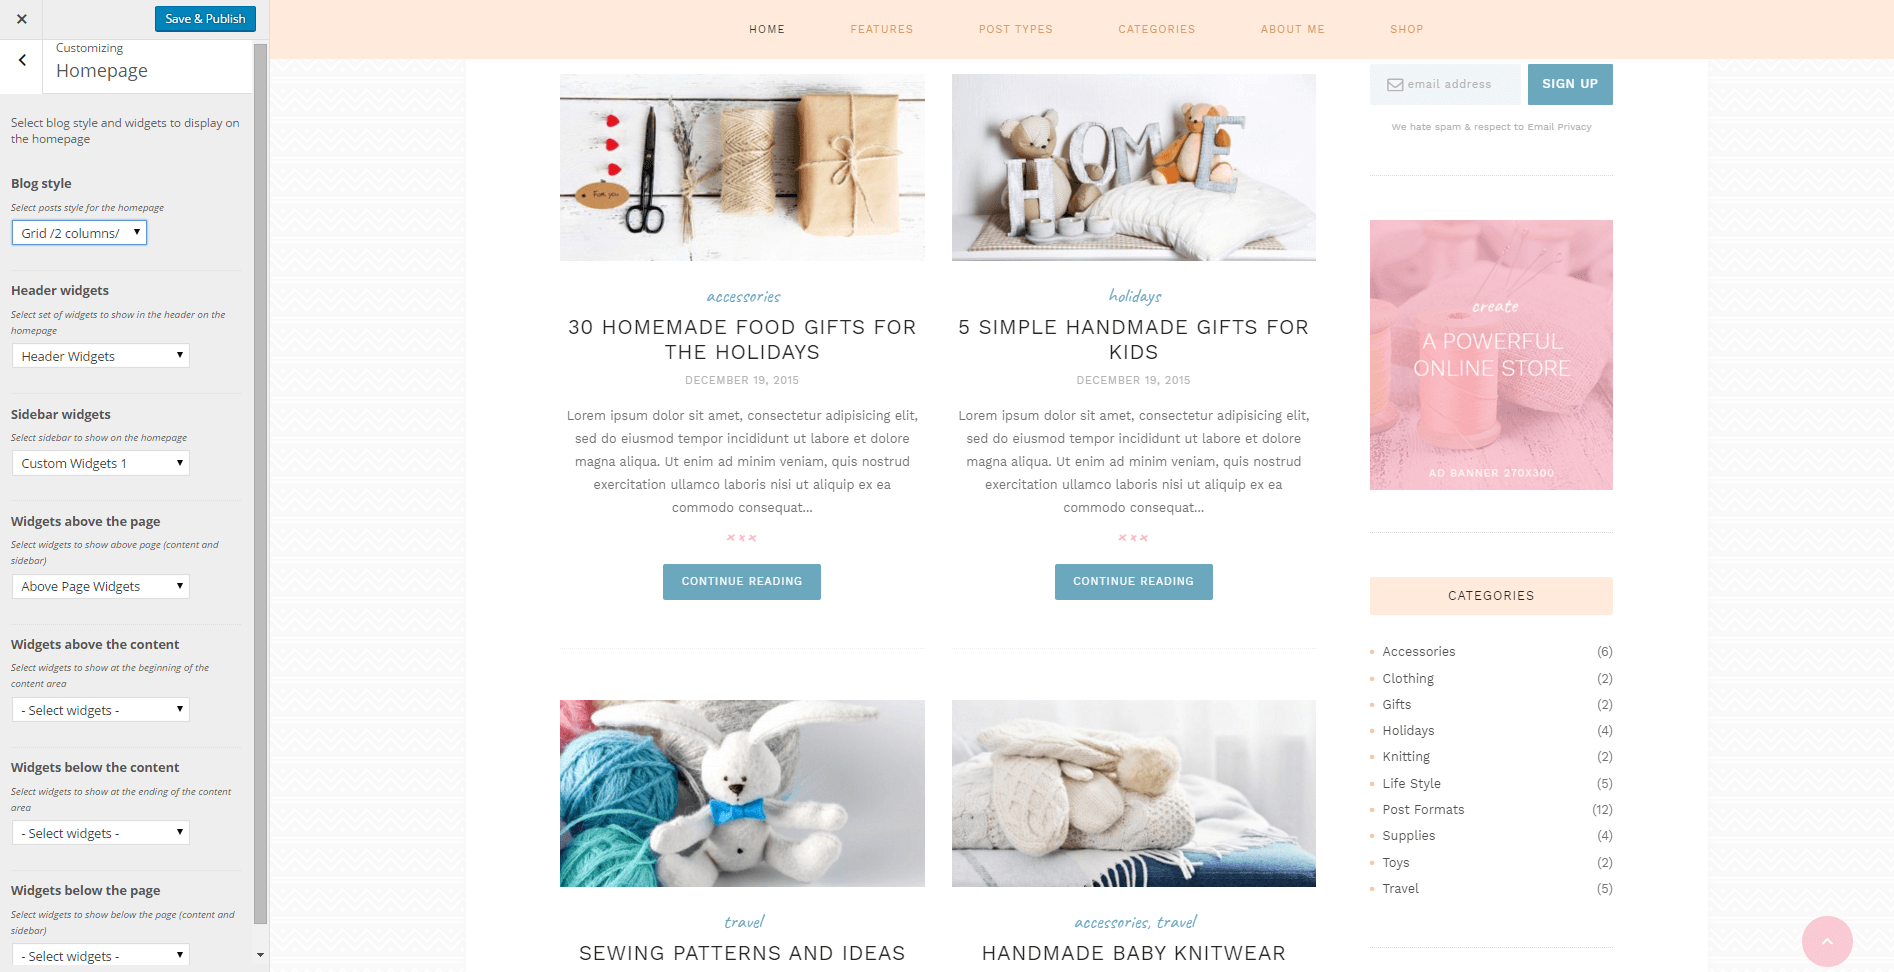
- Grid /2 columns/ - The first post will look the same as in the "Excerpt" style, the rest posts will be displayed in 2 columns.
- Excerpt Extra - Posts will be displayed as a list with an image and a little description to the right.
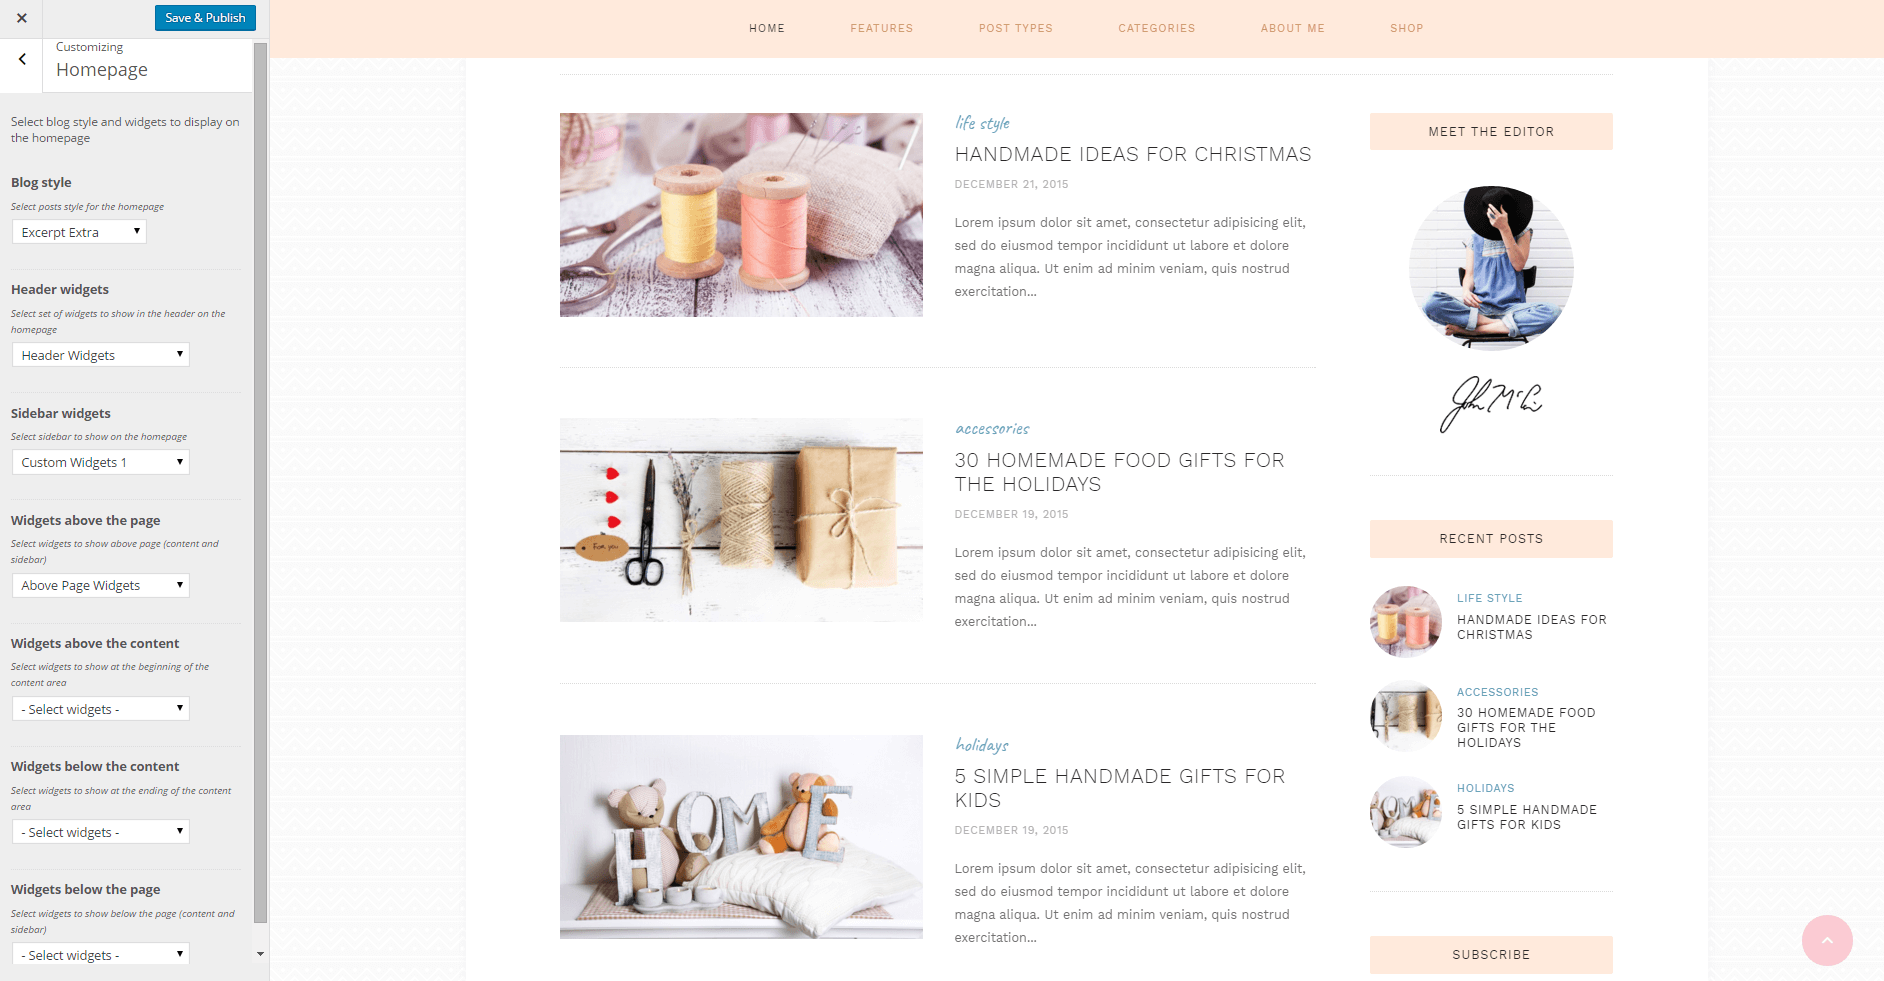
Header Widgets
Select the necessary widgets that will be displayed in the header.
Please Note!The rest of the settings display the widgets according to their names.
Search Results
You can adjust the layout and sidebar for the pages displaying Search results in this section:
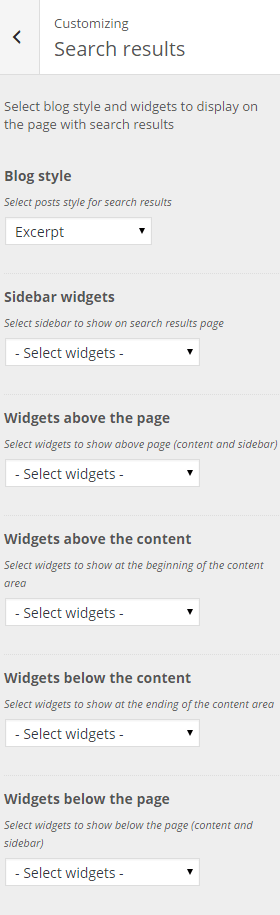
Blog style
Select the necessary post style for search results.
Sidebar widgets
Select the necessary sidebar to display on search result page.
Please Note!The rest of the settings display the widgets according to their names.
Single Post
You can adjust the sidebar for the single post pages in this section:
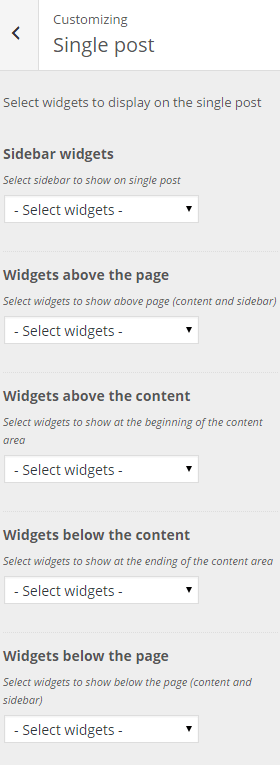
Sidebar-related settings
These settings are responsible for specifying widgets set for a sidebar.
Widgets-related settings
These settings allow specifying widgets set for any widget area. Check the Widgets section for more information.
Single Page
You can adjust the sidebar for pages here:
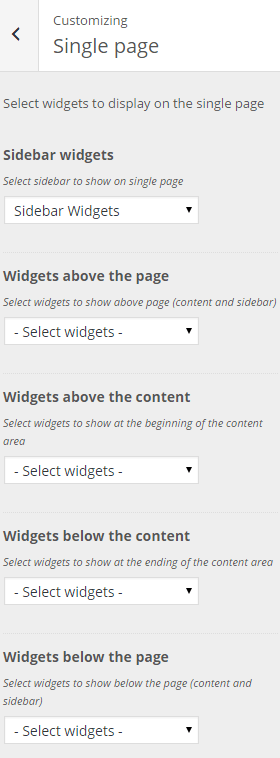
Sidebar-related settings
These settings are responsible for specifying widgets set for a sidebar.
Widgets-related settings
These settings allow specifying widgets set for any widget area. Check the Widgets section for more information.
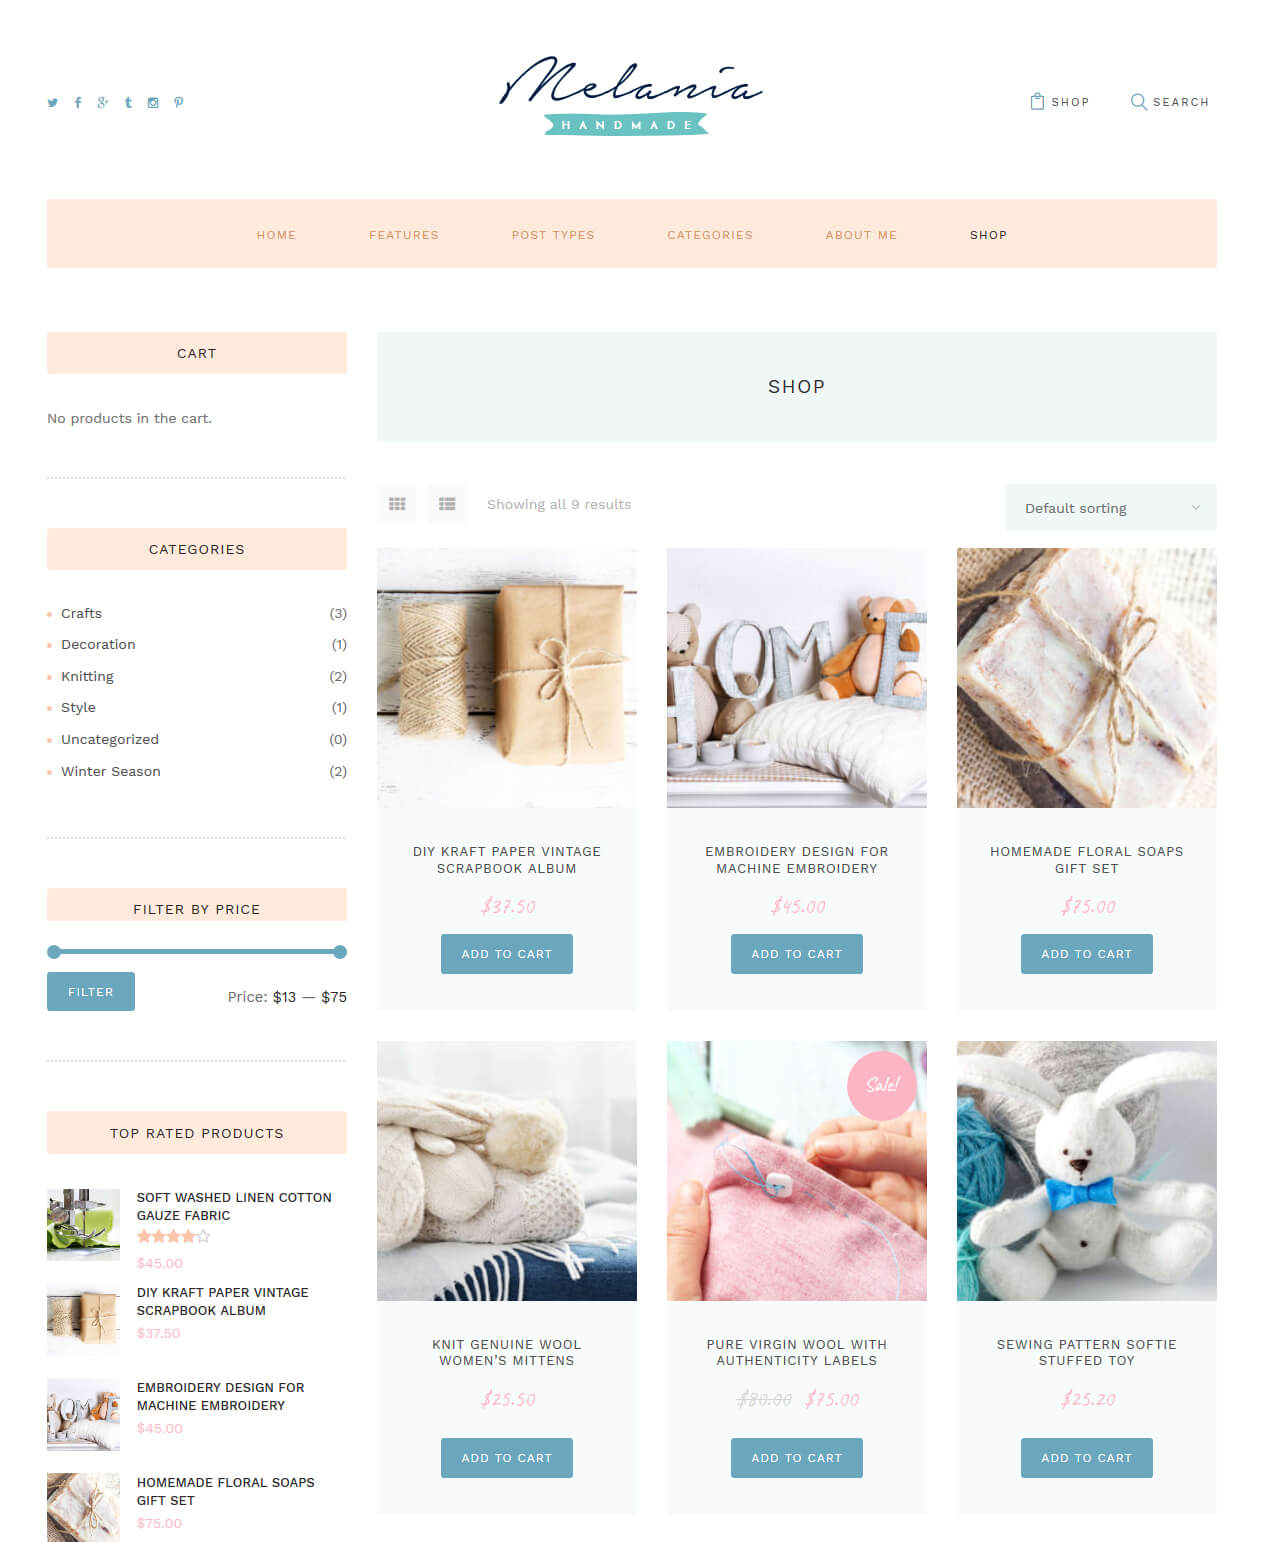
Shop Page
You can adjust the overall Shop page behavior here:
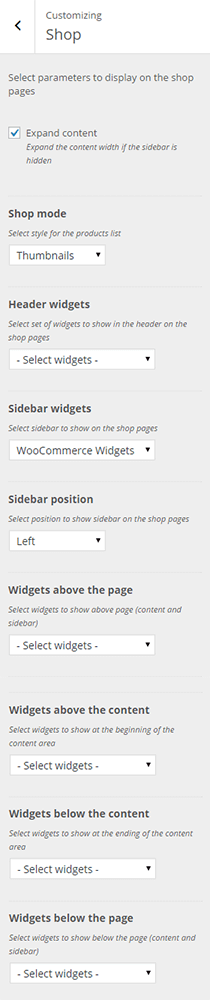
This is how the default Shop page looks like with current settings.
Expand content
In case there is no sidebar on the page content will occupy the sidebar's area.
Shop mode
This setting allows you to display products' lists in 2 different styles: Thumbnails & List.
Header-related settings
These settings allow specifying header widgets.
Sidebar-related settings
These settings are responsible for specifying widgets set for a sidebar.
Widgets-related settings
These settings allow specifying widgets set for any widget area. Check the Widgets section for more information.
The quantity of products displayed on shop page is inherited from the Appearance > Customize > WooCommerce > Product Catalog section. "Products per row" and "Rows per page" options work only if the "Shop mode" (Appearance > Customize > Shop) is set to "Thumbnails".
Pages
This section covers the information about Pages in your website: included page templates, how to edit existing pages, add new ones.
Page templates
Please navigate to Pages in your WordPress admin panel, click on "Add new" button to create new pages:
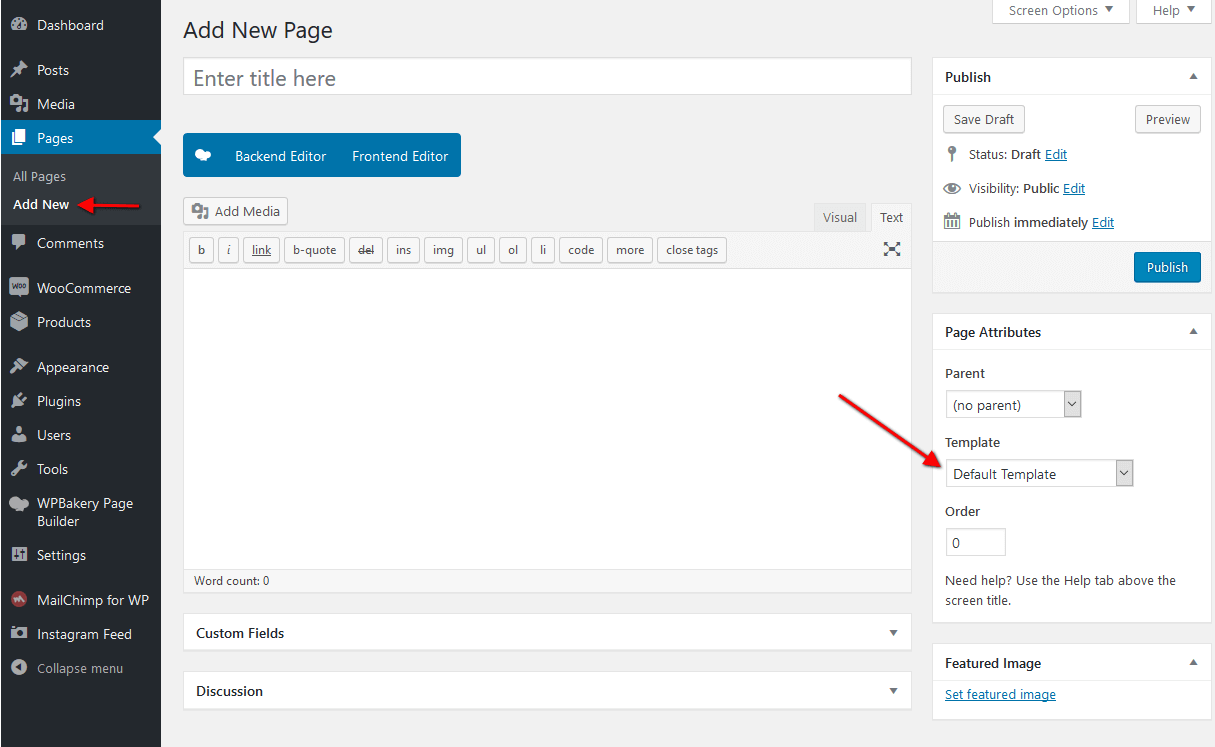
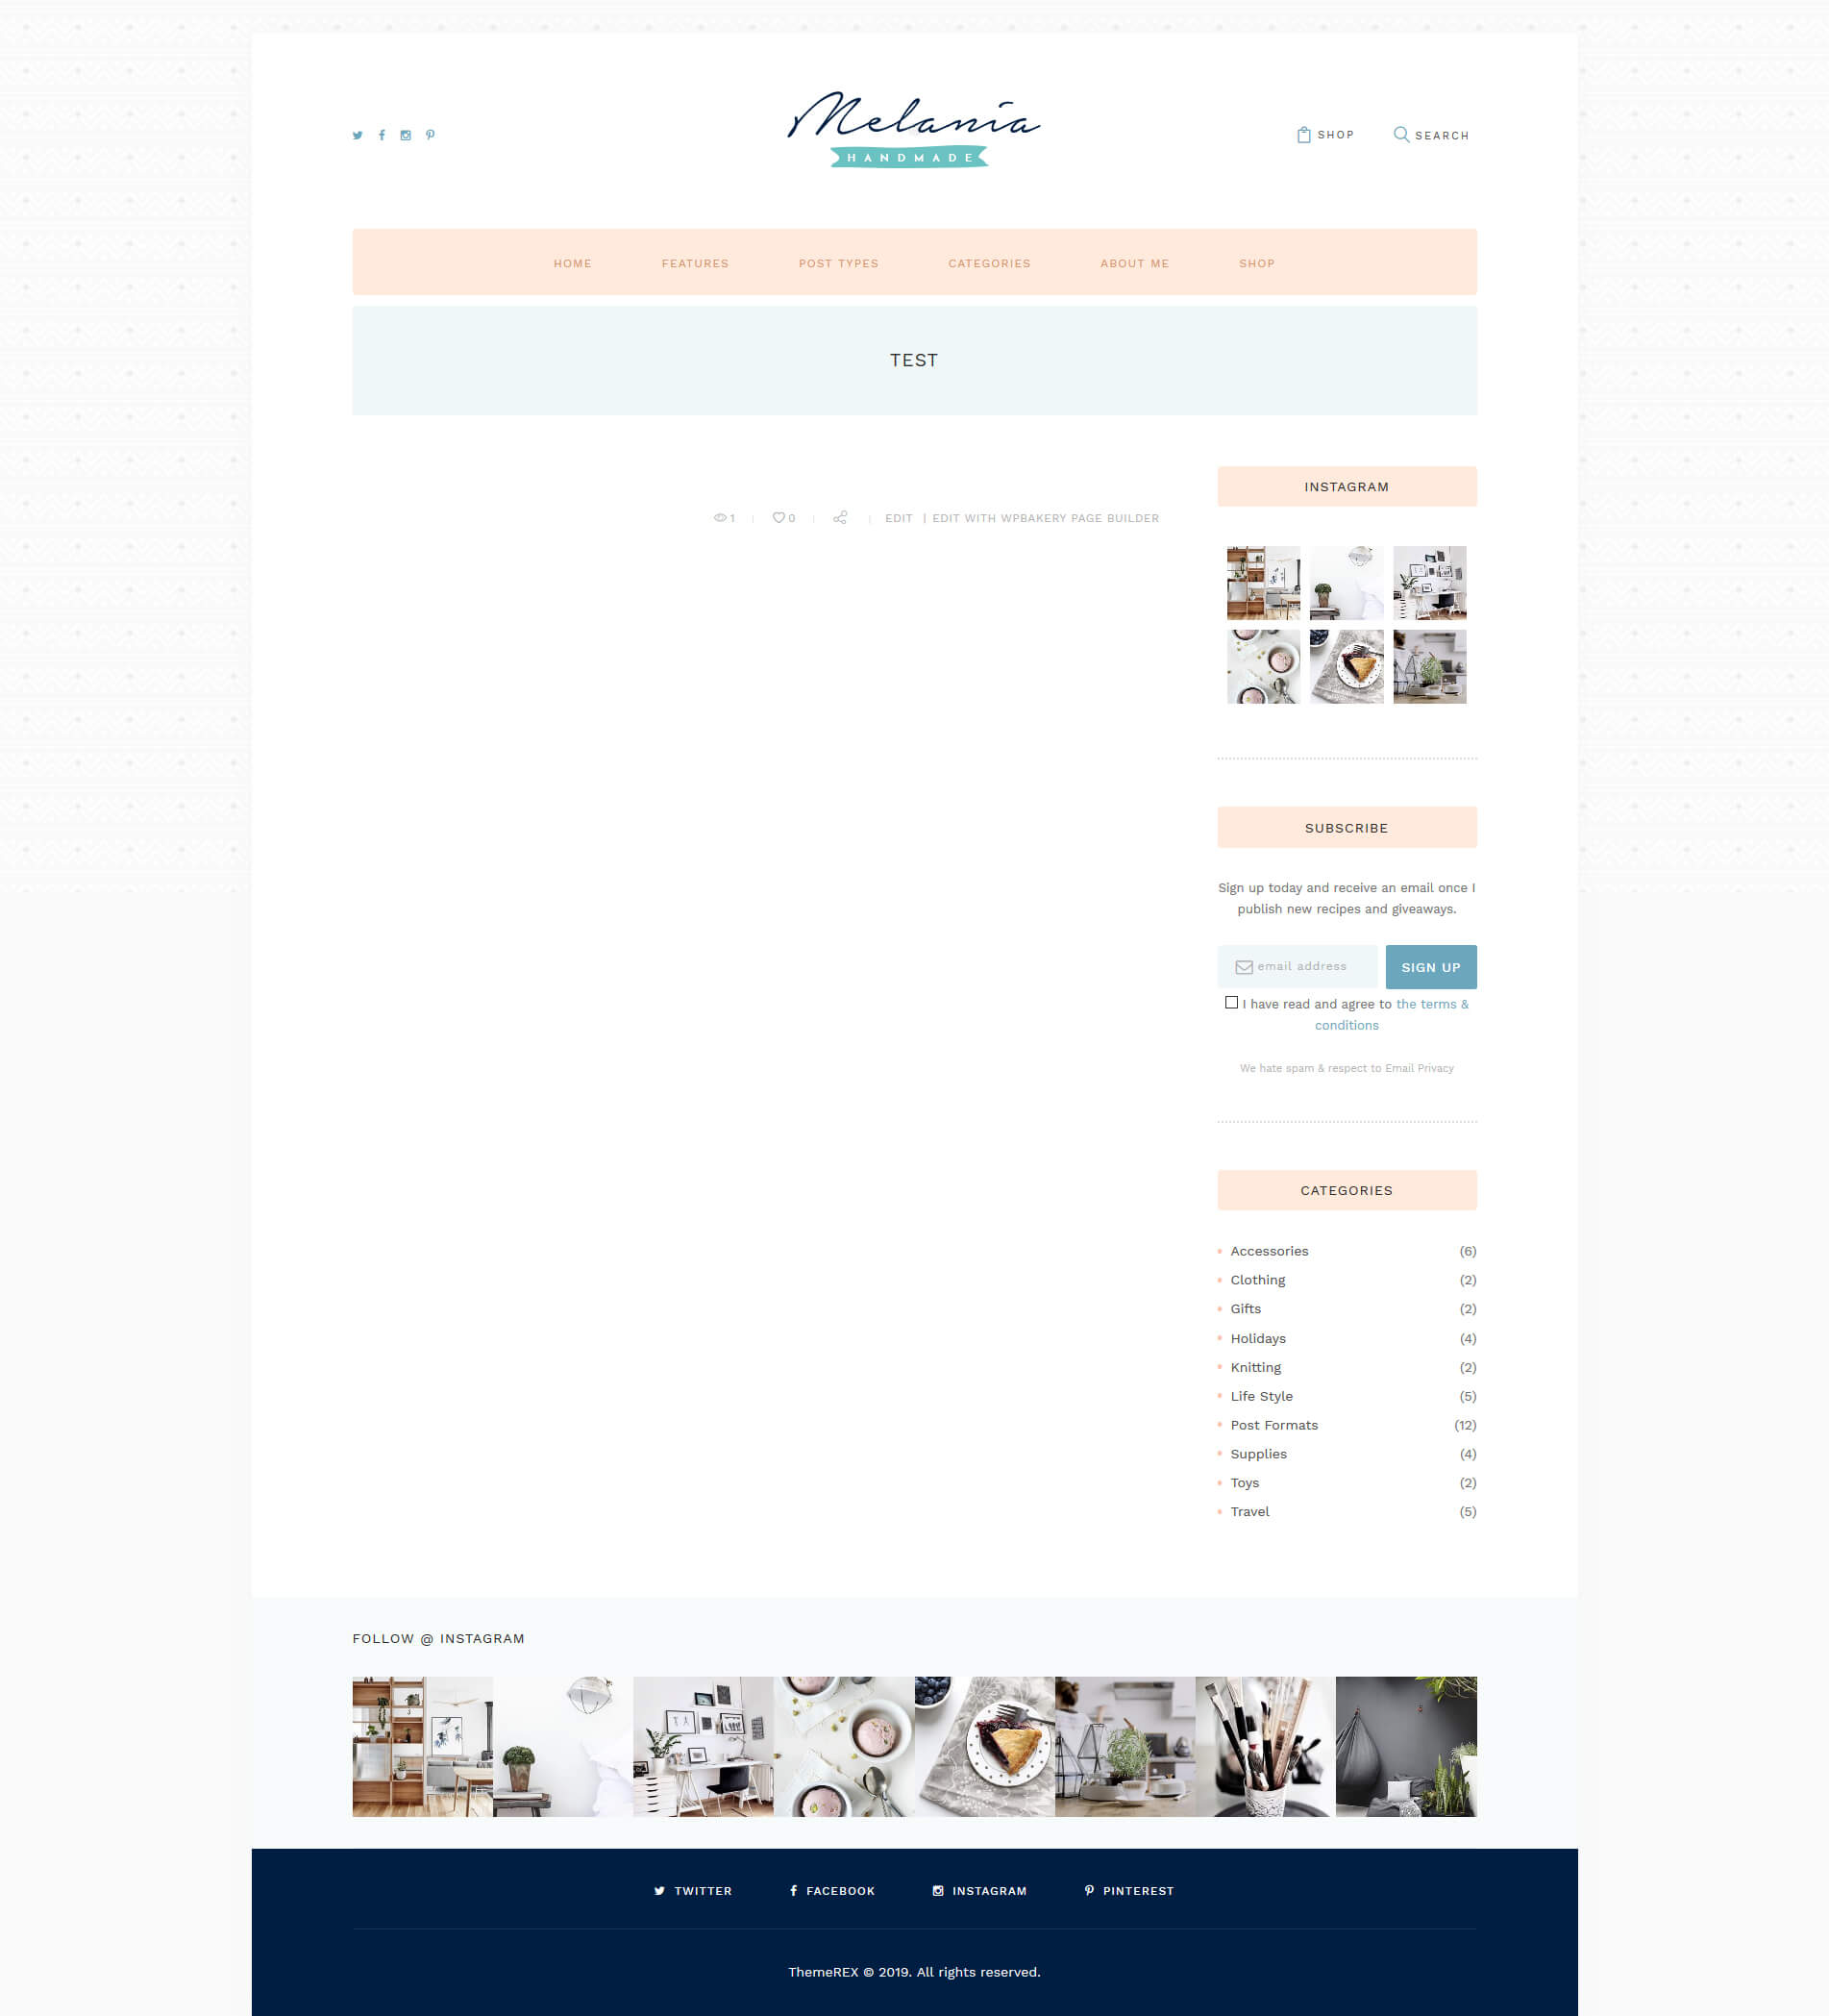
On the right you will see Page Attributes - Template section. It allows you to select the page style:
- Default - used to create a standard content page (a sidebar is added to the page in Customize - Single page):
- Homepage Style "Excerpt" - used to create a blog page with "Excerpt" style: a small passage of text and "Learn More" button.
- Homepage Style "Grid" - used to create a blog page with "Grid" style.
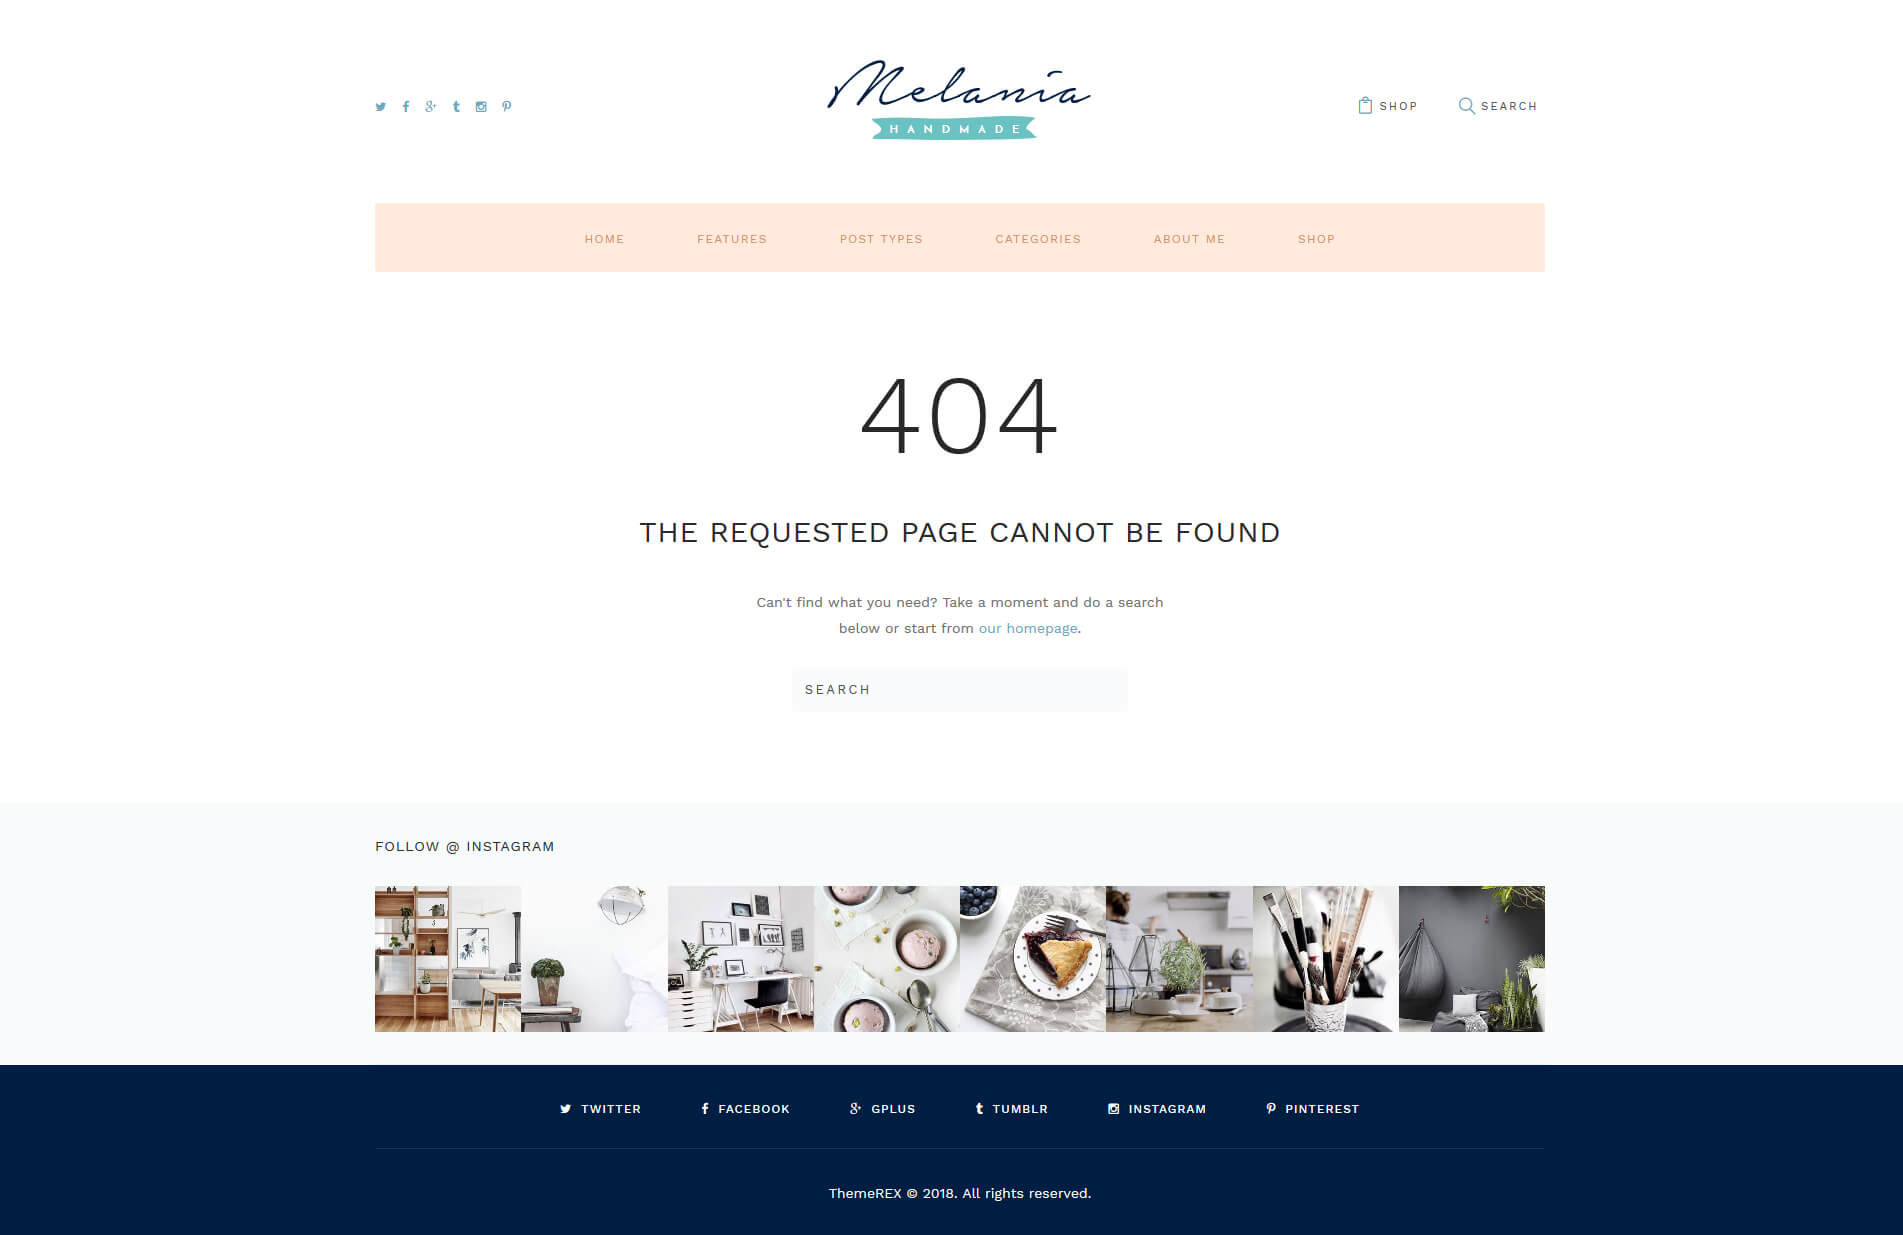
- 404 Page - to create "404 Not found" page opened if a user tries to open the page which does not exist.
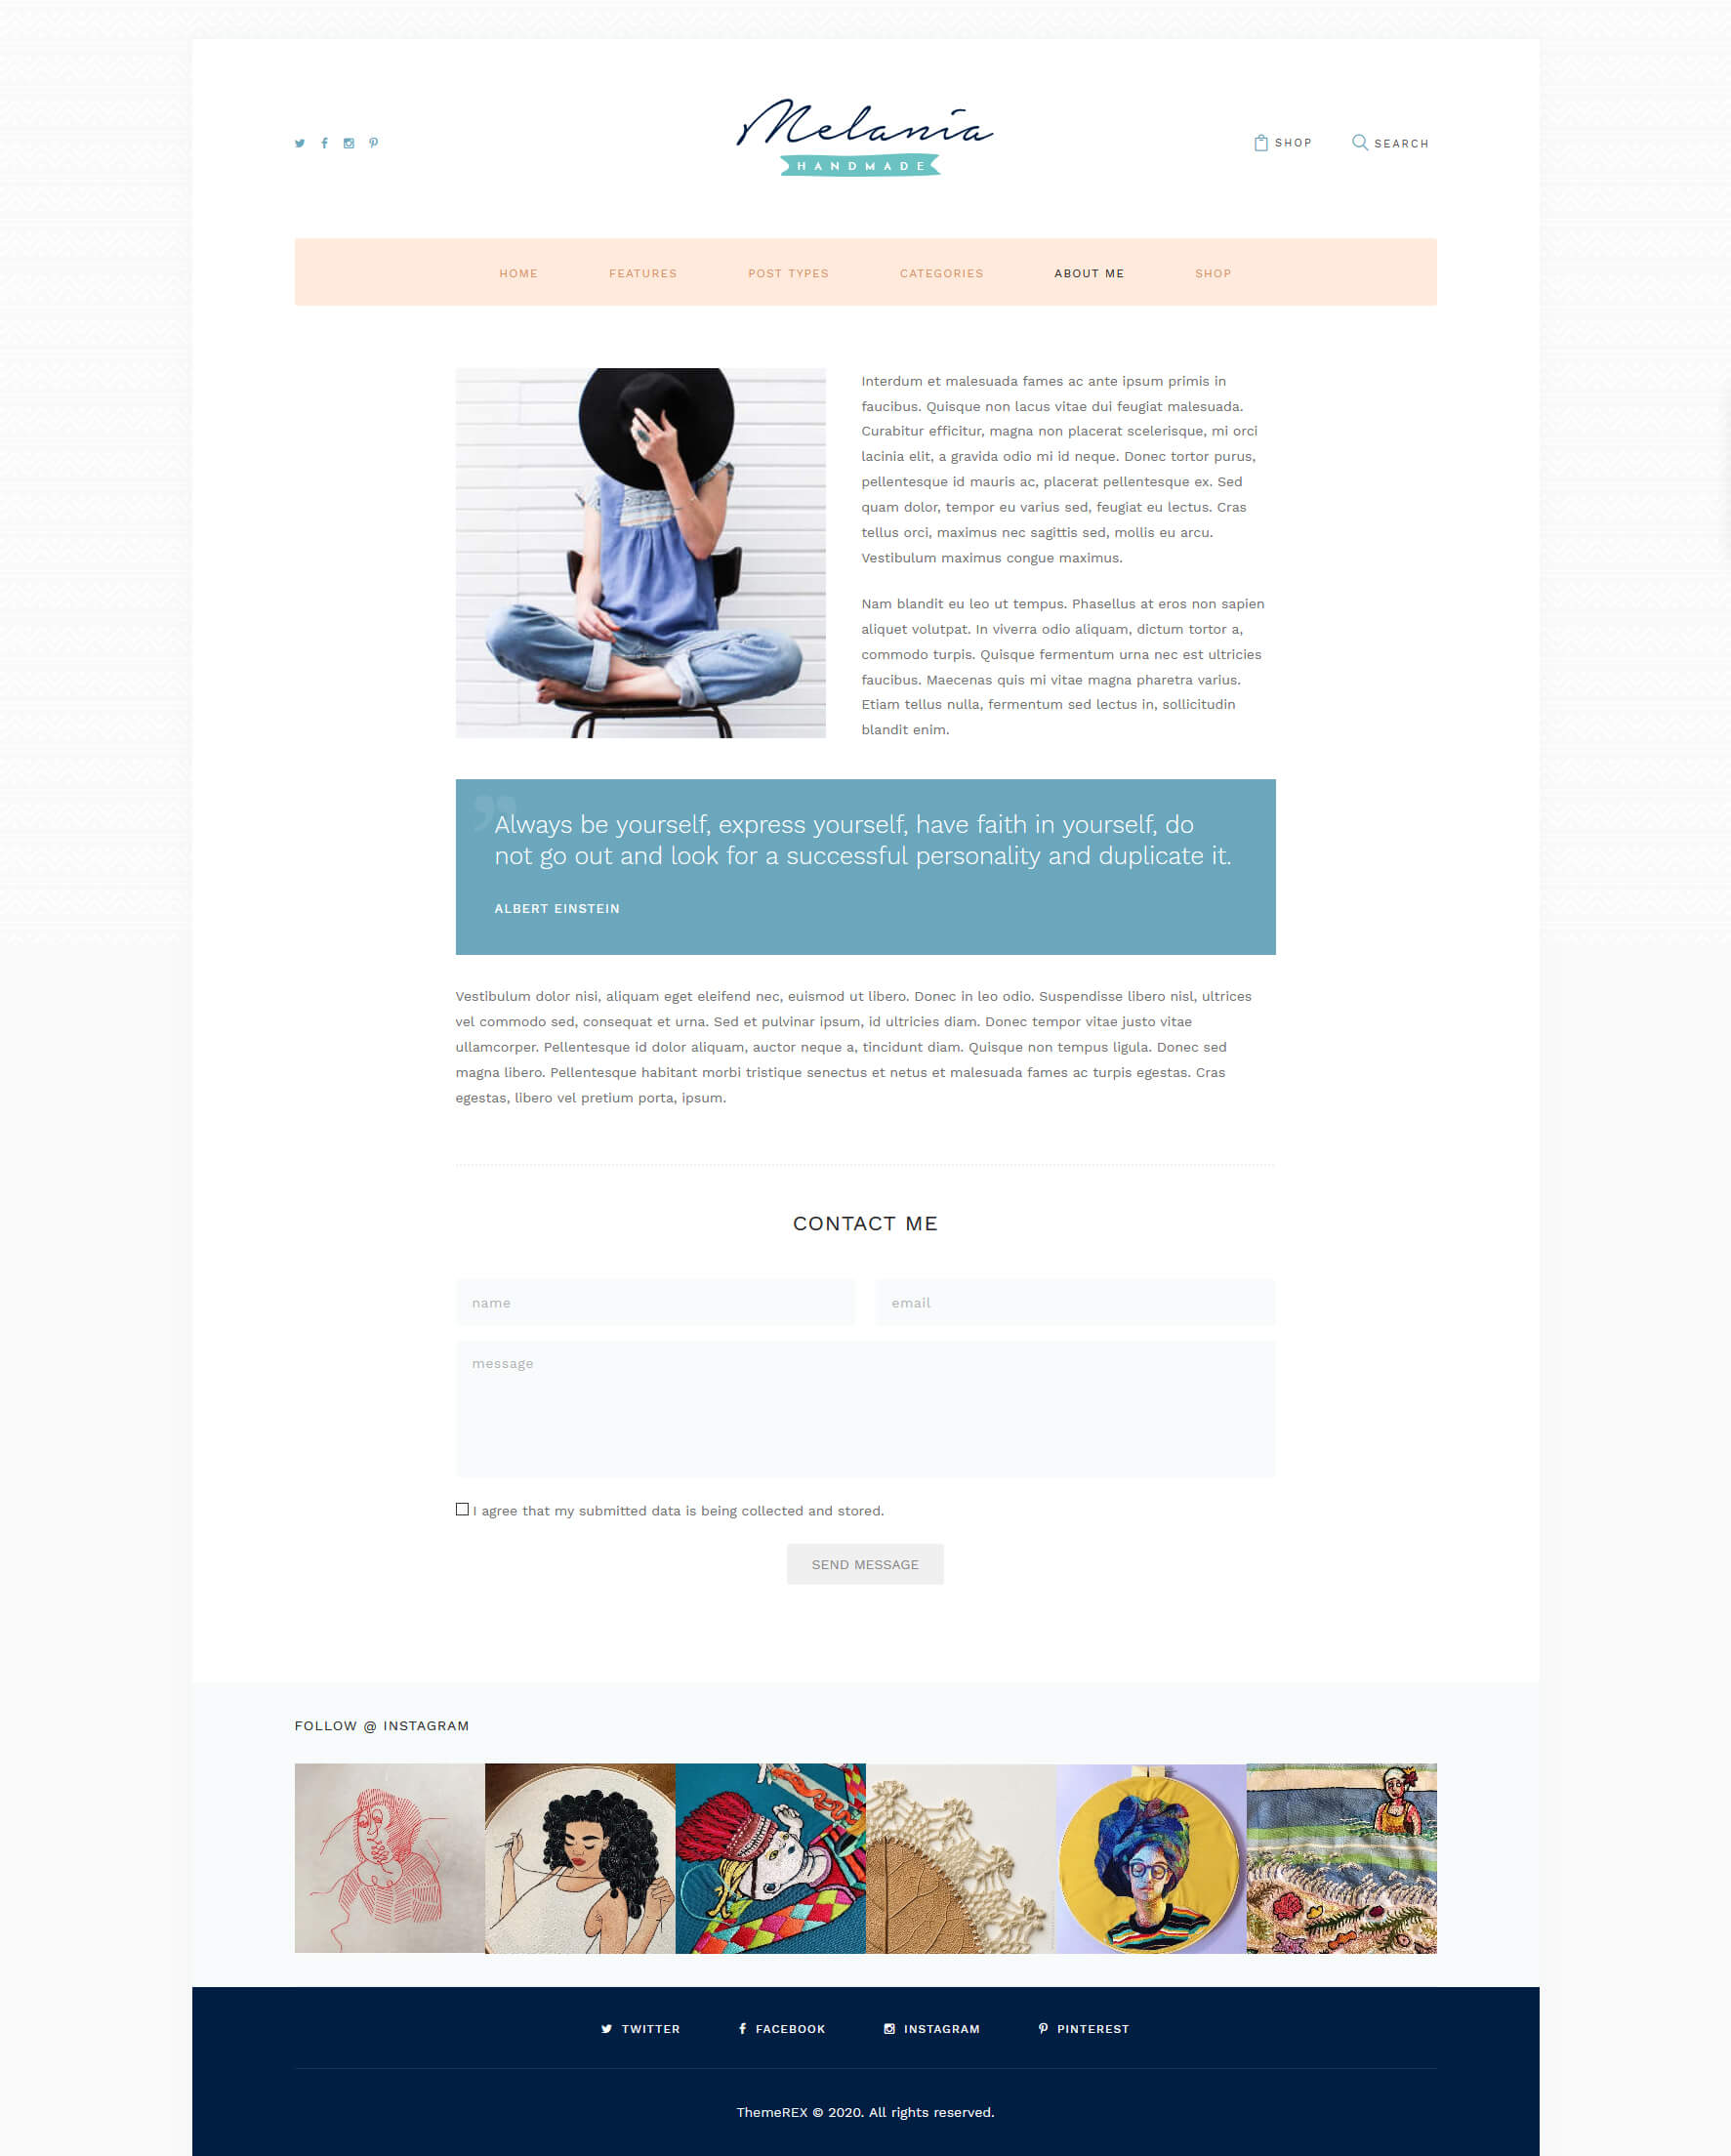
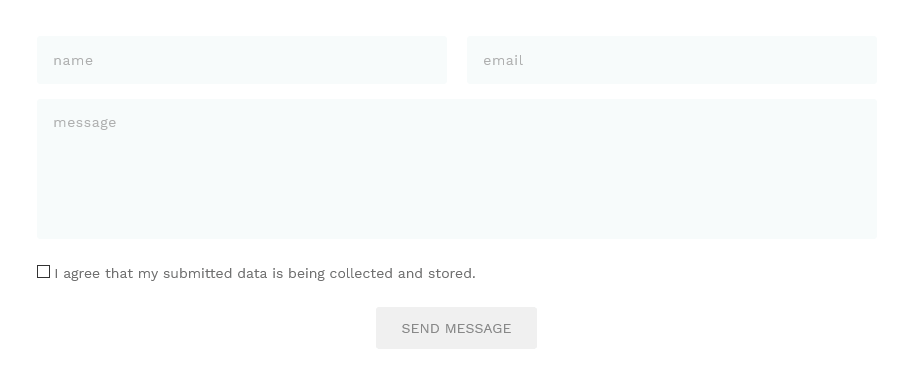
- Page style "About me" - Using this page template you can create a personal page of the blogger, just write several words about yourself and add your photograph to "Featured image" section and you will get the page of the following design with Contact form added automatically. The contact form is built using the Contact Form 7 plugin.
In order to choose some static content page for your Frontpage, please navigate to Settings > Reading and locate "Homepage displays", select Static page, and choose pages for your Frontpage and Posts page. (Please do not forget to add your new Blog page to the navigation bar in Appearance > Menus). On the same page in admin you can enter the number of posts to be displayed on the blog archive pages:
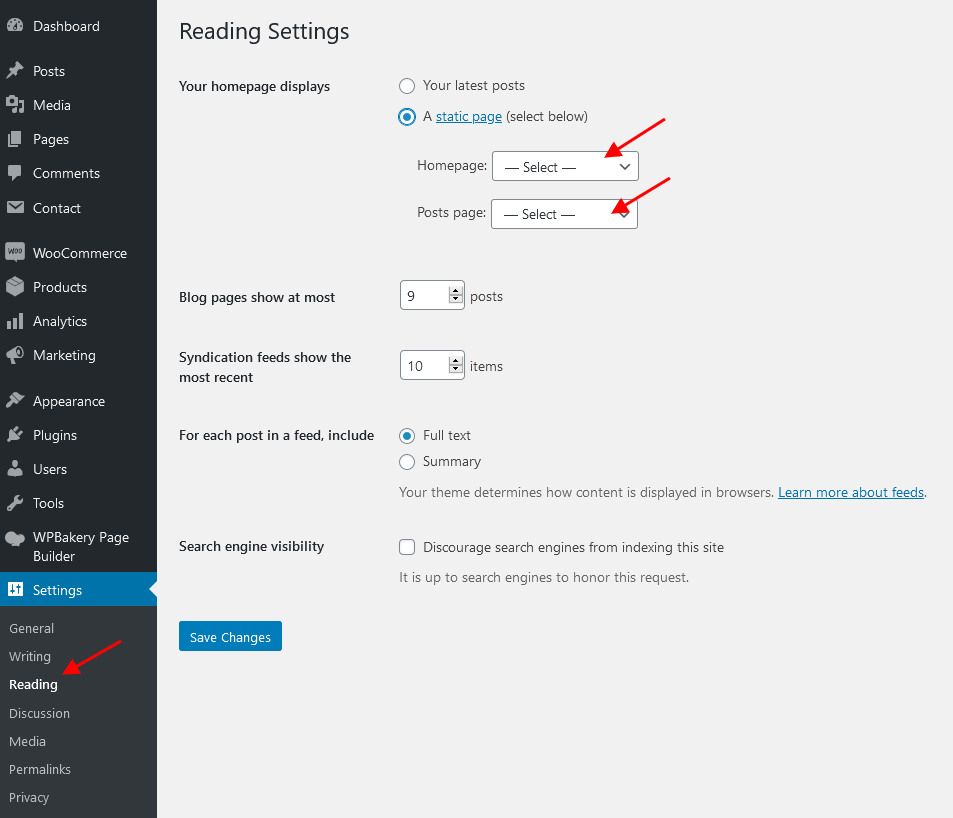
After you save the changes, your frontpage will display "About me" page and your posts will be shown on "Blog style "Excerpt" page.
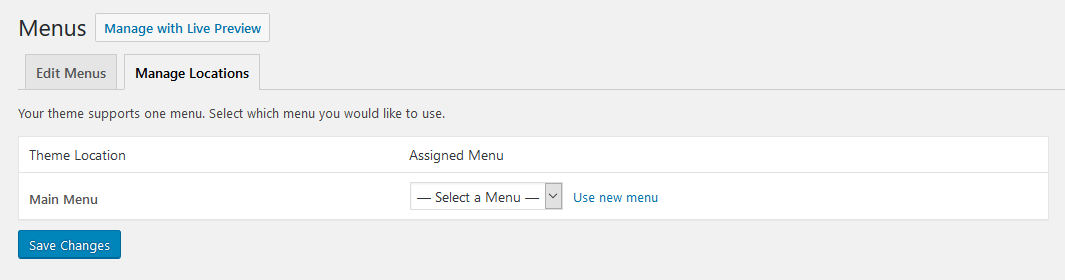
Menus
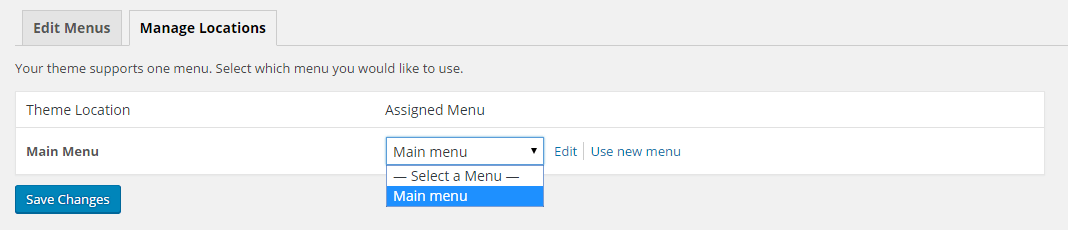
The theme supports the following menus: Main menu (located in the header part of the website right under the logo image). The menu is managed in Appearance > Menus > Edit.
First you should select the menu to edit to see its menu structure. Then you will be able to edit/add new items to the navigation.
In Appearance > Menus > Manage Locations the menu is assigned to its position on the website.
Post formats
The theme uses standard WordPress post formats, for you to run the blog using various visual representations of a post.
- Standard – The default post format: you can add a featured image to the post or leave your post without it.
- Post without image – The default post format with no image in it.
- Aside – A note like post, usually styled without title.
- Gallery – A gallery of images.
- Link– A link to another site.
- Quote – A quotation.
- Status – Twitter like short status update.
- Video – A post containing video.
- Sound Cloud Audio – An audio file.
- Chat – The chat looking post style.
Find all the post types on the screenshot below.

Plugins
In this section you can find information about additional plugins included to this theme.
WPBakery Page Builder
To make your customization even easier we have added the WPBakery Page Builder to this theme. Before you start, please check these WPBakery Page Builder related tutorials. They will give you a basic understanding of how to build a page properly.
- Official WPBakery Page Builder FAQ page.
- Getting Started With WPBakery Page Builder Guide.
- WPBakery Page Builder: A Guide To Drag & Drop Page Building.
- How to Add Row and Column with WPBakery Page Builder.
- How to Add Row or Column Background with WPBakery Page Builder.
- How to Create Empty Space Between Elements with Custom Height.
WooCommerce
Woocommerce is an industry leader e-commerce plugin for WordPress. Another good news is that our theme is fully compatible with this great tool, allowing you to turn your website into sales machine in just a few clicks. You simply need to install this plugin and allow it to create a set of pages to display categories, products etc. Then you need to add a set of products.
We highly encourage you to read the great documentation files WooCommerce offers. These manuals help to create effective and reliable on line stores providing more features than you can imagine. Here is a list of really useful links helping you create and polish your shop.
- Documentation - official plugin documentation.
- Free and Premium extensions - powerful toolbox bringing more features to your shop
- iOS app for Woocommerce - this application gives you full control over your shop.
The quantity of products displayed on shop page is inherited from the Appearance > Customize > WooCommerce > Product Catalog section. "Products per row" and "Rows per page" options work only if the "Shop mode" (Appearance > Customize > Shop) is set to "Thumbnails".
MailChimp
MailChimp is a newsletter service that allows you to send out email campaigns to a list of email subscribers. MailChimp is free for lists up to 2000 subscribers, which is why it is the newsletter-service of choice for thousands of businesses.
This plugin acts as a bridge between your WordPress site and your MailChimp account, connecting the two together.
Check this link for more information.
More guides are available here.
The backend settings can be found in the WP dashboard menu > MC4WP > MailChimp tab.
[mc4wp_form id="104"]
Elegro Crypto Payment
Elegro Gateway provides facilities for smooth, safe and instant cryptocurrency payments with automated exchange to EUR/USD or any other fiat currency at direct exchange rates. Payment processing fees are reasonable and calculated depending on business risk levels. Your customers can make purchases on any device and without any fees for elegro-inspired payments.
Check this link for more information.
ThemeREX Updater
This is our self-made plugin that allows you to update the main theme as well as the bundled plugins through the WordPress admin panel. ThemeREX Updater plugin requires a valid purchase code that can be entered in the Appearance > ThemeREX Updater section. To get the code, please navigate to your ThemeForest "Downloads" page and click on the theme download link. Check this guide for more details. Once any plugins or theme updates are available for download, you will receive a corresponding notice in WP Dashboard > Updates. Please view the Theme Update chapter of this documentation file for more information.
Contact Form 7
Contact Form 7 can manage multiple contact forms, plus you can customize the form and the mail contents flexibly with simple markup. The form supports Ajax-powered submitting, CAPTCHA, Akismet spam filtering and so on. More information on how to use this plugin can be found here.
More guides are available here (video tutorial) and here.
Find a default shortcode below:
[contact-form-7 id="360" title="Contact form 1"]
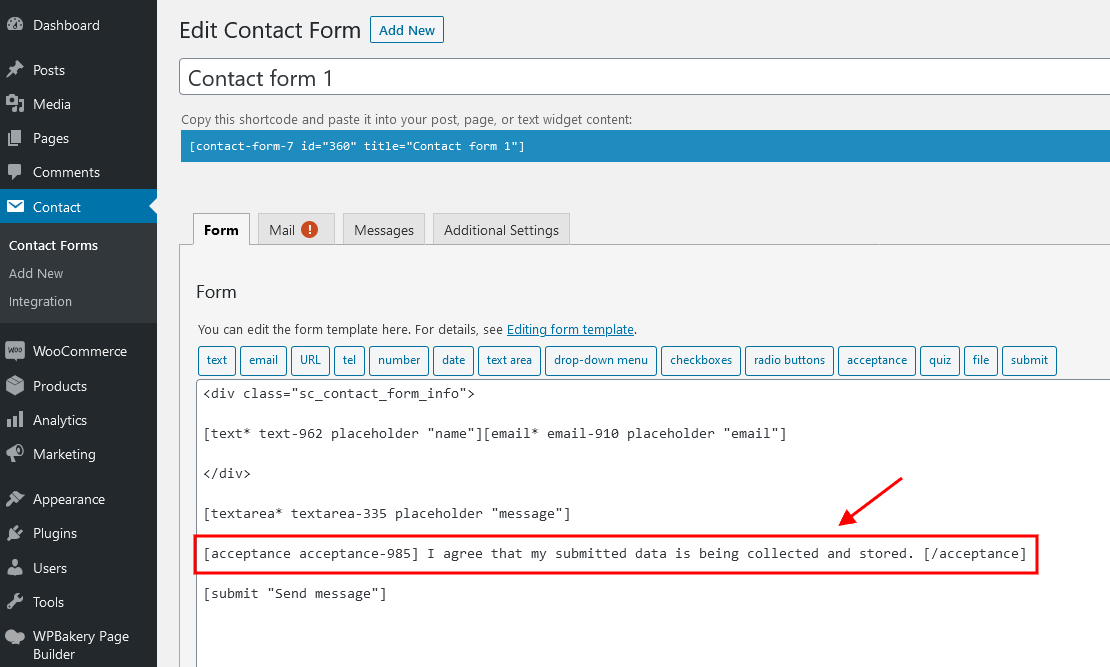
Attention! According to General Data Protection Regulation, you need to make your forms compliant. Some prebuilt forms, that come with this theme, already have the corresponding "I agree..." checkboxes. For newly created forms you should add the consent checkboxes in ONE of the following ways:
- Use [acceptance acceptance-985]...[/acceptance] tag. Treat the code and the screenshot below just as an example:
- Use the Cookie Information plug-in (not provided with the theme).
ThemeREX Socials
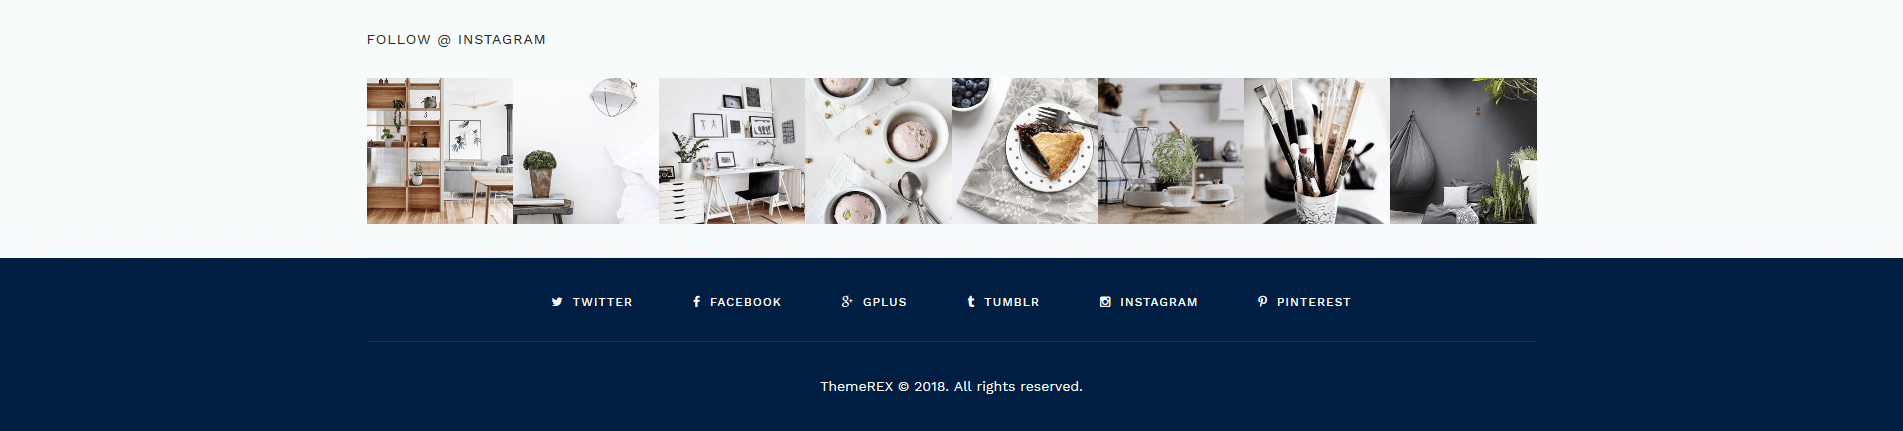
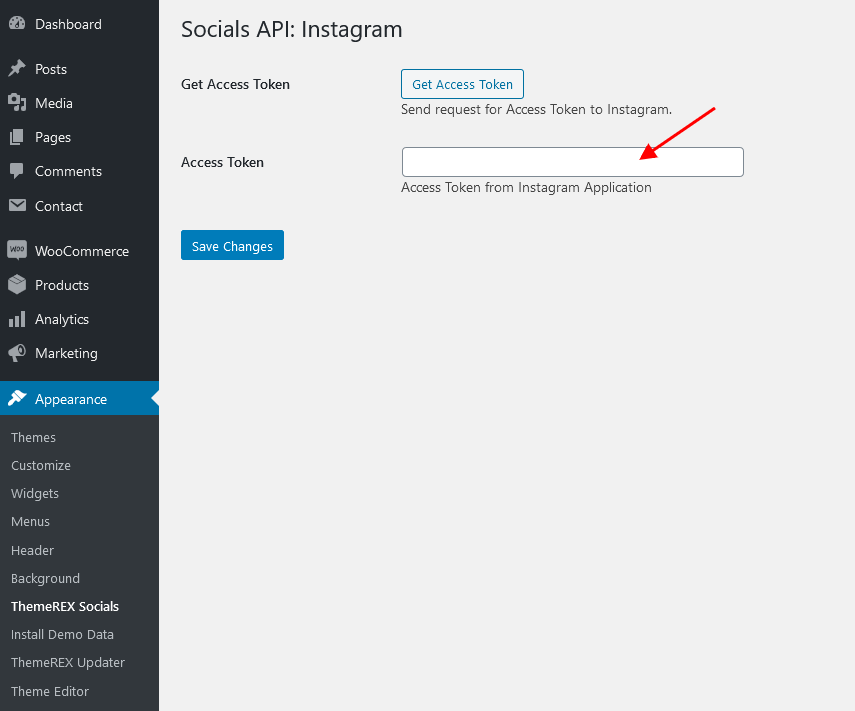
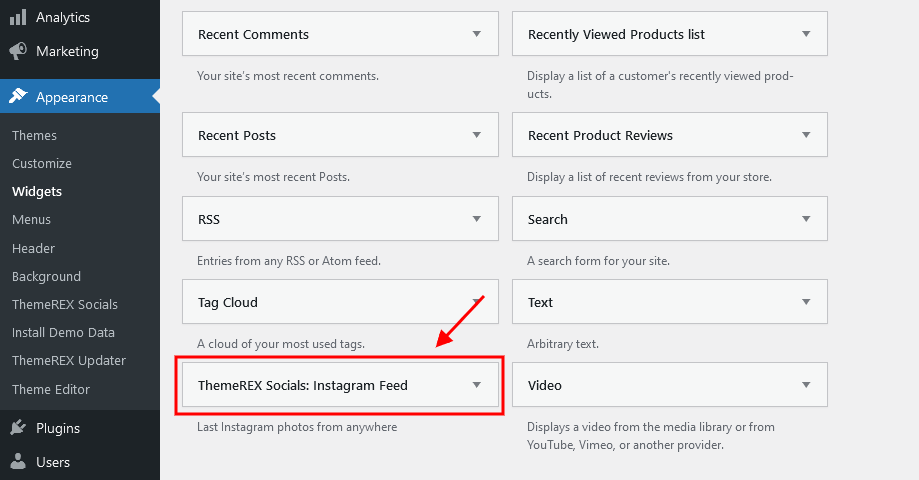
This is our self-made plug-in, that helps you output Instagram feed on your WordPress website in an easy way. To make this plug-in work properly, you should specify your Instagram Access Token in the Appearance (WP Dashboard) > ThemeREX Socials tab.
Once you have specified your Instagram Access Token in the plug-in's settings, you can output your instagram photos using the "ThemeREX Socials: Instagram Feed" widget (Appearance > Widgets) (for any widget area available in the theme).
Theme Translation
We recommend using Poedit software for translation-related purposes. To translate the theme to your language, please follow these steps:
- Download and install Poedit software.
- Navigate to the theme/.../languages/ folder and locate .pot file. Copy it to your desktop for editing.
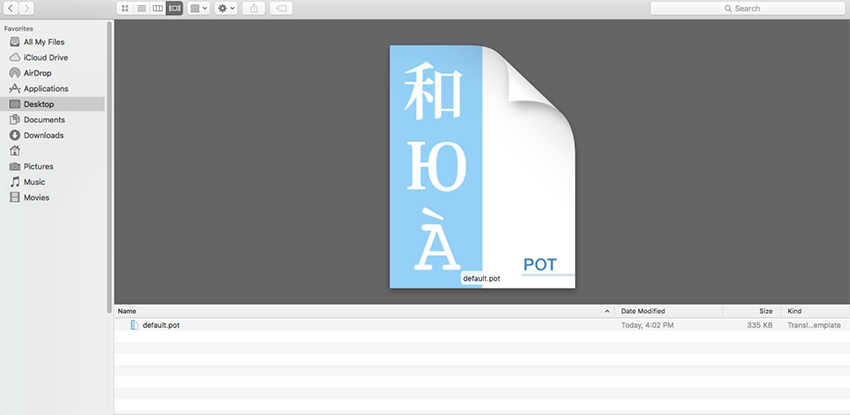
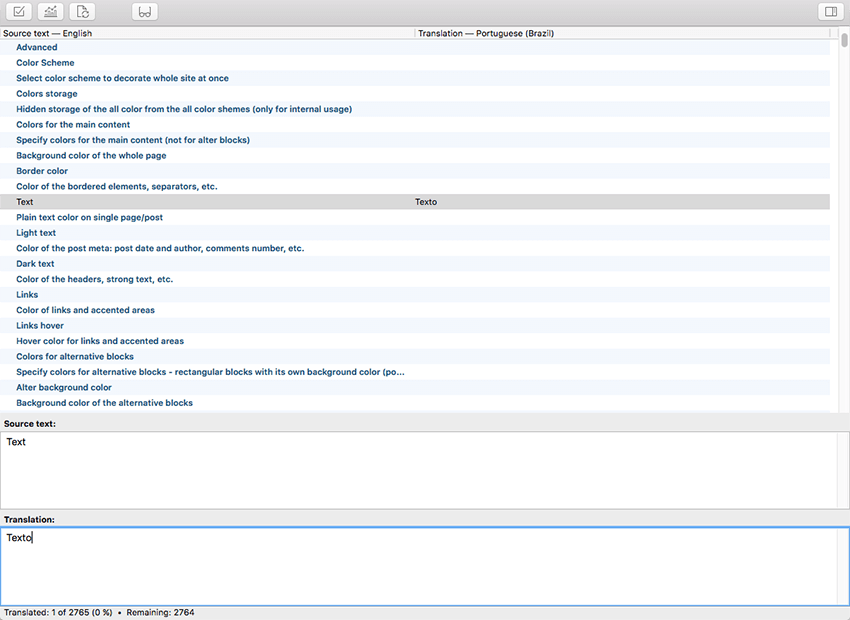
- Double click on the .pot file. In the Poedit window click on the "Create New Translation" button, choose the necessary language of the translation from the dropdown list and click "OK."
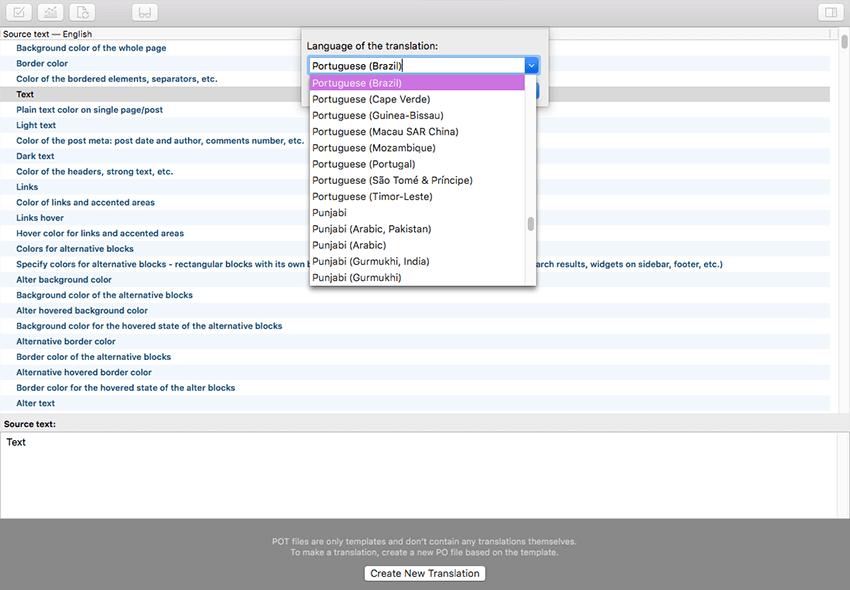
- Now select the constant text string you need to translate from the "Source text - English" field and type in the necessary translation into the "Translation" field. You can translate as much as you want, just go through the file and click on each string in Poedit and add your translation.
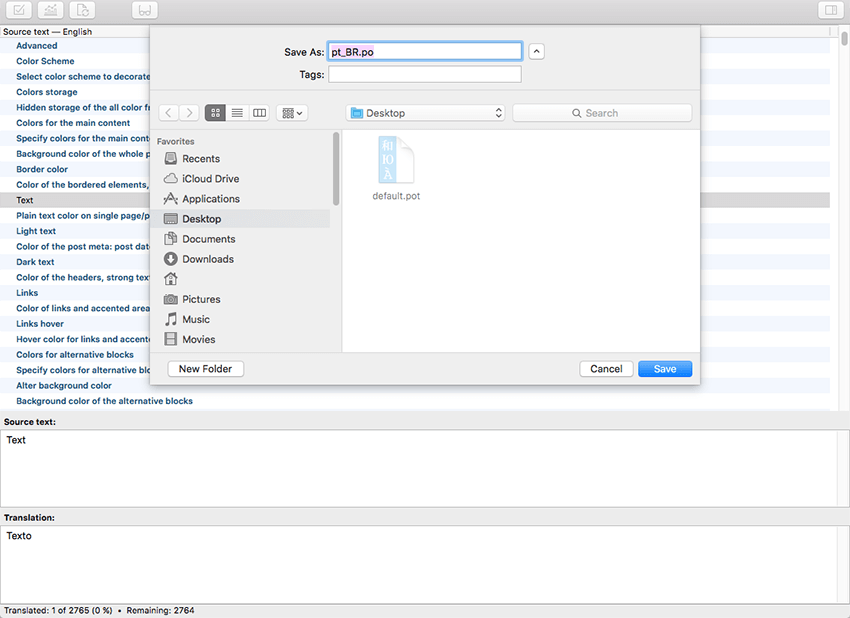
- Next, you have to save the changes to your .po file using the naming convention based on the language code (e.g. pt for Portuguese) followed by the country code (for instance _BR for Brazil).
To do that click on the "sheet" icon (you can also use hotkeys CMD+Shift+S in OS X or Win+S in Windows) and type in the name according to the screenshot below. The first lower-case letters define the language, whereas the second upper-case letter defines the country. In most cases, the language and country are the same, like “de_DE” for Germany. However, there is a difference for languages like English or Portuguese, which are spoken in several countries natively. In this case, the difference is in the first and second letter pairs; for the UK, the code would be en_GB, whereas the en_US stands for the USA. If you are not familiar with the codes for your native language and country, then visit the GNU website.
See Language Codes and Country Codes for the lists of codes.
Please note, if you use the wrong naming convention WordPress can not process your translation.
- When saving your .po file, Poedit automatically creates a new .mo file, with the same naming convention. According to the example above, the file would be called pt_BR.mo.
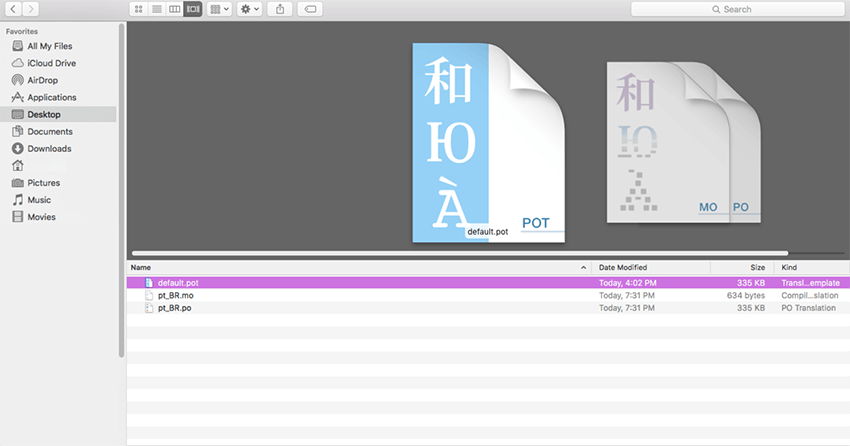
- Upload the .po and .mo files you just created to the .../languages/ folder. Make sure these files are in the same directory as the default.pot one.
- Our theme is using ThemeREX Addons plug-in, so some translation should be done in language files of this plug-in in the .../wp-content/plugins/trx_addons/languages directory. There is also a trx_addons.pot file in this directory.
Generate the .po and .mo files according to your language. See the file names on the example below:
trx_addons-pt_BR.po, trx_addons-pt_BR.mo.
Make sure that the language of your files is the same as in your WordPress admin panel > Settings > General Settings section.
In case you still have questions on how to use Poedit, please check the following resources:
Sources and Credits
This section discloses the sources of various files used within the theme and describes their function.
- Fonts:
- Google fonts.
- Fontello (non standard, icons set).
All non-standard fonts are from Google Web Fonts and Fontello icons set
We have used pictures from:
http://www.bigstockphoto.com/
IMPORTANT! Please be advised that all clipart images included in this theme are the copyrighted to their respective owners and are not available for download with this theme.
Clipart images can not be used without express permission from the owner and/or need to be purchased separately.
We can provide you with the list of image ids used in the theme, just contact our support team.
Website Customization
Custom Websites are usually the most important part of an online marketing campaign. A properly built custom website can help you get the most results from your marketing efforts. Our team can do it for you.
Please, find some of our offers below:
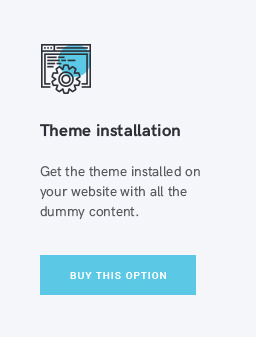
You can check the full list of offers here.
Socials
You can add links to social media icons here. If you leave these fields empty, icons will not be shown. Social icons will be displayed in the top right corner of the header:
In the Share section you can specify URLs to share posts in social networks (if you leave the field empty - there will be no sharing).